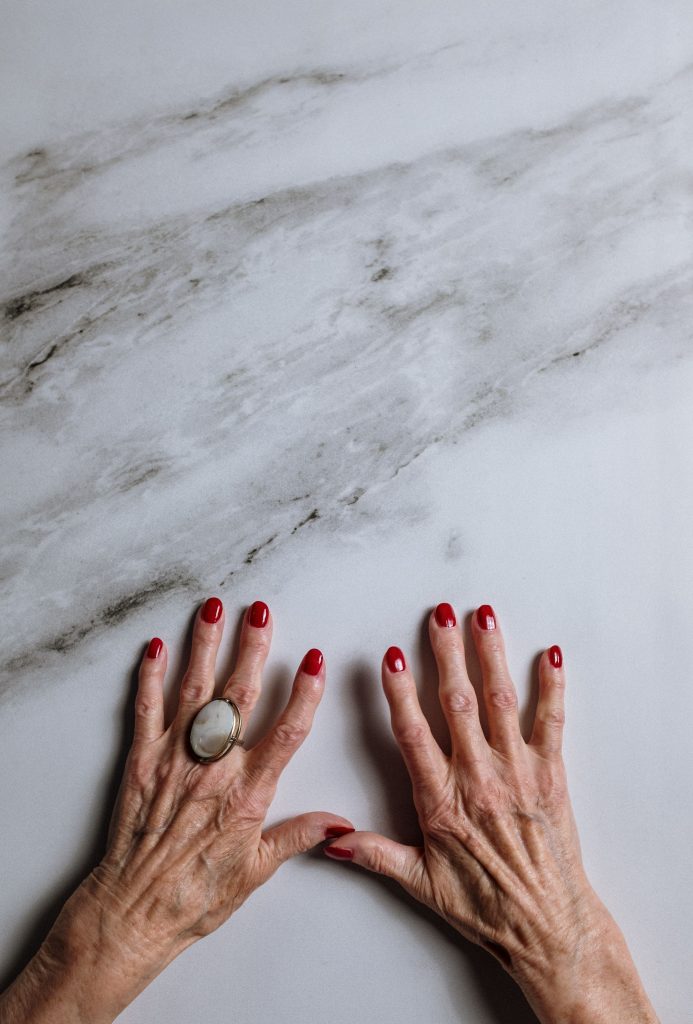
A client scrolled through her phone for a solid five minutes trying to find the exact marble nail photo she wanted, then handed it over looking almost apologetic, like she was asking for something complicated. It wasn’t a bad instinct. Marble nails look like they’d take a steady hand and years of practice, veins of color swirling through white like actual stone. The real technique behind it is closer to a kitchen trick than fine art, and most of what makes it look difficult is just not knowing the one tool that does the actual work.
What marble nail art actually is
Marble nail art creates the look of natural stone, usually white or pale with thin, irregular veins of gray, black, gold, or color running through it, using polish or gel that’s manipulated while still wet rather than painted in deliberate strokes. The randomness is the entire point. A marble pattern that looks too controlled or symmetrical actually looks less convincing than one with uneven, organic lines, which is part of why this technique is more forgiving for beginners than people expect going in.
There are two common approaches: a dry marble method done directly on the nail with a thin brush or dotting tool, and a water marble method where polish is dropped onto the surface of water and swirled before the nail is dipped through the pattern. Both land on the same visual result, but they behave very differently in practice.
The dry marble technique, step by step
Start with a clean, cured base color, usually white or a very pale nude, since that’s what reads as the stone background. While that base is still slightly tacky (for gel, this means right after curing but before the final seal, or for regular polish, within the first minute or so of drying), drop small amounts of your vein colors onto the nail in a loose, uneven pattern rather than evenly spaced dots.
Take a thin detail brush, a dotting tool, or even a toothpick, and drag it through the drops in long, slightly wavering strokes, pulling color from one drop toward another without fully blending them into a single tone. The goal is visible, separate lines rather than a smooth gradient. Overworking this step is the most common beginner mistake, since too much blending turns distinct veins into a muddy, uniform smear that no longer reads as marble at all.
The water marble technique, step by step
Fill a small cup with room-temperature water and drop polish directly onto the surface, one color at a time, letting each one spread into a thin film before adding the next. Use a toothpick to swirl the colors together into a marbled pattern right there on the water’s surface, working slowly enough to keep distinct lines rather than spinning everything into one blended color.
Once the pattern looks right, dip the nail (already covered in a protective layer of petroleum jelly or tape around the skin, since water marble polish sticks to everything it touches) straight down through the pattern at a slight angle, then pull it back out. Clean up the excess polish from the surrounding skin immediately, since this method makes a genuine mess if the cleanup is delayed even a minute or two.
Why thinner polish works better for both methods
Polish straight out of a fresh bottle is often too thick to move the way marbling needs it to. A few drops of thinner, or polish that’s already a little past its prime and naturally thinned out, drags more smoothly and creates finer, more realistic veins than a thick, fresh coat does. This is one of the few cases in nail art where slightly degraded product actually performs better than brand new polish, which surprises a lot of people trying this for the first time with their newest bottles.
Sealing the design without ruining the pattern
A top coat applied too aggressively, brushed back and forth repeatedly, can drag the still-soft marble lines and blur them before they’ve had a chance to set. One single, confident pass with the top coat brush, moving in one direction only, locks the pattern in place without disturbing it. For gel versions, a quick low-heat flash cure before the final full cure can help set delicate lines before the stronger lamp exposure that follows.
Getting the proportions right for a natural look
Real marble has veins that vary in thickness, sometimes thin and hairline, sometimes thicker and more pronounced, running in a direction that feels random rather than neat rows of parallel lines. Mixing vein thickness within a single nail, and letting some lines branch or fade out rather than running edge to edge, is what separates a convincing marble look from one that reads as an obvious pattern. It’s a similar principle to how a Russian manicure depends on deliberate, careful detail work rather than a quick, uniform pass, just applied to color movement instead of cuticle precision.
Prep still matters underneath all of this. A smooth, properly buffed nail surface gives the base coat something even to grip, and starting with the wrong grit or skipping buffing entirely can leave a textured surface that throws off how the marble veins settle once they’re dragged across it, something covered in our guide to what each nail buffer grit actually does.
Frequently asked questions
Can marble nail art be done with gel polish?
Yes, and gel actually gives more control since it doesn’t dry as fast as regular polish, leaving more time to drag and swirl the colors before anything sets. Cure times just need to be watched carefully so the design doesn’t set too early.
Why does my marble pattern look muddy instead of defined?
This usually means too much blending, either dragging the tool back and forth too many times or using colors that are too similar in tone to show contrast once mixed. Fewer, more deliberate strokes with higher-contrast colors fix this.
Is water marble harder than dry marble?
It takes more cleanup and setup, but the actual swirling step is arguably easier since the water does some of the blending work for you. Most of the difficulty in water marble is in the mess control, not the pattern itself.
What colors work best for a realistic marble look?
White or pale nude bases with gray, black, or taupe veins read as the most classic stone look. Gold or metallic veins over a white base create a different, more luxe effect that still follows the same basic technique.
How long does marble nail art last compared to a solid color?
About the same as any other polish or gel design, since the marbling itself doesn’t affect durability. A sealed top coat protects the pattern the same way it protects a solid color underneath it.