A client texted me a photo at eleven at night, three days before her sister’s wedding, one nail cracked clean across the middle with the tip still attached but barely. She wasn’t due back in my chair for another week and didn’t want to show up to bridal photos with a full-on repair job or, worse, a bare stub where a nail used to be. I talked her through the tea bag fix over text. It held through the wedding, through the reception, through however many hugs a maid of honor gives out in one evening.
It’s not a real fix in the sense of undoing the crack. It’s a patch, and a genuinely useful one, as long as you understand what it can and can’t actually hold.
What the tea bag is actually doing
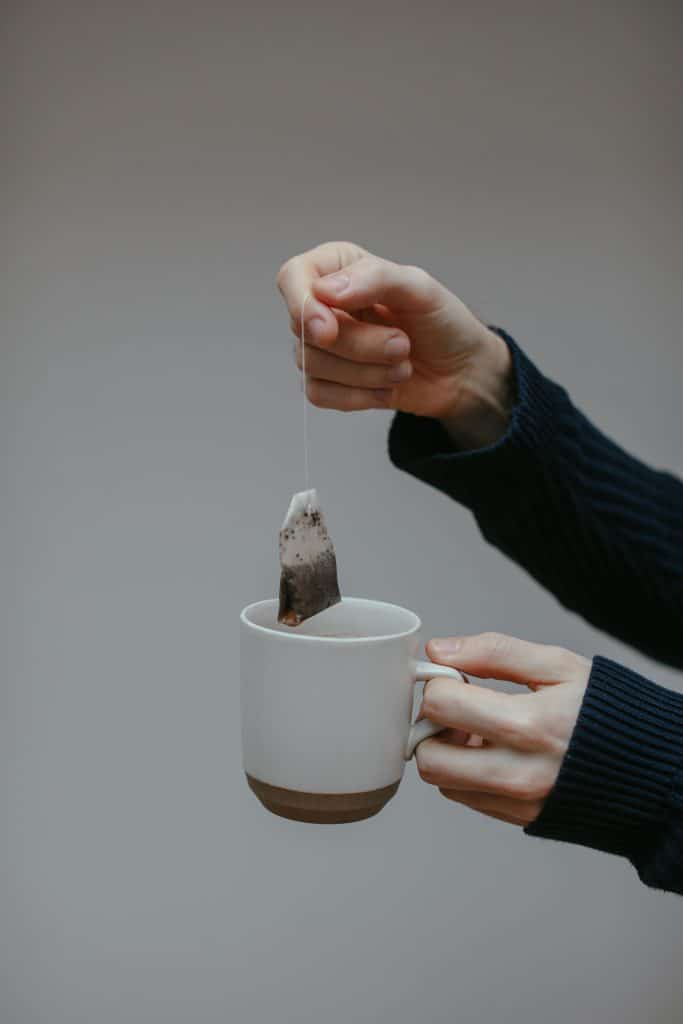
A tea bag works here for a boring reason: the paper is thin, has a loose weave, and soaks up clear polish the way fabric soaks up glue. That combination lets it act almost like a tiny cast over the crack, a thin, semi-flexible patch that bridges the split and gets sealed in place by the polish around and through it. It’s the same basic principle behind silk or fiberglass wraps used professionally, just improvised with whatever’s already sitting in most kitchens.
What you actually need
A tea bag, nail polish remover, a clear coat or base coat, small scissors, and a fine nail file or buffing block. That’s the entire list. If you don’t have a tea bag handy, a scrap of two-ply paper towel, a strip of medical tape, or even a sliver of fabric cut from an old cotton T-shirt works on the same principle, anything with a cloth-like texture that clear polish can soak into and bond with.
The actual steps
Start by taking off any existing polish and washing your hands with an oil-free cleanser, since oil on the nail plate keeps the patch from bonding properly. Cut a piece from the tea bag large enough to fully cover the tear or thin spot, with a little extra on each side rather than cutting it exactly to size.
Apply a clear coat to the nail, this is doing double duty as your adhesive, and while it’s still wet, lay the tea bag patch directly over the crack. Press it down with your finger or a pair of tweezers, working from the center outward to push out any air bubbles trapped underneath. Air bubbles are the main thing that makes this patch fail early, so take the extra ten seconds here rather than rushing to the next step.
Once it’s flat and bubble-free, apply a second coat of clear polish over the whole patch and let it dry completely. Don’t skip the drying time here even if it looks dry on the surface, a patch that gets buffed before it’s actually cured underneath tends to shift or lift at the edges. Once it’s fully set, buff lightly with a fine file to smooth out the texture where the tea bag’s edges meet the natural nail, so it doesn’t catch on fabric or hair later. Finish with your normal base coat and polish on top, and the patch mostly disappears under color.
What it can and can’t handle
This fix works well for a partial crack, a nail that’s split but still structurally attached, or a thin, weak spot that hasn’t fully separated yet. It is not a fix for a nail that’s torn most of the way off, hanging by a small corner, or bleeding at the nail bed. That kind of damage needs to be trimmed properly and, if it’s bad enough, looked at by someone who knows what they’re doing rather than patched with tea and polish. A patch over serious damage doesn’t protect anything, it just hides a problem that’s still getting worse underneath.
It’s also worth being honest that this is a temporary bridge, not a repair that lasts as long as a professional fix. Most people get somewhere between a few days and a week out of it before it needs replacing or the nail’s grown out past the patched section. That’s often exactly enough time to get through an event, a trip, or the wait until your next appointment, which is really what it’s built for.
How this compares to a real professional repair
A salon fix for a cracked nail usually involves an actual silk or fiberglass wrap, sometimes combined with a small amount of acrylic or gel to rebuild structure, which holds up far longer and looks more seamless than a DIY patch. If a crack keeps recurring in the same spot, or you’re patching more than once every few weeks, that’s less a “keep doing the tea bag trick” situation and more a sign something structural needs addressing, similar to how a nail that keeps having issues is worth troubleshooting properly the way our guide to fixing lifted gel nails at home walks through for lifting specifically. A repeat problem usually has a repeat cause.
It’s also worth ruling out whether the underlying nail is unusually weak or damaged to begin with, since a nail that’s already thin or over-filed cracks more easily under normal daily use. Our piece on the most common reasons gel nails peel or weaken covers a lot of the same root causes that make a nail prone to cracking in the first place, even outside of gel specifically.
Frequently asked questions
Does the tea bag fix work on gel or acrylic nails, or just natural nails?
It works on any of them, since the patch bonds to whatever surface it’s applied over. The main requirement is a clean, oil-free nail and a crack that’s still holding together rather than fully separated.
How long does a tea bag nail repair actually last?
Usually a few days up to about a week, depending on how much you’re using that hand and how well the initial application went. It’s meant to bridge a gap until your next real fix, not replace one long-term.
Can I use any type of tea bag?
Yes, the tea itself doesn’t matter, only the paper. An empty, dry tea bag works best, so tear one open and shake out the leaves rather than trying to use a used, damp one.
Will it be noticeable under polish?
With a light buff after the patch dries and a couple of coats of regular polish on top, it’s usually not visible at normal distance. Very light or sheer polish colors will show a faint texture difference more than darker or opaque shades will.
Is this safe to do on a nail that’s actively painful?
No. Pain usually means the damage goes deeper than a surface crack, possibly affecting the nail bed underneath. That’s a sign to trim the nail properly and let it be, not to seal a patch over it.