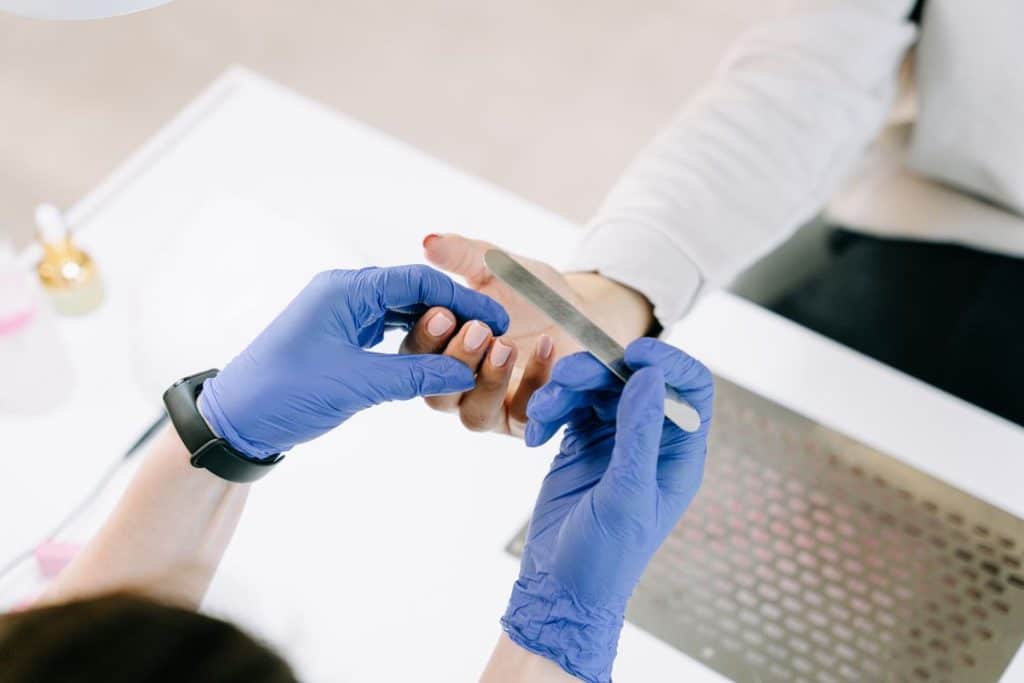
One of my regulars texted me a photo last month: a single lifted edge on her ring finger, barely a pinhead, four days into a fresh set. She wanted to know if she could fix it herself before her next appointment or if she’d wrecked the whole thing. That question comes up more than almost any other, and the honest answer depends entirely on how big the lift is and how long it’s been sitting open.
This is the practical, step-by-step version: what you actually need, how to tell if a lift is small enough to patch, how to patch it properly, and when patching is the wrong call and you need to take the nail off instead. If you want to understand why the lift happened in the first place, that’s covered separately in our guide on why gel nails lift. This one is just about fixing what’s already lifted.
First, check the size before you touch anything
Not every lift needs the same response, and treating a big one like a small one is how a fixable problem turns into a removal. Press gently on the lifted area with a clean fingertip.
A lift you can fix at home is small, usually no wider than a pinhead or a grain of rice, sits at the sidewall or free edge rather than spreading across the whole nail, has been open for a day or two at most, and shows no gap you can see light or debris through when you tilt your hand toward a lamp.
A lift that needs to come off instead is anything bigger than that, anything where the gel visibly moves or flexes when you press it, anything that’s been open more than two or three days, or a lift with any discoloration, moisture, or smell underneath it. That last group isn’t a home fix under any circumstances. Sealing gel back over a lift that’s already trapped moisture is how nail fungus gets started, and no amount of patching undoes that once it’s happened.
What you need before you start
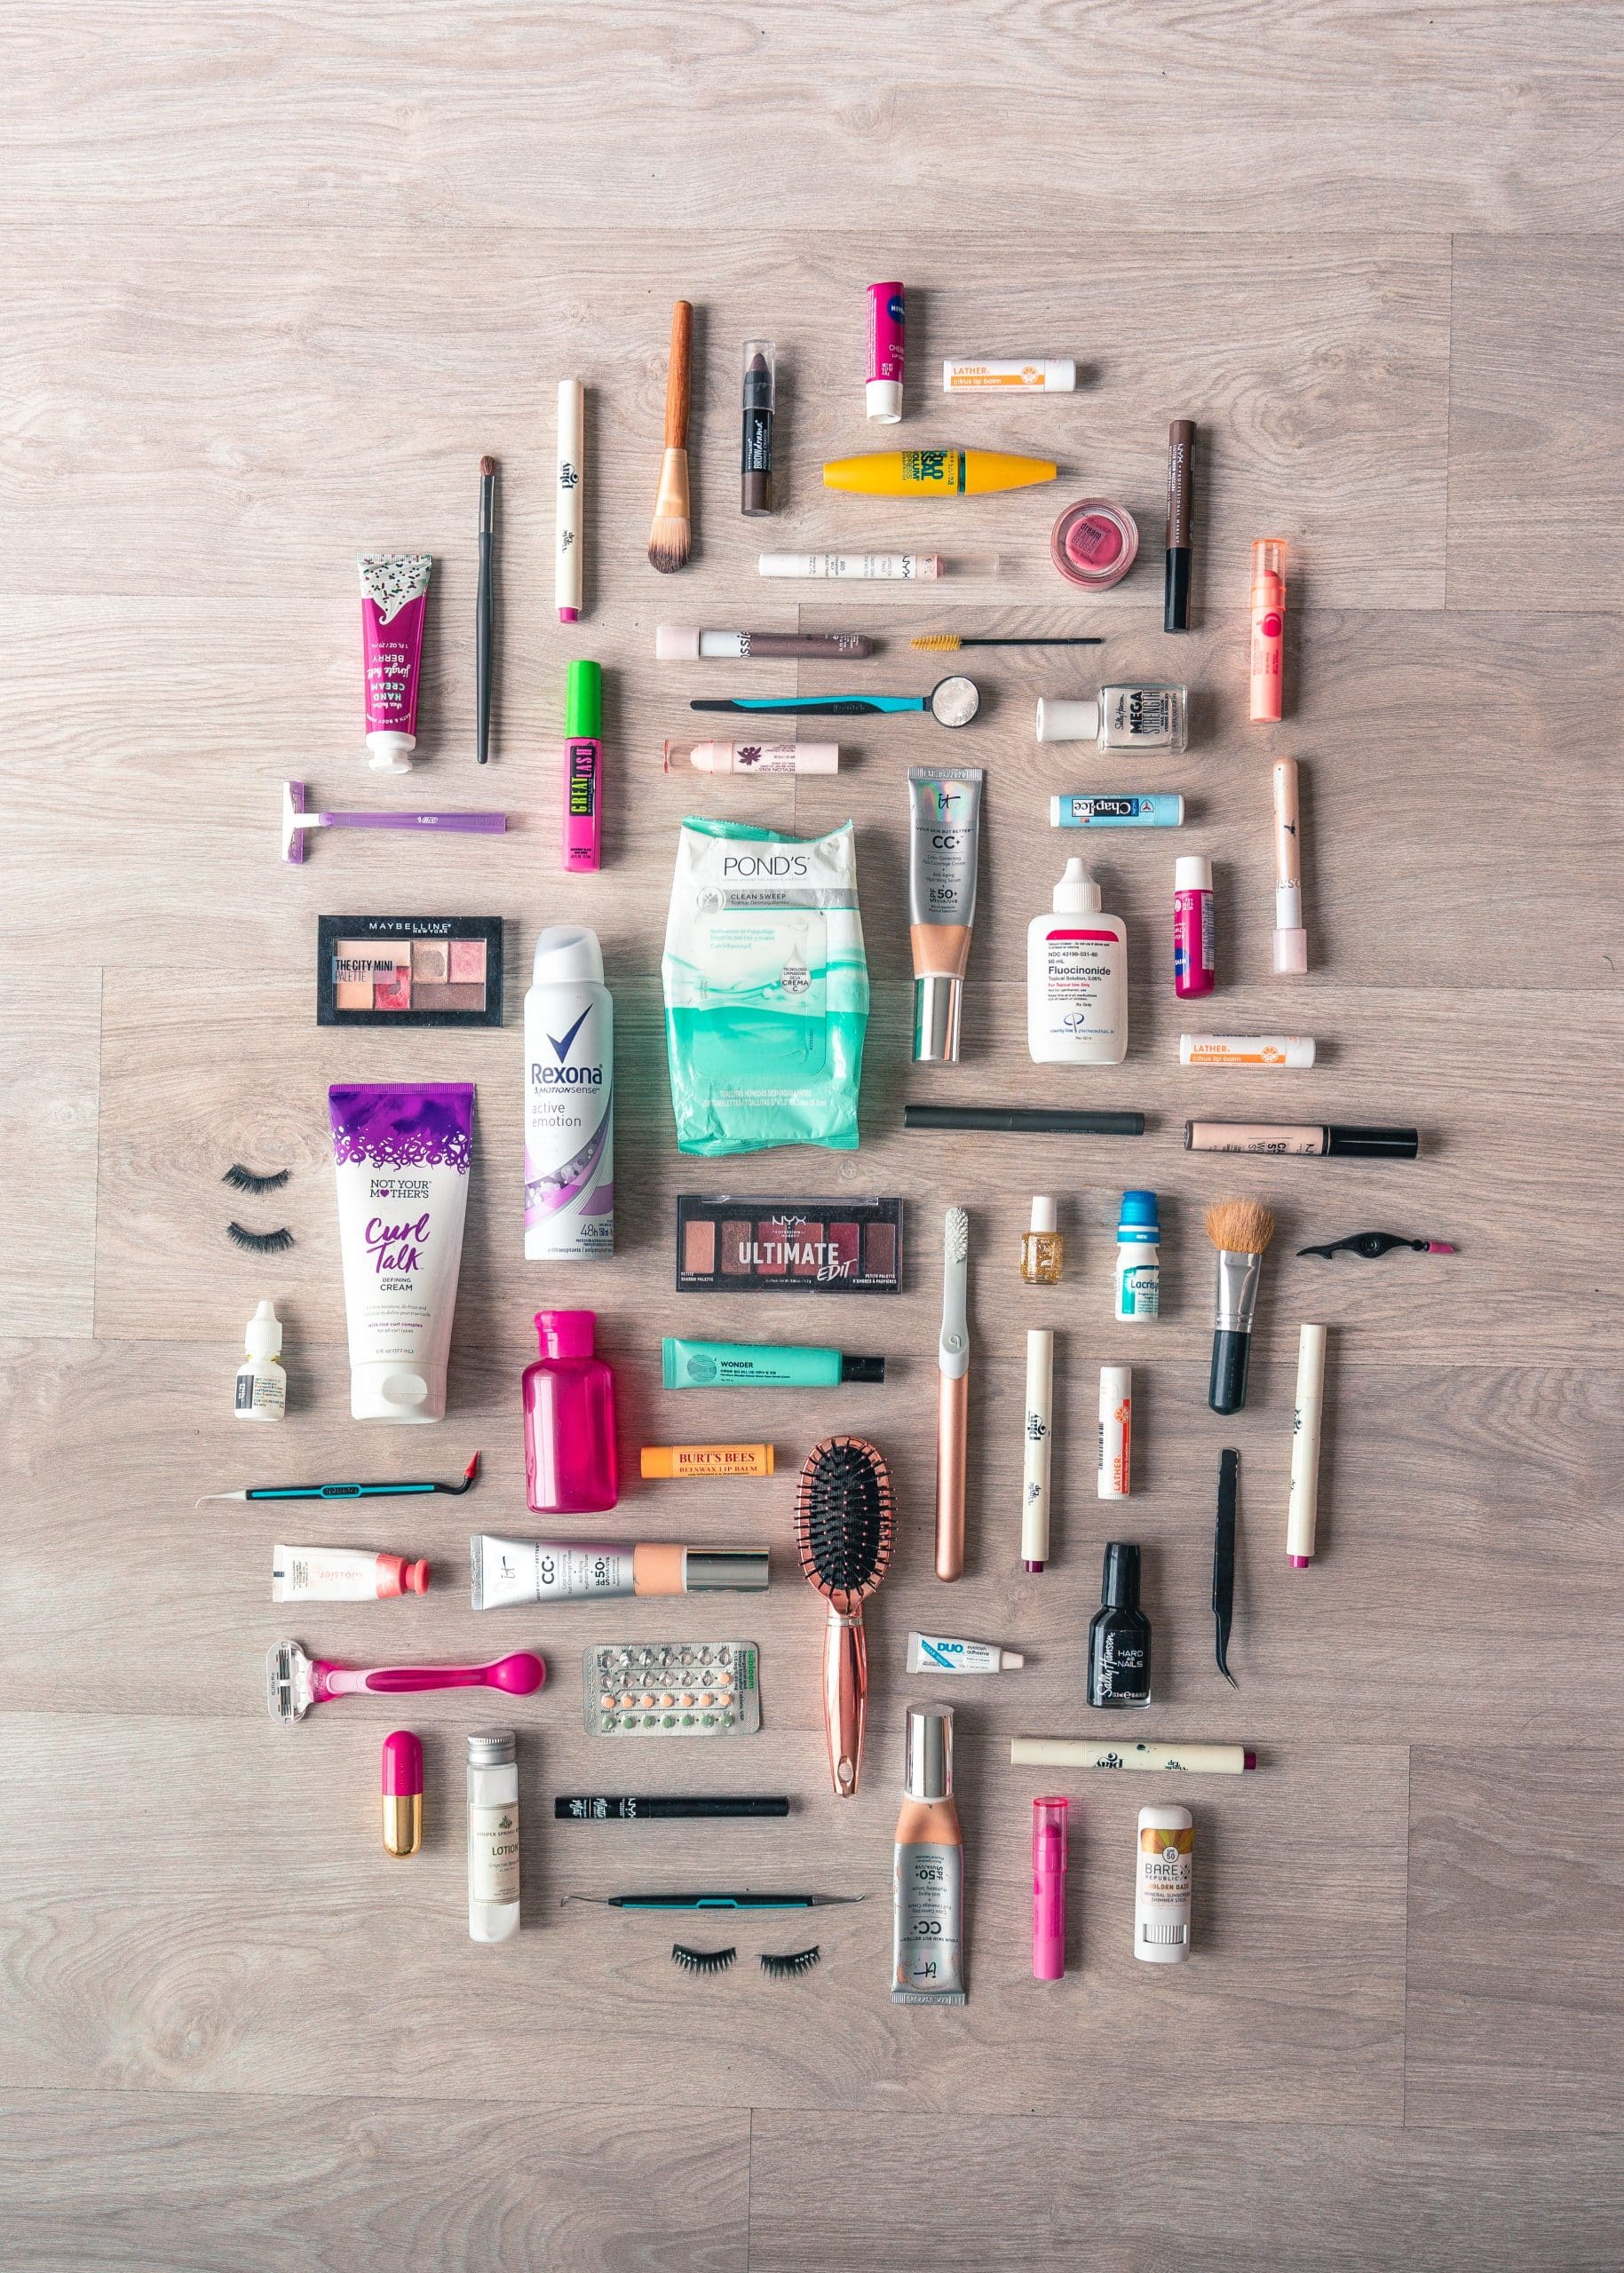
For a small patch: a fine grit buffer (180 to 240 grit), a lint-free wipe, isopropyl alcohol or nail prep solution, a thin gel base coat, and a UV or LED lamp that matches whatever gel you’re using. Nothing fancier than that.
For removing and redoing a single lifted nail, add 100% pure acetone, a small square of foil, a cuticle stick, a coarse file (100 to 180 grit) for breaking the seal, and whatever color and top coat you’re matching to the rest of the set.
How to patch a small lift, step by step
1. Buff the lifted area, not the whole nail
Using the fine buffer, lightly rough up just the lifted section and a small margin around it. You’re not trying to remove the lift, only give the new base coat something to grip. Avoid buffing down to the natural nail plate underneath, since the goal is a rough gel surface, not exposed nail.
2. Clean the area
Wipe the buffed section with a lint-free pad and a small amount of alcohol or nail prep solution. Don’t touch the nail with bare fingers after this step, since skin oil undoes the cleaning almost immediately.
3. Work a thin layer of base coat under the lift if you can reach it
This is the part people rush. If the lift has enough of a gap to slide a thin brush tip or an orange stick very gently underneath, work a small amount of base coat into that gap first, not just over the top of it. If there’s no visible gap to work into and it’s just a slightly raised edge, skip this and go straight to step four.
4. Seal over the top
Apply a thin layer of base coat over the entire buffed area, extending slightly past the edges of the lift onto surrounding gel that’s still bonded. Cap the free edge if the lift is anywhere near the tip of the nail. Cure for the full time your product specifies.
5. Match the finish
If the lift was on a colored nail, you may need a thin layer of color over the patch before the final top coat, or the repair will show as a slightly duller patch. Cap the edge again with the top coat and cure a final time.
This kind of patch typically buys another week to ten days before the nail is due for a proper fill or a full redo. It’s a stopgap, not a fix that resets the clock on the whole set.
When the lift is too big to patch: soak off just that nail
If the lift fails the size check above, don’t try to force a patch over it. Instead, remove product from that one nail and start it fresh, which is faster and less risky than fighting a lift that keeps growing.
File the shine off the lifted nail with the coarse file, focusing on the top layer, the same way you’d prep for any soak-off. Soak a cotton pad in pure acetone, press it onto the nail, and wrap it in foil. Leave it for 10 to 15 minutes for gel polish, longer for builder gel or hard gel. Check it, and once the product wrinkles and slides rather than resists, ease it off gently with a cuticle stick rather than scraping. Buff the nail plate smooth, treat it exactly like a fresh nail (buff, dehydrate, thin base coat, capped edges, full cure), and reapply color and top coat to match the rest of your hand. Our full soak-off guide walks through this in more detail if you haven’t done it before.
You don’t need to touch the other nails if they’re holding fine. Redoing an entire set because one nail lifted is unnecessary unless several nails show the same problem, which usually means the prep issue affected the whole hand and the rest are likely to follow.
What not to do
Don’t pick, peel, or pry at a lifted edge, even if it looks like it’s about to come off on its own. Picking pulls up layers of your actual nail along with the gel and is the single most common way people damage their nails around a lift, more than the lifting itself. Don’t glue the lift down with regular super glue as a shortcut; it isn’t formulated to bond gel to nail the way a proper base coat is, and it traps whatever’s underneath just as badly as re-sealing with gel does. And don’t ignore a lift that’s showing color, odor, or softness in the surrounding nail. That combination means see a dermatologist, not reach for a buffer.
Keeping it from happening again
A patch fixes this one lift. It doesn’t fix whatever caused it, and if the same nail keeps lifting in the same spot appointment after appointment, the cause is almost always in prep: not enough buffing before application, product applied too close to the cuticle, or a free edge that wasn’t capped. That’s worth troubleshooting properly rather than patching the same nail every ten days indefinitely. The full breakdown of causes, plus what your lift’s timing tells you about what went wrong, is in our guide on why gel nails lift.
Frequently asked questions
Can I fix lifted gel nails without removing them?
Yes, but only for small, recent lifts, roughly pinhead-sized and open for no more than a day or two, with no visible gap, discoloration, or moisture underneath. Anything larger or older should be soaked off and redone rather than patched.
How do you fix gel nails that have lifted at the base?
Lifting at the base is usually caused by gel applied too close to or over the cuticle. If it’s small, buff, clean, and reseal the same way you would any small lift, staying a hair’s width from the cuticle with the new base coat. If it’s spread across most of the base, soak off and redo with more margin left around the cuticle this time.
Is it bad to just add more top coat over a lifted nail?
Top coat alone doesn’t bond to the nail plate the way a base coat does, so it won’t actually reattach the lifted section, it just adds a glossy layer on top of a gap that’s still there. Use a thin layer of base coat directly on the buffed, lifted area first, then top coat over that.
How long does a patch on a lifted nail last?
Usually a week to ten days, sometimes less if the nail is in a lot of water. It’s a stopgap to get you to your next fill or full redo, not a permanent repair.
What happens if I leave a lifted gel nail alone and do nothing?
Small lifts tend to spread rather than reseal on their own, since the gap lets in more moisture and debris over time. Left long enough, a small lift usually turns into a bigger one that needs a full soak-off instead of a quick patch, so it’s worth addressing within a day or two of noticing it.
Can I use nail glue instead of base coat to fix a lift?
No. Standard nail glue isn’t designed to bond gel to a nail plate and doesn’t cure the same way. It can trap moisture underneath just as badly as leaving the lift alone, and it makes the eventual soak-off harder. Stick with a thin layer of gel base coat cured under a lamp.
Should I see a nail tech instead of fixing a lift myself?
If the lift is small and you’re comfortable with a buffer and a lamp, a home patch is fine. If it’s large, on multiple nails, or shows any discoloration or odor, skip the DIY route and get it looked at, either by whoever applied the gel or by a dermatologist if there’s any sign of infection.