Most of the damage people blame on gel nails actually happens during removal, not during wear. I’ve seen it constantly: a client soaks for five minutes, gets impatient, and pries the rest off with a metal tool because it “wasn’t coming off fast enough.” That’s how you end up with a nail plate that looks shredded and takes months to grow out smooth again. The gel itself was never the problem. The rushed removal was.
This applies just as much if what you’re removing is labeled shellac rather than gel polish, since shellac is a brand of gel polish and comes off with the same soak-off method.
Done properly, this is not complicated. Here’s how to remove gel nails at home the way I actually do it in the salon, slowed down and boring on purpose, plus what to do when it doesn’t go as planned.
What you need before you start
You don’t need a salon cart for this. A basic kit covers it: 100% pure acetone (not the diluted “quick dip” kind sold for polish removal, that won’t cut through cured gel in a reasonable time), a coarse file around 100 or 180 grit, a handful of cotton pads or squares, small pieces of foil, a cuticle stick made of wood or metal, a buffer block, and cuticle oil for afterward.
A glass or metal bowl is optional but useful if you’d rather dip your fingertips than wrap them individually. Whichever method you pick, work somewhere ventilated. Acetone fumes in a small closed bathroom for twenty minutes will give you a headache.
The soak-off method, step by step
Break the seal first
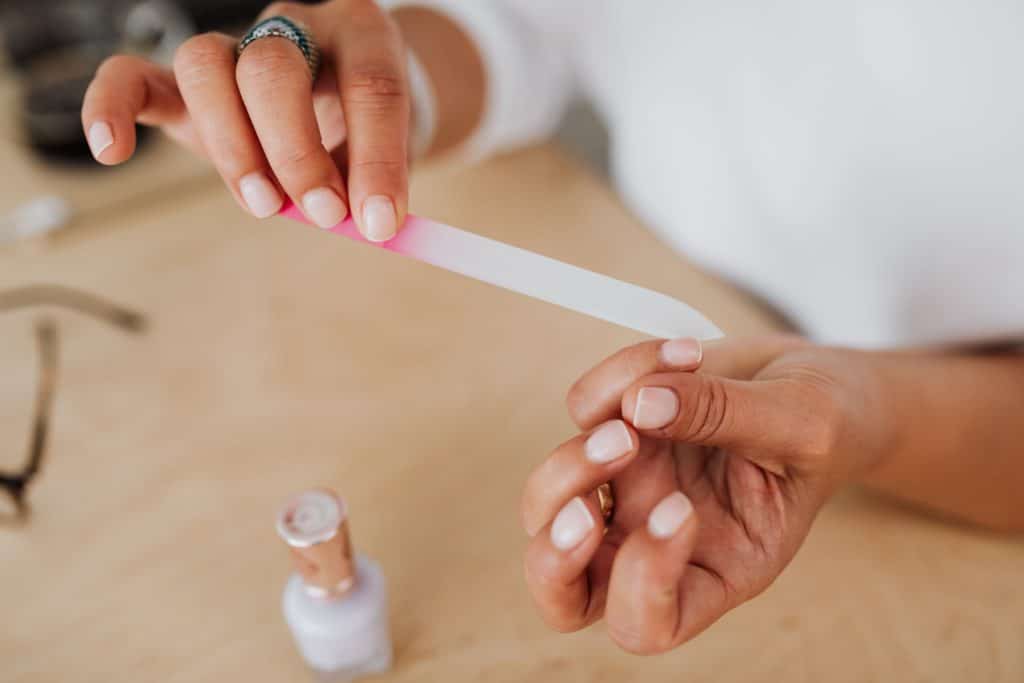
Gel polish and top coats are sealed hard and shiny on purpose, so acetone can’t get through them quickly on its own. Take the coarse file and lightly buff the shine off every nail, just enough that the surface looks matte and dull all over. You’re not trying to file the color off, only the glossy top layer that’s blocking the acetone. This one step is the difference between a 10-minute soak and a 30-minute soak.
Protect the skin around the nail
Acetone dries out skin fast and can sting if you have any small cuts or hangnails. Rub a little cuticle oil or plain petroleum jelly onto the skin around each nail, avoiding the nail plate itself, before you start soaking.
Soak and wrap
Soak a cotton pad in acetone, press it directly onto the nail, and wrap the fingertip in a small square of foil to hold it in place and trap warmth. Warmth speeds up the breakdown of the gel, which is why foil-wrapping works faster than just dipping your fingers loosely in a bowl. Do all ten fingers this way if you can, since gel that sits exposed to air while you wait for the others cools down and slows the process.
Give it time
Leave the wraps on for 10 to 15 minutes for a standard gel polish manicure. Check one finger around the 10-minute mark by gently pressing on the foil. If the gel underneath moves and wrinkles like old paint, it’s ready. If it still feels solid, rewrap and give it another 5 minutes.
Ease it off, don’t scrape it off
Unwrap one finger at a time and use the flat side of a cuticle stick to gently push the softened gel toward the free edge. It should slide off in small flakes or sheets with almost no resistance. If a section fights back, that section isn’t ready yet. Put the foil back on it and move to the next finger instead of digging at it with a metal tool.
Buff and recondition
Once every nail is clear, buff lightly with a fine buffer block to smooth any leftover residue, wash your hands to get rid of the acetone film, and massage cuticle oil into the nail bed and surrounding skin. Your natural nail will look and feel thinner right after removal even when nothing went wrong. That’s dehydration from the acetone, and it resolves within a day or two once you start rehydrating with oil.
Why peeling and picking cause the damage people blame on gel
The nail plate is made of layered keratin, a bit like thin sheets of paper glued together. Gel bonds to the outermost layer. When you soak it off correctly, only that bonded layer lifts away. When you peel or pick gel off dry, you’re not just removing the gel, you’re ripping off whatever layers of your actual nail came stuck to it. That’s what leaves nails looking rough, thin, and prone to splitting for weeks afterward.
If your nails already feel weak or over-thinned from past removals, that’s a separate problem worth reading up on: too much filing during prep, and peeling instead of soaking, are the two most common causes, and both are fixable by changing how you remove gel going forward rather than by giving up gel altogether.
What to do if the gel won’t come off after 15 to 20 minutes
Some products just take longer, especially thicker gels or a fresh manicure with heavy layering. Don’t extend the wait by scraping harder. Rewrap with fresh acetone (it evaporates and weakens over time, even under foil) and check again in 10-minute intervals. If a full 30 minutes passes and one or two nails still won’t budge while the rest came off fine, stop and leave those alone for now. Soak them again the next day rather than forcing it in one sitting. Repeated overexposure to acetone in a single session is harder on your skin and nail bed than gel that takes two short sessions instead of one long one.
If gel keeps lifting at the edges within days of a fresh set, before you’re even ready to remove it on purpose, that’s usually a prep issue rather than a removal issue, and it’s worth troubleshooting separately.
Removing builder gel or hard gel is not quite the same
The steps above cover how to remove gel nails when you’re dealing with standard gel polish. Builder gel, hard gel, and polygel are thicker and denser, so they take longer, usually 15 to 25 minutes instead of 10 to 15, and you’ll need to file down more of the surface before soaking since there’s more product to break through. Some hard gel formulas aren’t labeled “soak-off” at all. Those are meant to be filed off entirely with an e-file or hand file rather than dissolved, and soaking them for 30 minutes straight won’t get you anywhere. Check the product label or ask whoever applied it which type you have before you start, since using the wrong method wastes time and risks more filing than necessary. Dip powder is denser again and runs on its own timeline; our dip powder removal guide covers the longer soak and extra wrap time it needs. Our full how to remove builder gel guide covers this in more depth, including how to tell soak-off from file-off before you start.
Mistakes that slow down your soak
Most “it’s been 30 minutes and nothing’s happening” situations trace back to one of a handful of habits. Skipping the matte-buff step is the biggest one. Skin oil on the nail before you start is another, it creates a barrier the acetone has to work through first, which is why washing hands and skipping lotion right before you begin matters more than people expect. A cold room slows acetone’s effectiveness too, since it works faster warm than at room temperature; some people set their wrapped hands on top of a covered heating pad on low for this reason, though a warm towel over the foil works almost as well without the risk of burning skin. And loosely dipping fingers in an open bowl instead of wrapping them lets the acetone evaporate and cool between checks, which is why the foil-wrap method beats the bowl-soak method for most people working solo at home.
Do “no acetone” removal methods actually work
You’ll find plenty of suggestions online for removing gel with warm soapy water, dental floss, or just prying at it with an orange stick. None of them dissolve the gel bond the way acetone does. Warm water might soften a nail that’s already lifting on its own, but it won’t touch a well-bonded fresh set, and floss or orange sticks under intact gel is really just a slower, more awkward version of peeling. If you want to avoid the smell or the drying effect of acetone, the more realistic option is booking a soak-off at a salon where they can use a warmer, faster-evaporating professional remover, not skipping acetone at home in favor of tools that mostly just pry.
Salon removal vs doing it yourself
A salon soak-off usually takes less time than doing it at home, closer to 10 minutes, because technicians work with warmed acetone in a dedicated bowl or an electric warming unit, and they’re used to judging exactly when a nail is ready instead of guessing. Most salons charge a flat soak-off fee even if you’re not getting a new set, typically somewhere in the 10 to 20 dollar range depending on the area. If you already have the acetone and foil at home and don’t mind the extra 10 to 15 minutes, doing it yourself costs nothing. If your nails are already stressed from a rough removal in the past, or you’re dealing with builder gel or hard gel you’re not sure how to identify, paying for a proper soak-off once is a reasonable way to reset before going back to removing gel yourself in the future.
Aftercare: what your nails need after removal
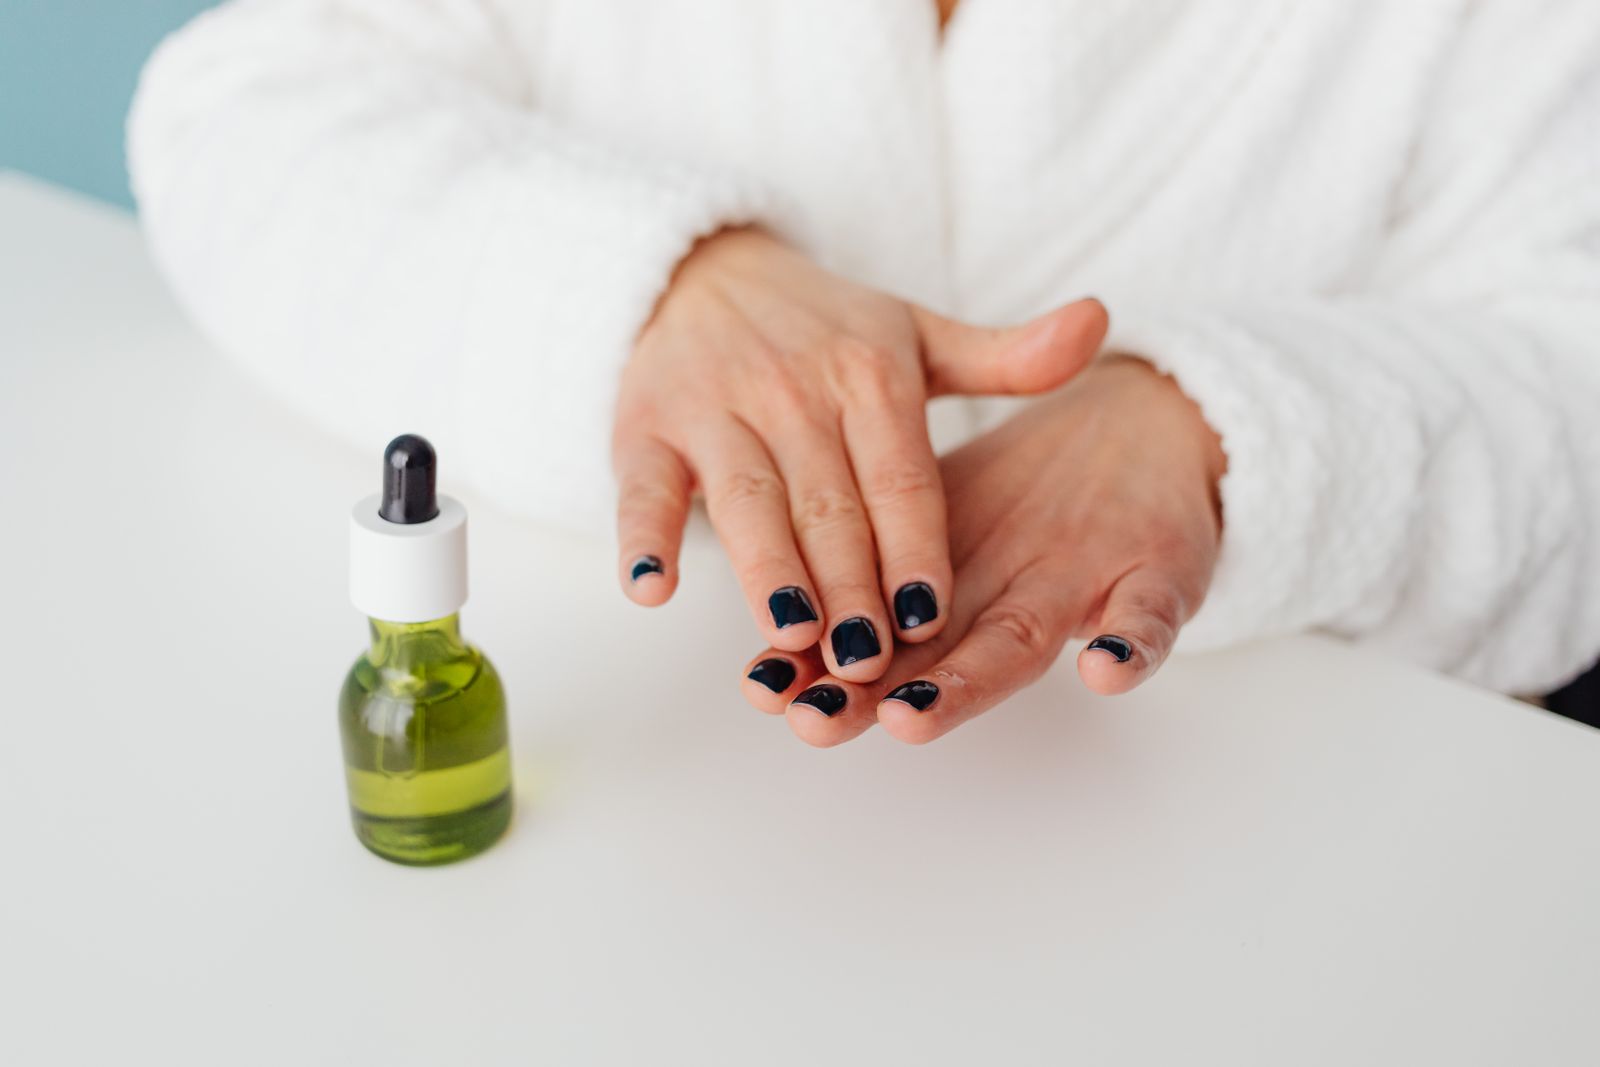
Right after a soak-off, your nails are dehydrated and a little brittle, not damaged. Cuticle oil, applied at least twice a day for the next few days, makes the biggest visible difference. Keep nails trimmed short for one cycle if they feel weak, since shorter nails flex less and are less likely to snag or split while they recover. If you’re going straight into a new set, wait until the nail surface stops looking chalky or ridged, usually a day or two, rather than reapplying gel over nails that are still dehydrated from the removal you just did.
When to skip the DIY route
Occasional dryness and short-term thinning after a soak-off is normal and not something to worry about. It’s a different situation if you notice ongoing redness, swelling, pain, or pus around the nail fold that doesn’t improve within a few days, or if the nail plate looks separated from the skin underneath it. Those are signs worth having a dermatologist look at rather than treating with more oil and waiting it out. This guide covers routine soak-off removal, not diagnosis of nail or skin conditions.
FAQ
How long does it take to soak off gel nails?
Usually 10 to 15 minutes for standard gel polish once the top coat has been buffed matte first. Builder gel, hard gel, and polygel take longer, closer to 15 to 25 minutes, because the product layer is thicker.
Can I remove gel nails without acetone?
Not effectively. Warm water, floss, and orange sticks don’t break the chemical bond between gel and the nail plate the way acetone does, so they don’t really answer how to remove gel nails, they just end up prying at gel that hasn’t loosened yet, which risks the same damage as peeling.
Does soaking off gel nails damage your natural nails?
A correctly timed soak-off doesn’t damage healthy nails. The damage people associate with gel removal almost always comes from peeling or picking gel off before it’s softened, or from over-filing during prep.
Why do my nails feel thin or bendy right after removing gel?
That’s dehydration from the acetone, not permanent damage. Nails typically feel normal again within a day or two of regular cuticle oil use.
Can I remove builder gel the same way as regular gel polish?
The wrap-and-soak method is similar, but expect a longer soak time and more filing beforehand, since builder gel is thicker. Some hard gel systems aren’t soak-off at all and need to be filed off instead.
Is it safe to reuse the same acetone-soaked cotton pads?
Fresh pads with fresh acetone work faster, since acetone evaporates and weakens once it’s exposed to air, even under foil. If a soak is taking too long, rewrapping with new acetone is more effective than waiting longer on the same pad.
How soon can I reapply gel after removing it?
Right away if your nails look and feel normal. If they’re still dehydrated, chalky, or ridged from the removal, give them a day or two of cuticle oil first so the new gel bonds to a smoother surface.