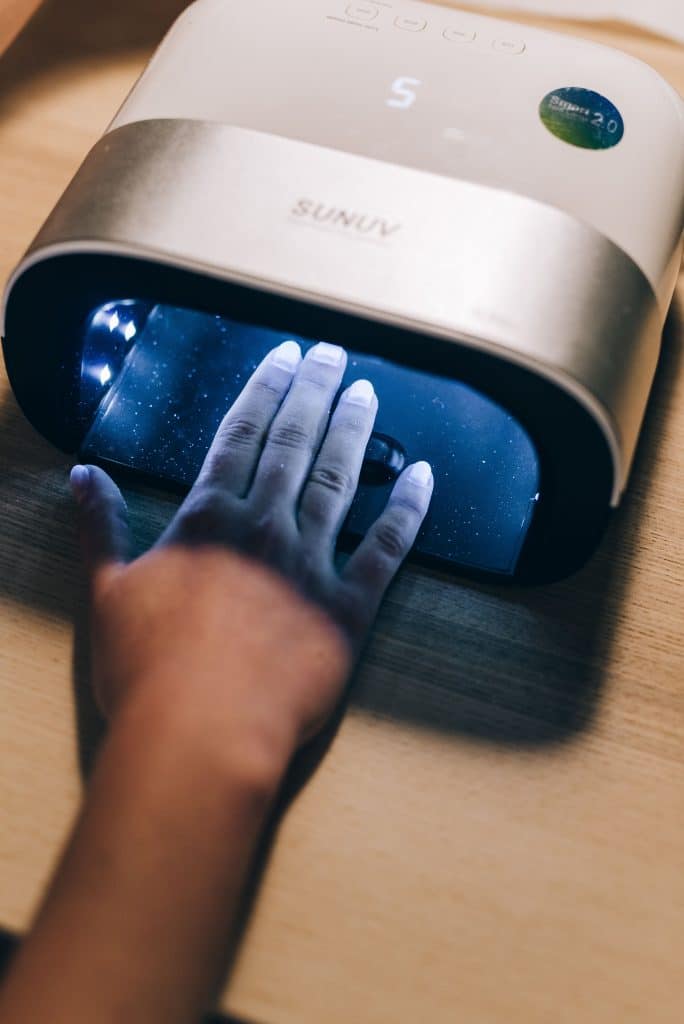
A tech posted photos in a nail forum last week: full cure time on the timer, the top layer looked glassy and finished, but pressing a fingertip into it left a dent. The replies split three ways within an hour. Half blamed the lamp. A third said the gel had gone bad. The rest blamed her technique, coats built up too thick, the hand angled slightly out of the light. All three are common enough on their own that guessing wrong wastes a set, and if the same bottle keeps failing, it wastes a lot more than one appointment.
Gel not curing properly always traces back to one of three places: the lamp, the product, or how it was applied. This walks through how to tell which one is actually responsible, rather than swapping the lamp when the real issue was a coat twice as thick as the label assumed.
The same three culprits, lamp, product, technique, apply to semi-cured gel nail strips too, since they cure under the same kind of lamp even though the product itself is a dry strip rather than a liquid.
Is it undercured, or just the normal sticky layer?
Most soak-off gels finish a cure with a thin, slightly sticky film on the surface. This is the inhibition layer (sometimes called the dispersion layer), and it’s intentional: oxygen in the air stops the outermost molecules from fully linking, which is exactly what lets the next coat bond to it instead of sliding off. It wipes away cleanly with an alcohol pad, and the surface underneath is hard and glassy the moment that film is gone.
True under-cure feels different. Press an orangewood stick or a fingernail into the surface after the full cure time. A normal inhibition layer is tacky but doesn’t give underneath; it springs back. Gel that’s genuinely under-cured dents and stays dented, sometimes drags under the stick like soft wax. That’s the layer that needs fixing before a client leaves, because gel doesn’t keep curing on its own after it comes out of the lamp, and left as-is it’s a common hidden trigger behind gel nails lifting a few days later. It either polymerized during that window or it didn’t, and time alone won’t finish the job.
Three places this comes from
The lamp
A lamp that doesn’t match the gel’s wavelength, bulbs that have quietly lost output over months of use, or a wattage too low for a thick layer are all common causes, and they’re worth ruling out first since they affect every set that goes under that lamp, not just one. This site has a full breakdown of how to choose and maintain a UV nail lamp, and a closer look at the specs that matter specifically for builder gel’s thicker apex. The elimination test below is the fastest way to confirm whether the lamp is actually the problem before replacing anything.
The product
Gel that’s old or been stored badly changes before it ever looks obviously wrong: texture gets thicker or stringy, pigment separates, and the photoinitiators that trigger the cure reaction lose potency with age, heat, and light exposure. A bottle left near a window or sitting on top of a warm lamp housing between clients degrades faster than one kept in a drawer. Contamination adds up the same way: dipping a brush that has cured flecks stuck to it drags tiny cured particles into the fresh gel, and those particles block light from reaching the liquid gel around them.
Mixing base coat and top coat from different brands is another common one. Systems aren’t always chemically compatible, and a base that never fully bonds to a mismatched top coat can leave one layer rubbery no matter how long it sits under the lamp. And gel formulated for one wavelength range doesn’t always cure well under a lamp built for the other; an older UV-only formula under an LED-only lamp is a common mismatch, and it looks exactly like a lamp problem even though the fix is a different bottle, not a different lamp. Heavily pigmented, dark colors absorb more of the light themselves before it reaches the gel underneath, so they typically need extra time beyond the label’s default, something a lot of people skip because the color looks opaque and “done” well before it’s actually cured through.
The technique
A coat applied thicker than the label’s per-layer spec, especially in one heavy pass instead of two thin ones, is the single most common cause of gel not curing at the base while the surface looks finished. Light has to travel all the way through the product to reach the layer touching the nail, and a thick coat shadows that bottom layer the same way a thick coat of paint stays wet underneath a dry-looking skin.
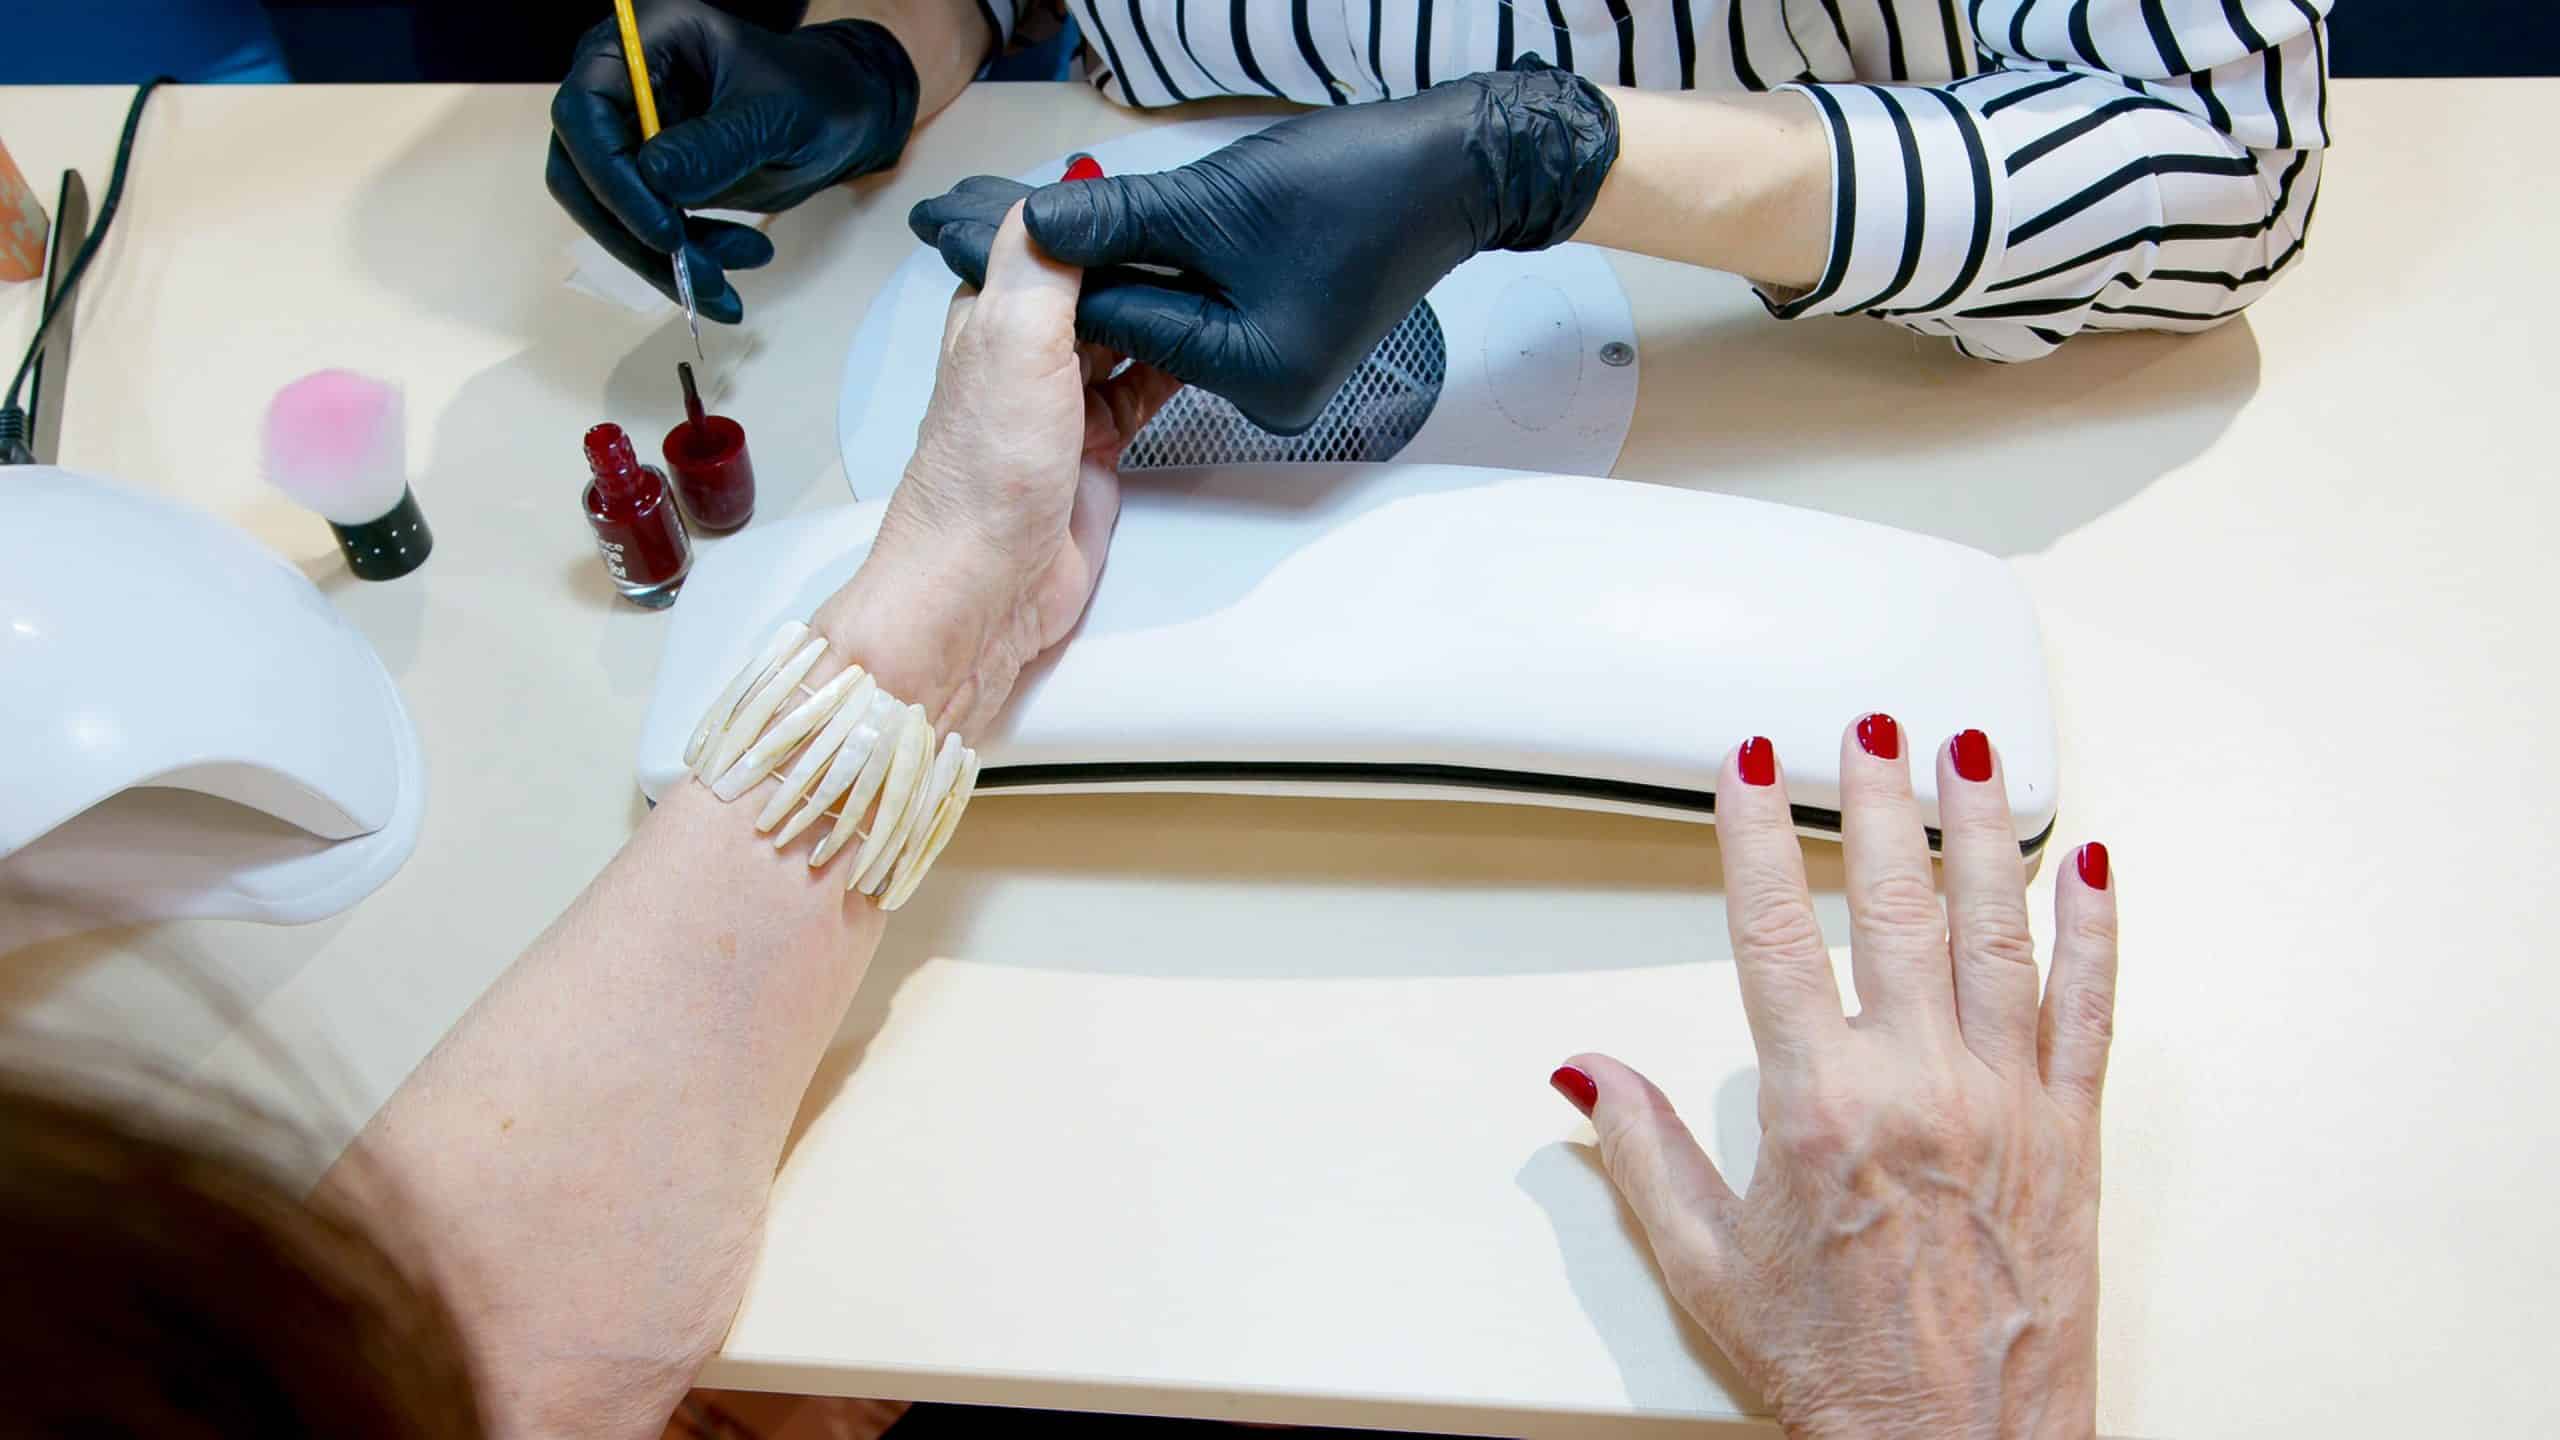
A hand angled out of the light zone mid-cure does the same thing to one side of a nail rather than the whole layer, which is why the thumb is so often the one nail that comes out soft in a finger-slot lamp. Pulling the hand out the moment the timer beeps, without checking whether that particular coat (a dark color, an extra-thick layer) needed a longer preset, is another version of the same mistake. So is wiping a tacky layer hard and fast without checking what’s underneath first, and going straight from base coat to color without giving the base its own full cure, which lets an under-cured base stay soft under everything stacked on top of it.
The test that tells you which one it is
Gel not curing on one specific bottle, or under one specific lamp, usually shows up again the next time that same pairing is used, which is what makes it worth testing directly rather than guessing.
Dab a small drop of the exact gel in question onto a scrap tip or a piece of foil, and cure it centered in the lamp for the full time on the label. If it hardens completely, the lamp isn’t the problem, which points back to either the thickness or positioning of the coat on the actual nail. If that same drop stays soft on the scrap too, with nothing about application involved, the problem sits with the lamp or the product, not the technique. To split those two apart, repeat the test with a different bottle of gel you know is fresh and behaves normally under that same lamp. If the second bottle cures hard where the first one didn’t, the first bottle is the issue. If neither cures properly under otherwise identical conditions, the lamp is what needs attention.
Fixing each one once you know
If it’s the lamp, replace tubes or bulbs on a regular schedule rather than waiting for visible tackiness, since output drops gradually well before a bulb fully fails, and confirm the wattage actually matches what the product being cured needs. If it’s the product, retire the suspect bottle rather than trying to use it up, avoid mixing base and top coat across brands, and keep gel away from direct light and away from resting on a warm lamp housing between uses. If it’s technique, apply in two thinner layers instead of one thick one, cap the free edge on every layer, add extra seconds for dark or heavily pigmented colors, and keep the hand flat and centered rather than assuming any position under the lamp works the same.
Why a soft layer on skin isn’t nothing
Gel that hasn’t finished polymerizing still contains liquid monomers that haven’t linked into a solid chain, and those uncured molecules sitting against skin during a rushed removal, a lift patch, or cleanup around the cuticle are a recognized cause of skin irritation and, with repeated exposure, allergic sensitization to acrylates. That’s one more reason to treat a dented, soft layer as something to fix on the spot with a full recure or a redo, rather than sealing color over it and hoping it firms up later. Redness, itching, or a rash that shows up hours or days after a set with a soft spot underneath is worth mentioning to a dermatologist rather than assuming it will pass on its own.
Frequently asked questions
How do I know if my gel nails are properly cured?
Wipe the surface with an alcohol pad after the full cure time. If the tacky film disappears and the layer underneath is hard and glassy, it’s cured. If pressing with an orangewood stick or a fingernail leaves a dent that doesn’t spring back, it’s still soft and needs more cure time or a redo.
Why does my gel still feel sticky after the full cure time?
A thin, tacky surface film that wipes away with alcohol and leaves a hard layer underneath is the normal inhibition layer, not a problem. A layer that stays soft or dents under light pressure after wiping is genuinely under-cured, usually from a thick coat, an aging lamp, or a product or lamp mismatch.
Can old gel polish stop curing properly?
Yes. Photoinitiators in gel lose potency with age, and that process speeds up with heat and light exposure. A bottle that’s changed in texture, thickened, or been stored near a window or a warm lamp is a reasonable first suspect when a formerly reliable gel suddenly won’t cure.
Is it safe to leave under-cured gel on and just cure it again later?
Re-curing a layer that’s still soft, right after noticing it, usually finishes the job fine. What doesn’t work is sealing color or top coat over a soft base and hoping it hardens on its own days later; gel doesn’t continue curing once it’s out from under the lamp.
Why does dark gel polish need longer under the lamp?
Heavily pigmented and dark colors absorb more of the lamp’s light themselves before it reaches the gel that needs to react, so the label’s default time for a plain or light color often isn’t long enough. Most dark shades need thirty to sixty extra seconds per layer.
Can mixing gel brands cause curing problems?
It can. Base coat and top coat from different brands aren’t always chemically compatible, and some gel systems are formulated around a specific wavelength that matches their own brand’s lamp. Testing a thin layer first before committing to a full set is worth the extra few minutes when mixing brands.
Does uncured gel on skin cause a reaction?
It can. Liquid monomers in gel that hasn’t finished curing are a known cause of skin irritation and, with repeated contact, allergic sensitization to acrylates. A soft, under-cured layer that touches skin during removal or a patch is worth cleaning up rather than leaving in place.