A client asks why her gel polish still smudges after a full minute under the lamp at home, when it cured fine at the salon in half that time. Nine times out of ten the answer isn’t the gel, it’s the lamp. Two lamps that both say “UV nail lamp” on the box can behave nothing alike once you put a hand under them, and most of the confusion around cure times, tacky layers, and lifting traces back to this one piece of equipment that people buy once and never think about again.
This guide covers what actually differs between nail lamps, what the wattage and wavelength numbers on the box mean in practice, and how to pick a UV nail lamp that matches how you work rather than whichever model has the most reviews.
What a UV nail lamp is actually doing
Gel polish, builder gel, and polygel all cure through the same basic mechanism: light hits photoinitiators mixed into the product, and those molecules trigger a chemical reaction that links liquid monomers into a solid polymer chain. No light, no reaction, the product stays liquid or gel-like forever. This is why gel bottles are opaque or amber and why an open bottle left near a window will thicken over time.
The newer semi-cured gel strips run on the same light-triggered chemistry, just pre-loaded onto a dry strip instead of a liquid in a bottle. See our guide to semi-cured gel nail strips for how the process differs from painting on regular gel polish.
The wavelength of light matters because different photoinitiators respond to different parts of the spectrum. This is the entire reason “UV lamp” and “LED lamp” aren’t interchangeable terms, even though every lamp in a nail kit uses some form of ultraviolet light.
UV, LED, or UV/LED hybrid
Traditional UV lamps use fluorescent tubes (CCFL bulbs) that emit broadly across the UVA range, roughly 315 to 400 nanometers, with output centered around 365nm. Older gel formulas and some budget gels are built around this wider band.
LED lamps use diodes tuned to a narrow spike, almost always right around 405nm. LED gels are formulated with photoinitiators that respond specifically to that wavelength, which is why they cure in seconds instead of minutes but also why an LED-only gel sometimes won’t cure at all under an old-style UV tube lamp: the light simply isn’t hitting the wavelength the photoinitiator needs.
Most lamps sold today are labeled UV/LED hybrid, meaning they pack both CCFL tubes and LED diodes into the same housing, or LED diodes that span a slightly wider range to catch both types of gel. This is the safer default if you use products from more than one brand, since you won’t find out a bottle is incompatible halfway through a set. For the naming confusion around these two lamp types specifically, and the myth that LED lamps skip UV light entirely, see LED vs UV Nail Lamp: What’s the Real Difference?
Cure time differences
A thin coat of standard gel polish under a proper LED lamp cures in 30 to 60 seconds. The same coat under a true UV-only lamp needs 2 minutes, sometimes longer if the tubes are older and putting out less energy than they did when new. Builder gel and polygel, being thicker and often self-leveling, usually need longer regardless of lamp type: manufacturers commonly spec 60 to 90 seconds under LED and 2 to 3 minutes under UV per layer, and that number is on the label for a reason worth respecting rather than guessing at.
Bulb life and replacement cost
CCFL tubes in UV lamps degrade steadily with use and typically need replacing every 6 to 12 months in a working salon, sooner with heavy daily use. The lamp doesn’t stop working when a tube fails, it just cures slower and slower until product starts coming out tacky, which is why an aging UV lamp is a common, quiet cause of under-cured gel that nobody notices until nails start lifting. LED diodes are rated for tens of thousands of hours and in practice outlast the lamp itself; most home users never replace an LED chip.
Wattage: why more isn’t automatically better
Wattage gets treated like a single number that tells you how “strong” a lamp is, and that’s only half true. Total wattage matters, but so does how many diodes or tubes are packed in and how they’re arranged around the hand. A 48W lamp with well-placed diodes can outperform a 72W lamp with a gap in coverage over the thumb, which is a real complaint on lower-cost mitt-style lamps: four fingers cure evenly and the thumb, angled differently inside the mitt, comes out slightly undercured.
For home use on standard gel polish, a 24W to 48W UV nail lamp is plenty. For builder gel, polygel, or anyone doing full sets regularly, 48W to 72W is the range most professional-grade lamps sit in, mostly because thicker product needs more consistent energy across the full cure time to harden all the way through rather than just skinning over on top.
Mitt-style versus finger-slot lamps
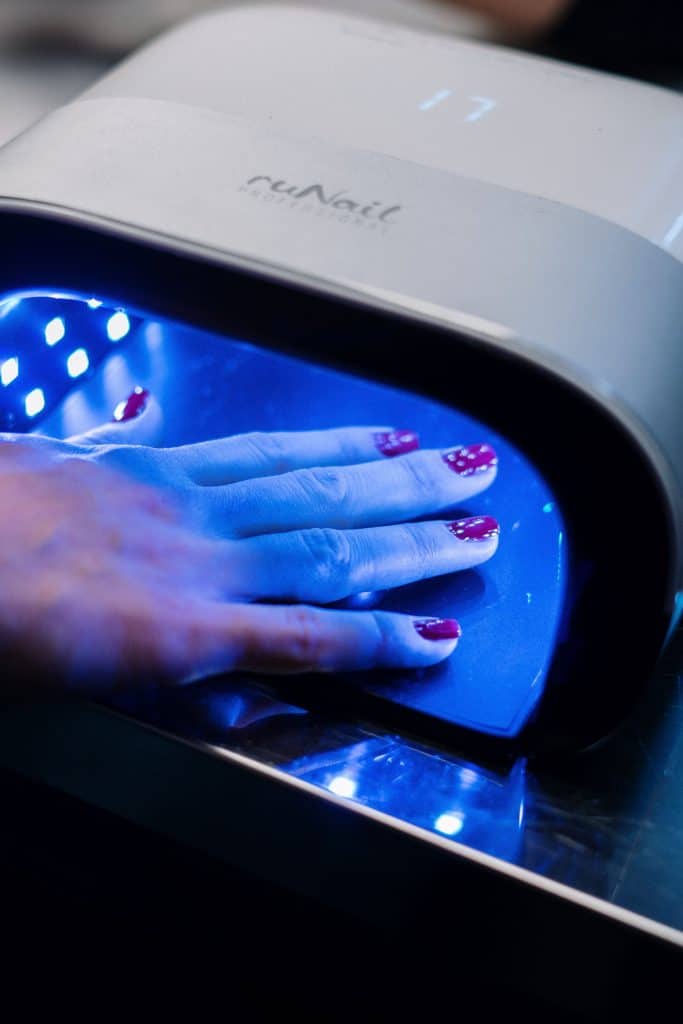
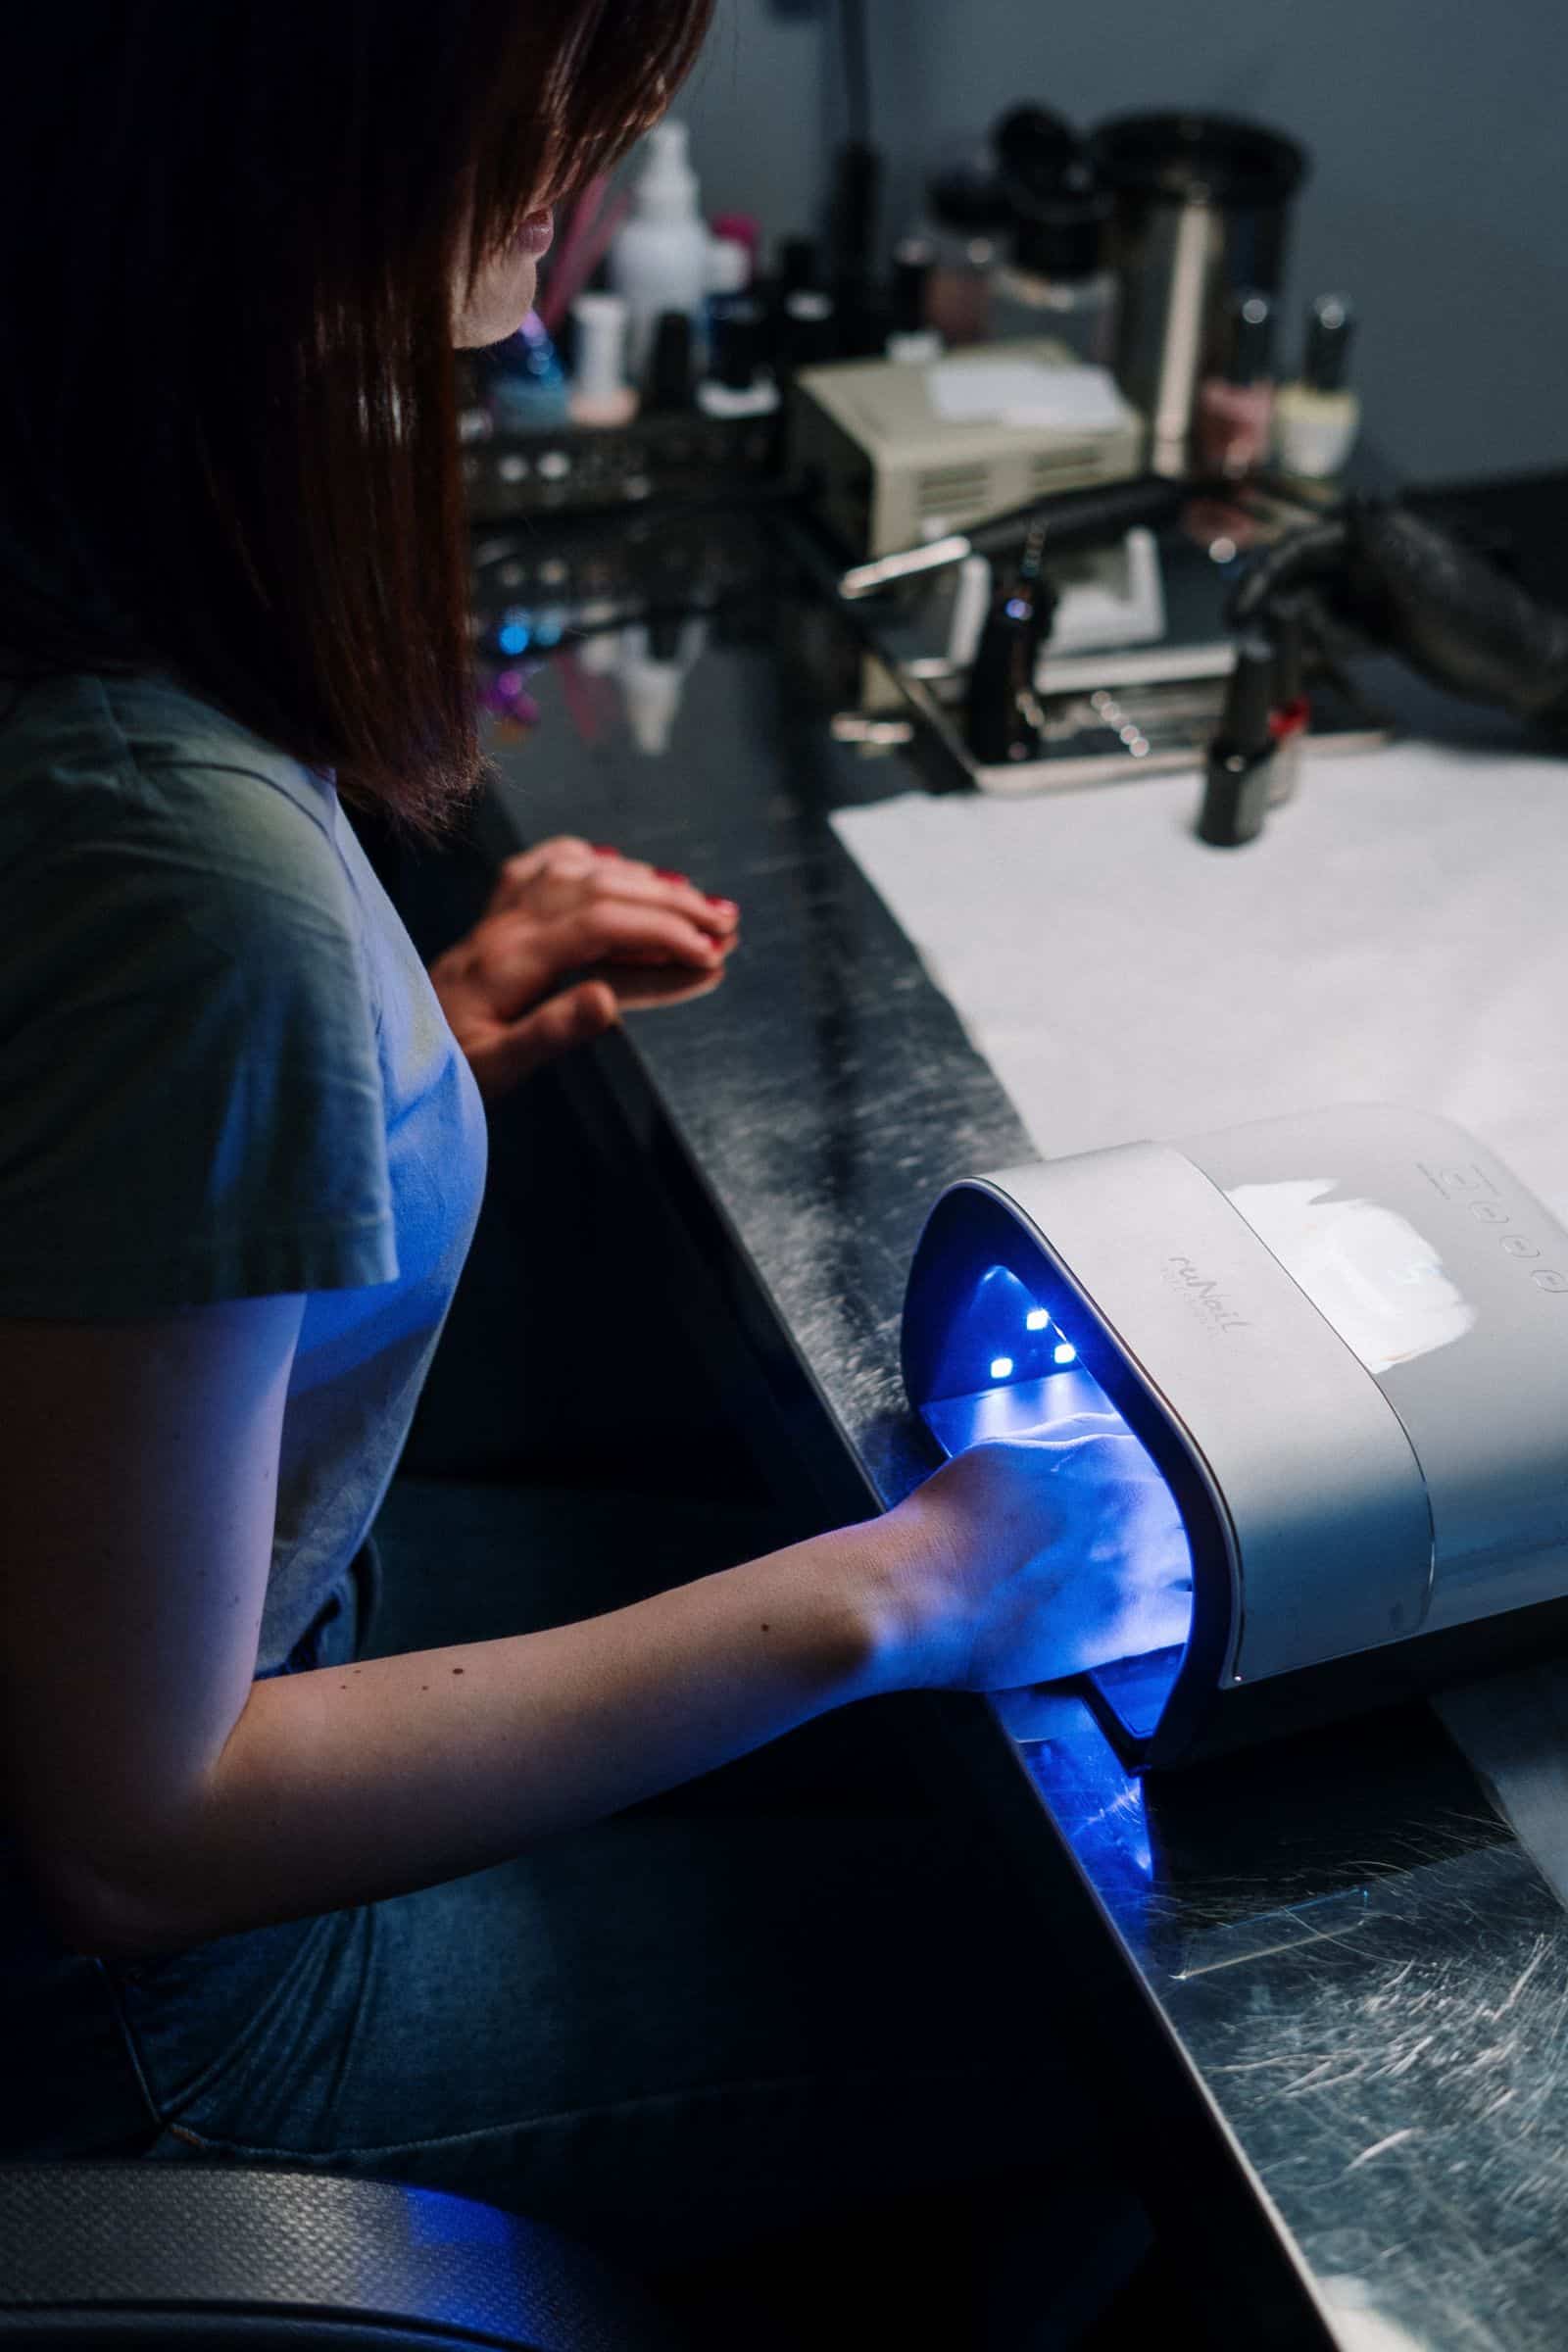
Mitt-style lamps, shaped like a small tunnel you slide your whole hand into, cure all five fingers at once and tend to give a more even result because the light surrounds the hand from multiple angles rather than shining down from directly above. Finger-slot lamps, with individual holes for each digit, are common in smaller travel lamps and can leave the sides of nails slightly undercured if a finger isn’t seated dead center in its slot.
For anyone doing builder gel or polygel regularly, a mitt-style lamp is worth the extra size on the counter. Even cure across all five nails at once matters more for thicker product, where a slightly undercured section is more likely to end up as the tacky spot that turns into lifting a week later.
Timers and sensors
Most lamps offer a handful of preset times, commonly 30, 60, 90, and 120 seconds, plus an auto-sensor that starts the cure the moment a hand is placed inside. The auto-sensor is convenient but not essential; a lamp with clear physical buttons for each preset is just as good and sometimes more reliable, since sensors occasionally misfire on darker gel colors that absorb rather than reflect light back to the sensor. What actually matters is being able to match the timer to what the product label says, rather than defaulting to whatever the lamp lands on by habit.
The heat spike, and why it happens
A lot of people notice a sharp warm or hot sensation in the first 5 to 10 seconds under the lamp, especially with a thick layer of builder gel or a dark, heavily pigmented color. This is the cure reaction itself giving off heat as it happens (it’s an exothermic reaction), not a sign anything is wrong with the lamp or the product. Thicker layers and darker pigments both intensify it, since more photoinitiator is reacting at once and dark pigment absorbs more light energy overall.
If the heat is sharp enough to be uncomfortable, pulling the hand out of the lamp for a few seconds and going back in resets the sensation without ruining the cure. Thinner, more even coats reduce the spike noticeably, which is one more reason two thin layers of builder gel beat one thick one.
Matching a lamp to builder gel and polygel
Builder gel is less forgiving of a mismatched or underpowered lamp than standard gel polish, because a thin skim of undercured product on top isn’t visible the way a tacky top coat is. A 2mm layer can look fully hardened while the bottom third, closest to the nail, never fully polymerized, and that’s a direct path to the lifting problems covered in the troubleshooting silo of this site. If builder gel is the main thing going under the lamp, it’s worth checking the product label for its specific cure spec (wavelength and time) and confirming the lamp meets or exceeds it, rather than assuming any lamp marketed for gel polish will handle it the same way. For a closer breakdown of the specs that matter most and what actually holds up under daily builder gel use, see Best UV Lamp for Builder Gel.
UV exposure and skin: what’s actually known
Nail lamps emit UVA light, the same general category as sunlight, though at a much lower intensity and for far shorter exposure windows than a day outdoors. Dermatology research on nail lamp exposure is limited and the studies that exist involve repeated, frequent salon-level use over years, not occasional home manicures. Some dermatologists recommend applying a broad-spectrum sunscreen to the hands before curing, or using fingerless UV-protective gloves, as a low-effort precaution, particularly for anyone getting gels done every two to three weeks over a long period. Anyone with a personal or family history of skin cancer, or specific concerns about cumulative UV exposure on the hands, is better off asking a dermatologist directly rather than relying on general guidance here.
Budget versus professional-grade: what the price actually buys
A $20 to $30 UV nail lamp and a $70 to $120 one will both cure standard gel polish reasonably well when new. The difference shows up over time and under thicker product: better build quality in the reflector and diode arrangement, more even coverage across all five fingers including the thumb, sturdier housing that survives being knocked around a kit bag, and in UV models, tubes that hold their output longer before needing replacement. For someone doing occasional gel manicures at home, the cheaper end is fine — see our breakdown of DIY gel nails at home for whether that investment pays off before you spend more. For anyone working on clients or doing builder gel and polygel regularly, the mid-range (roughly $60 to $100) tends to be where reliability stops being a gamble.
Buying a lamp as part of a bigger starter setup rather than on its own? Our guide to gel nail kits breaks down what else a complete kit should include.
Signs a lamp isn’t curing properly
A tacky or sticky top layer after the full cure time is the clearest sign, though it’s sometimes mistaken for normal dispersion layer residue that wipes off with alcohol. The real test is whether the layer underneath feels soft or dents under light pressure with an orangewood stick after wiping. A lamp that used to cure a set in 60 seconds and now needs closer to 90 to get the same result is telling you its tubes or diodes are losing output. And if lifting keeps showing up across multiple nails within the first few days of a set despite solid prep, an underpowered or aging lamp is worth ruling out before assuming the problem is technique. This diagnostic breakdown of lamp, product, and technique causes walks through how to isolate which one it actually is before replacing anything.
Keeping a UV nail lamp working properly
Wipe the interior reflector and the underside of the diode panel with a dry or barely damp cloth periodically. Gel dust and dropped product residue build up faster than most people expect and dull the reflective surface, which quietly reduces output the same way an aging bulb does. For UV tube lamps, mark the install date on the tube or in a notebook and replace on a 6 to 12 month schedule rather than waiting for visible tackiness, since output drops gradually well before a tube fully fails.
Frequently asked questions
Do I need a UV lamp or an LED lamp for gel nails?
A UV/LED hybrid lamp is the safest choice unless you know for certain every product you use is formulated for one or the other. LED-only gels can fail to cure under an old-style UV tube lamp, and some older UV-formulated gels cure slowly or incompletely under LED-only light.
How many watts do I need for builder gel?
48W to 72W LED is the range most builder gel and polygel is formulated around. Lower wattage lamps can still cure builder gel, but usually need longer cure times than the product label specifies, which raises the risk of an undercured base layer.
Can I use an LED lamp for all types of gel polish?
Most current gel polish brands are formulated for LED cure, but a handful of older or budget lines still rely on UV-only photoinitiators. Check the product label or brand’s cure instructions rather than assuming; a hybrid lamp avoids the guesswork entirely.
Why does my gel still feel tacky after the full cure time?
Usually one of three things: the lamp’s tubes or diodes have aged and are putting out less energy than when new, the coat was applied too thick for the cure time used, or the product’s cure spec doesn’t match the lamp’s wavelength. A sticky dispersion layer that wipes off with alcohol is normal; a soft or dented layer underneath is not.
Is the heat under a nail lamp normal?
A brief warm or hot sensation in the first several seconds is the normal exothermic reaction of the gel curing, and it’s stronger with thick layers and dark colors. If it’s genuinely uncomfortable, pulling the hand out for a few seconds and resuming doesn’t affect the cure.
Is UV exposure from nail lamps dangerous?
Exposure per session is low compared to sunlight, and existing research focuses on frequent, long-term salon-level use rather than occasional manicures. Sunscreen on the hands or UV-protective gloves are reasonable precautions for frequent use; anyone with specific skin cancer risk factors should talk to a dermatologist rather than rely on general information.
How long do nail lamp bulbs actually last?
CCFL tubes in UV lamps typically need replacing every 6 to 12 months with regular use, losing output gradually before they fail outright. LED diodes are rated for tens of thousands of hours and generally outlast the lamp’s housing, so most LED lamps never need a bulb replacement.