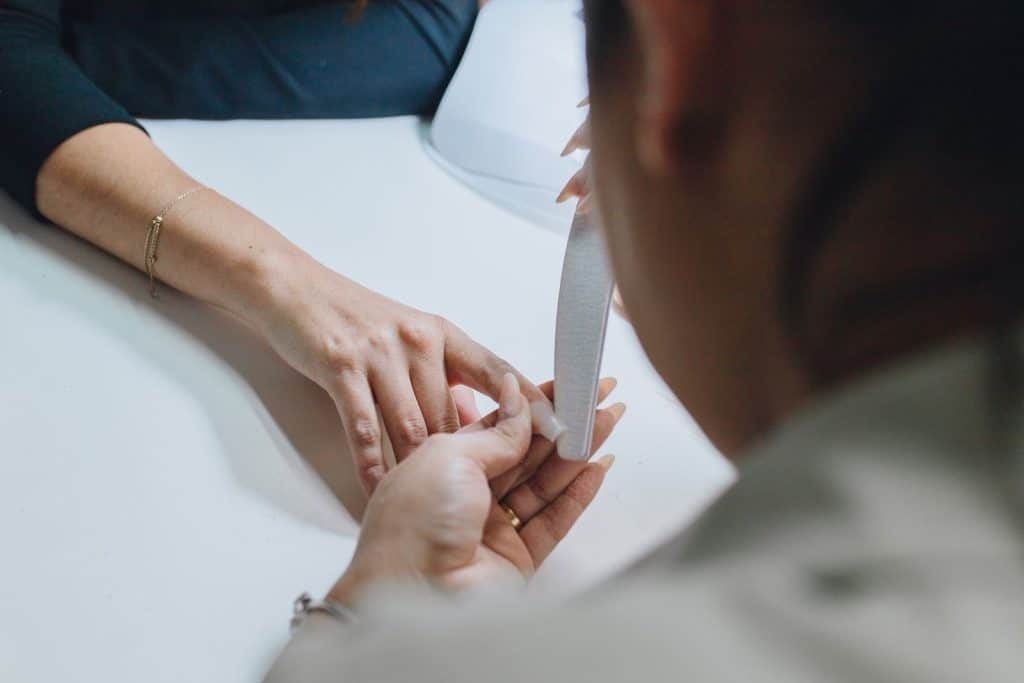
A client came in last month with three nails that looked slightly frosted, almost matte, next to two that still had their natural shine. Same hands, same two weeks since her last fill. She hadn’t done anything different at home. What had happened was her previous tech had gone over her whole set with a 100-grit block to “smooth things out,” pressing hardest on the nails that already had the thinnest spots. A nail buffer looks harmless sitting in a drawer next to nail polish and cotton pads. It is also the single easiest tool in a manicure kit to overuse without noticing, because the damage doesn’t show up as a cut or a burn. It shows up two weeks later as thin, flexible nails that bend instead of holding their shape.
Here’s what a nail buffer actually does, which grit does what, and the difference between buffing that helps a set and buffing that quietly wears the nail plate down.
What a nail buffer actually is
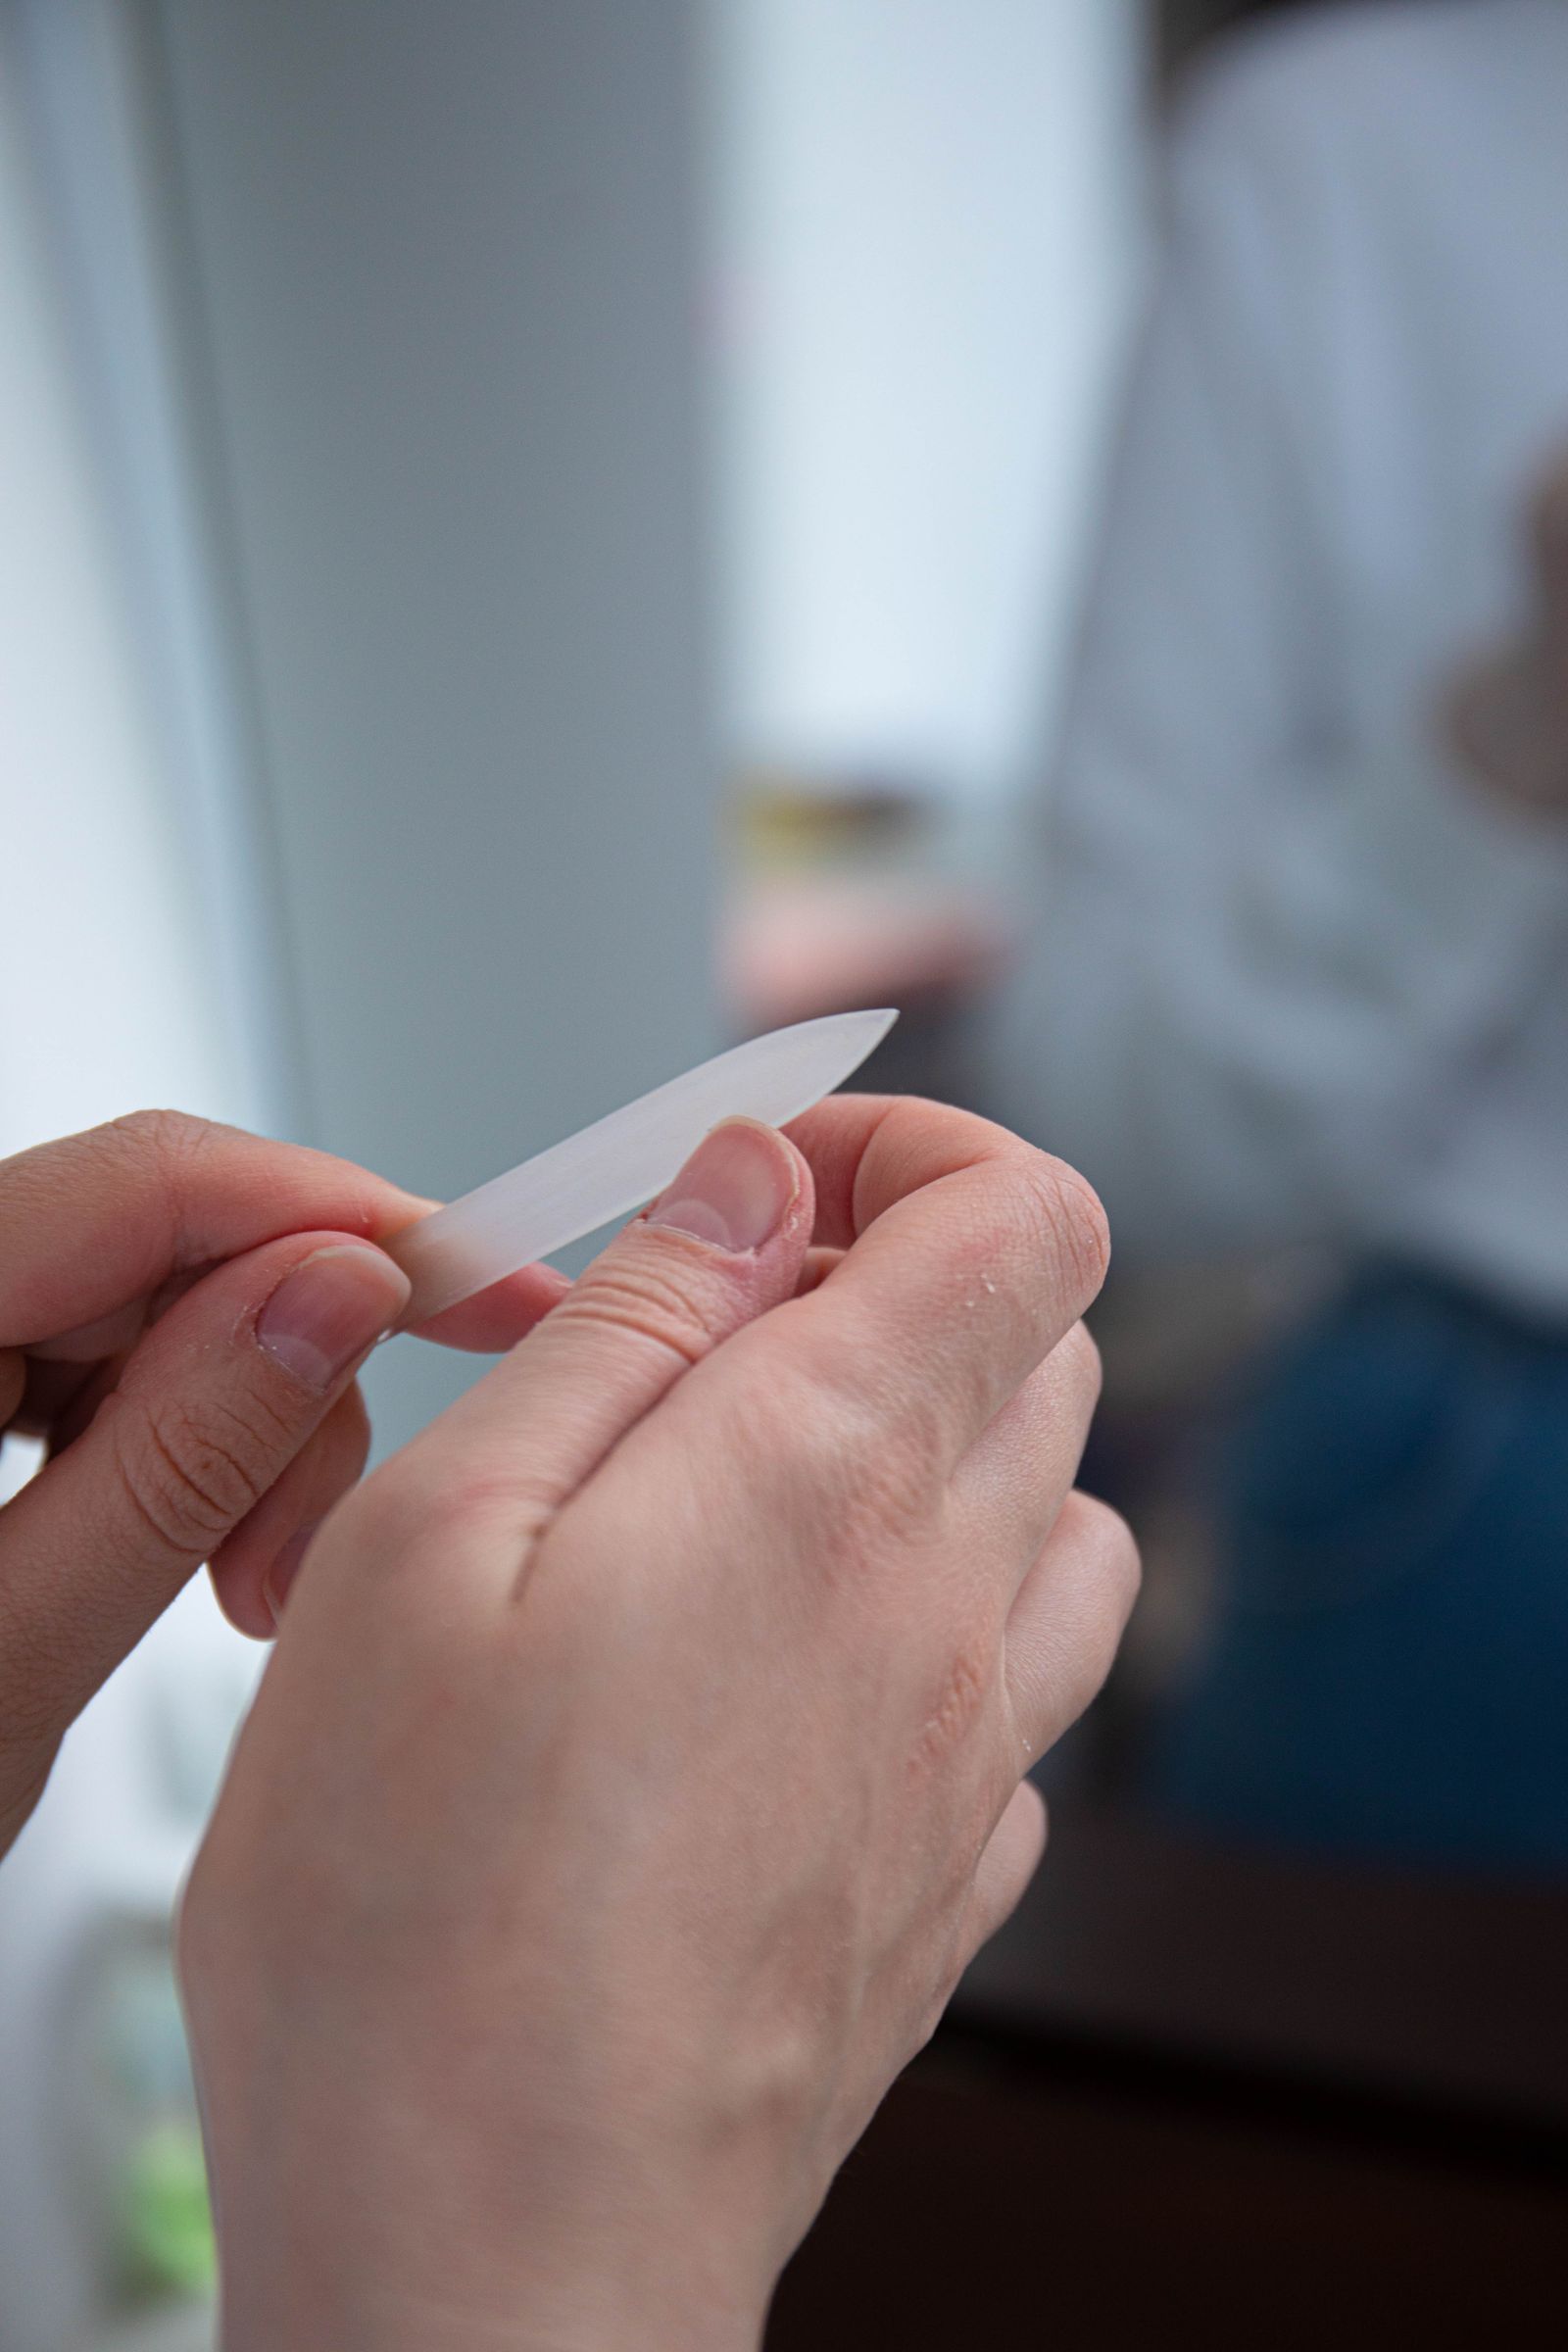
A nail buffer is not the same tool as a nail file, even though people use the words interchangeably. A file is a single abrasive strip, usually 100 to 240 grit, used to shape the free edge and shorten length. A buffer is a block or sponge with two, three, or four sides, each one a different, generally finer grit, meant to work on the surface of the nail rather than the edge. The progression on a standard four-sided block runs from a coarser side that knocks down ridges or lifts the surface for product adhesion, through a smoothing side, to a shining side that polishes the keratin itself into a natural gloss without any polish on it.
That last step is where the name “buffer” comes from in the old sense, before gel and acrylic made it mostly a prep tool. Buffing to a shine used to be a manicure service on its own.
What the grit numbers mean
Grit measures how coarse the abrasive is, and lower numbers mean coarser. Anything under 180 grit is aggressive enough to remove product: cured gel, the top layer of acrylic, or stubborn ridges in a natural nail. It should never touch skin and should be used sparingly on a healthy nail plate. The 180 to 240 range is a middle step, used to smooth transitions and knock down shine before product goes on, without stripping much thickness. Above 240, into the 400s, 900s, and higher numbers found on shine blocks, the grit is fine enough that it’s polishing rather than removing anything meaningful.
A nail buffer with grits printed as 100/180 is a coarse-to-medium tool built for prep work. One printed 240/1200 or higher is a finishing block, meant for the last step before oil, not for correcting anything.
When to buff, and when to leave it alone
Buffing earns its place in three situations: knocking the shine off a natural nail before builder gel or gel polish so the product actually bonds, smoothing a rough edge after filing, and blending the transition where product meets natural nail on a fill. That’s the full list. What it isn’t good for is fixing ridges by grinding them flat, because a longitudinal ridge runs the full length of the nail plate, and matching it down means removing nail everywhere else around it. The ridge doesn’t disappear so much as the rest of the nail gets thinner to meet it.
The nail plate itself is only about 0.5 millimeters thick at the free edge and thinner near the cuticle. A few passes with a 180-grit buffer removes a real, measurable fraction of that. Do it every two weeks for a year and the plate doesn’t recover between fills the way skin does, because nail keratin is dead tissue with no way to rebuild thickness on its own between the matrix and the free edge.
Buffing before builder gel
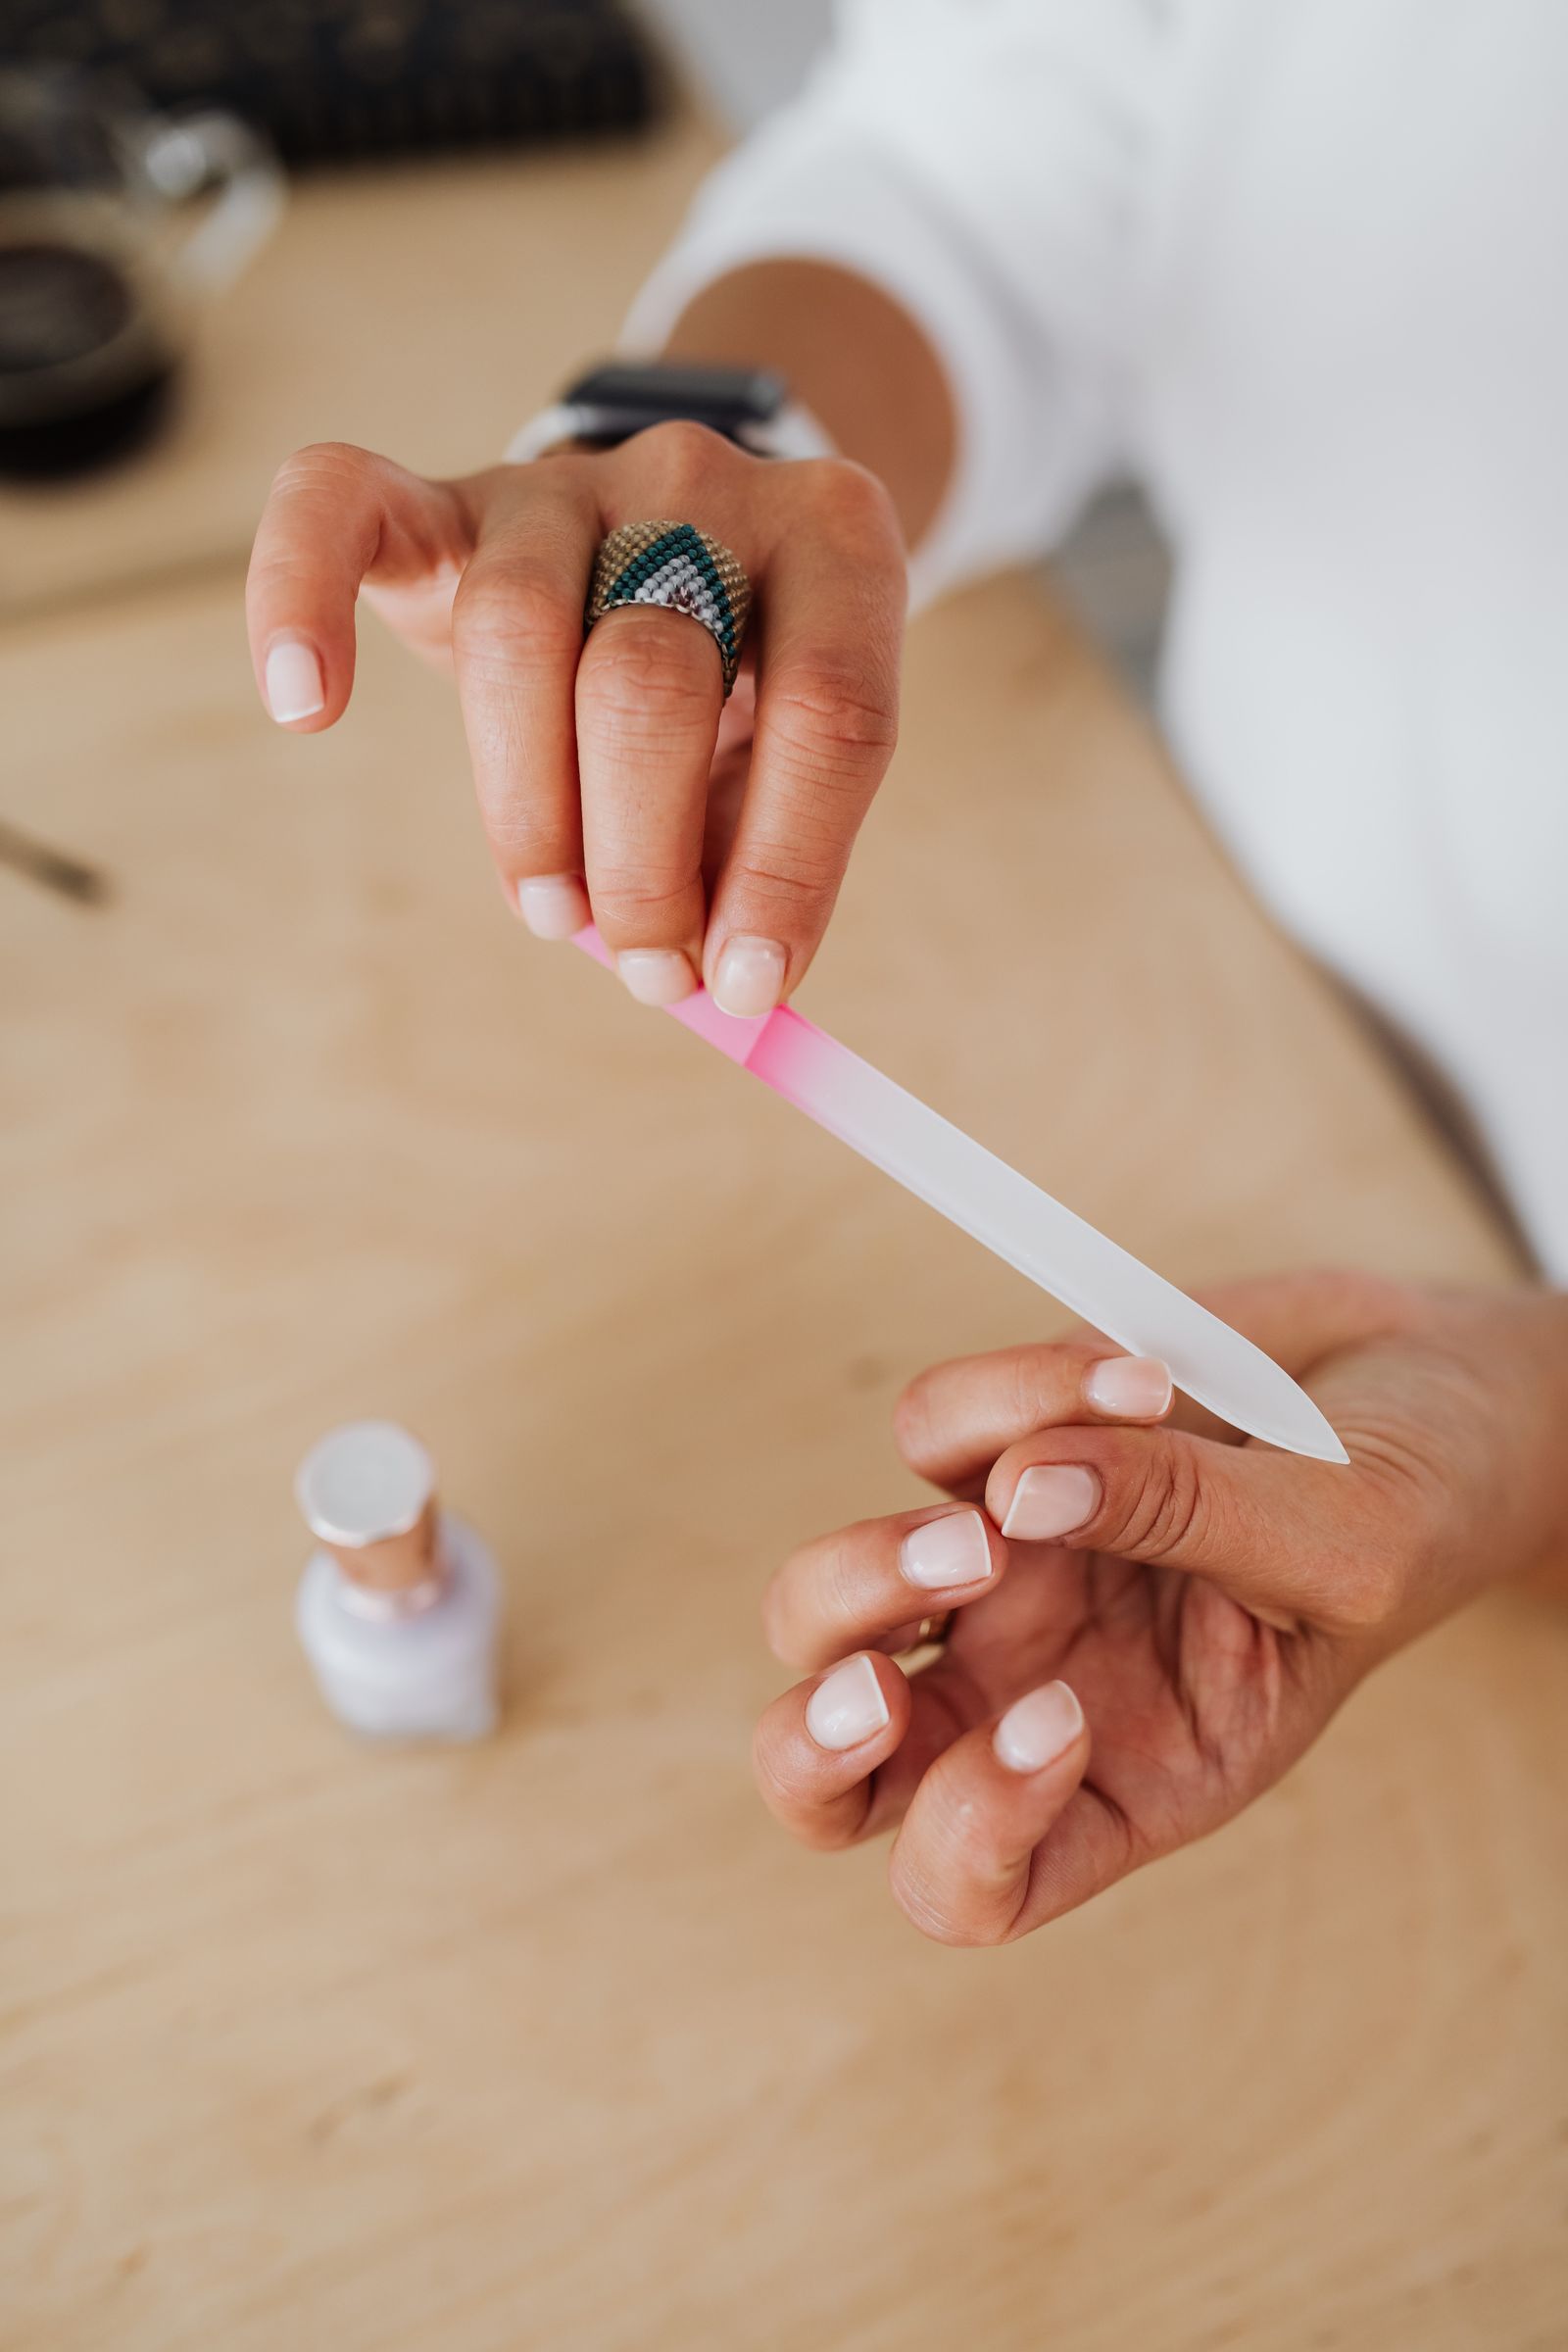
Most builder gel adhesion problems that look like a bad batch of product are actually a prep problem, and buffing is one piece of that prep along with dehydrating and priming the nail. A quick pass with the coarser side of a buffer removes the shine layer and the oils sitting on top of the nail, giving the gel something to grip. Going further than that, past the natural shine into visibly matte, doesn’t improve adhesion any further. It just removes plate. Our full walkthrough on nail prep before gel covers the dehydrator and primer steps that matter as much as buffing does, and the step-by-step builder gel application guide shows where buffing fits in the actual sequence.
Do you need a buffer if you already have a nail drill
A lot of people assume an electric nail drill makes a hand buffer redundant. It doesn’t, for the same reason a chef keeps both a chef’s knife and a paring knife. A drill with the right bit can do everything a buffer does, faster, but it’s also much easier to remove too much nail in a second or two of contact than it is with a hand block, where the pressure and speed are entirely your own. Most working techs keep a manual buffer for the final finishing pass and light touch-ups, and reach for the drill for anything that needs real material removed. If you’re deciding whether to buy a drill at all, our nail drill buyer’s guide breaks down what the specs actually mean.
How long a buffer block lasts
A buffer wears out well before it looks worn out. The abrasive coating on a foam block dulls with each use, and a block that’s been through fifteen or twenty manicures is usually pushing product around rather than actually smoothing it, which tempts you to press harder to get the same result. That’s exactly the pattern that leads to over-thinning. Foam blocks are cheap enough to treat as semi-disposable: replace one every few months with regular use, sooner if you’re buffing something coarse like cured gel edges often.
Frequently asked questions
What grit nail buffer is safest for natural nails?
Anything above 240 grit is safe for regular use on natural nails. Coarser grits under 180 should only touch the nail plate briefly, for prep or removal, not as a routine smoothing step.
Can you over-buff your nails?
Yes, and it’s more common than most people realize. Over-buffing thins the nail plate gradually, making nails flexible, prone to peeling, and slower to grow out strong. If nails bend more than they used to after regular manicures, buffing pressure is one of the first things to check.
Do you need to buff before applying gel polish, not just builder gel?
A light pass, yes, for the same reason: removing surface shine and oil helps thin gel polish bond. It doesn’t need to be aggressive since gel polish is thin and puts less mechanical stress on the bond than a full builder gel or hard gel set.
Is a chamois buffer different from a foam block?
Chamois buffers use a leather or synthetic leather surface with buffing compound, and they’re generally used for the final shine step rather than any grinding. Foam blocks are more common now because they’re cheaper, disposable, and come in a wider range of grits in one tool.
How often should you replace a nail buffer?
For personal use, every few months of regular manicures is reasonable. For salon use across multiple clients, buffers should be single-use or properly disinfected between clients depending on state sanitation rules, since they can’t be fully sterilized like metal tools.