You’ve watched the tutorials, you’ve got the lamp sitting on your desk, and you’re ready to try builder gel yourself instead of paying salon prices every three weeks. Good news: the technique isn’t complicated once you’ve done it once or twice. The steps that follow are the same ones a tech would run through in the chair, just slowed down and explained.
If you haven’t read up on what builder gel actually is yet, start with our guide to what builder gel is first. This one assumes you already know the basics and just want to know how to apply builder gel yourself, step by step, without a tech standing over your shoulder.
What you need before you start
Gather everything before you sit down. Stopping halfway through to dig for a file wastes cure time and dries out your primer.
- A coarse-grit file and a buffer block
- Cuticle pusher and nippers
- Nail dehydrator or prep solution
- Bonding primer or base coat made for builder gel
- Builder gel and a firm, angled gel brush
- A UV or LED lamp rated for your specific gel
- Top coat and a lint-free cleanser wipe with 91% isopropyl alcohol
Not every UV lamp cures every gel properly. Our guide to choosing a UV nail lamp covers wavelength and wattage if you’re not sure yours is up to the job. For the specs that matter specifically for builder gel, see our guide to the best UV lamp for builder gel.
Step 1: prep the nail
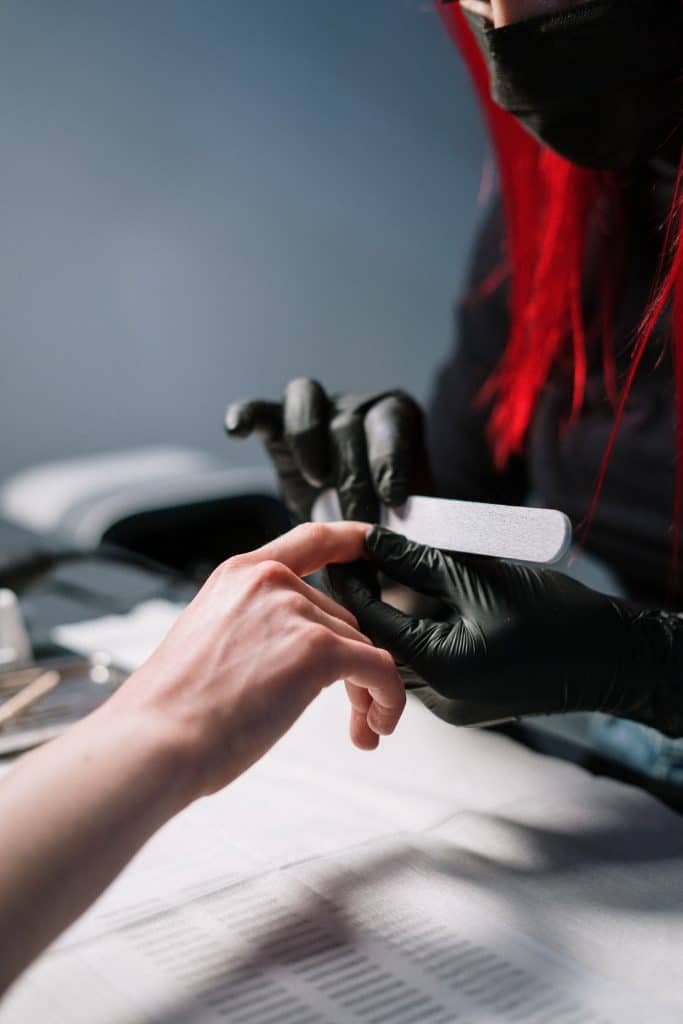
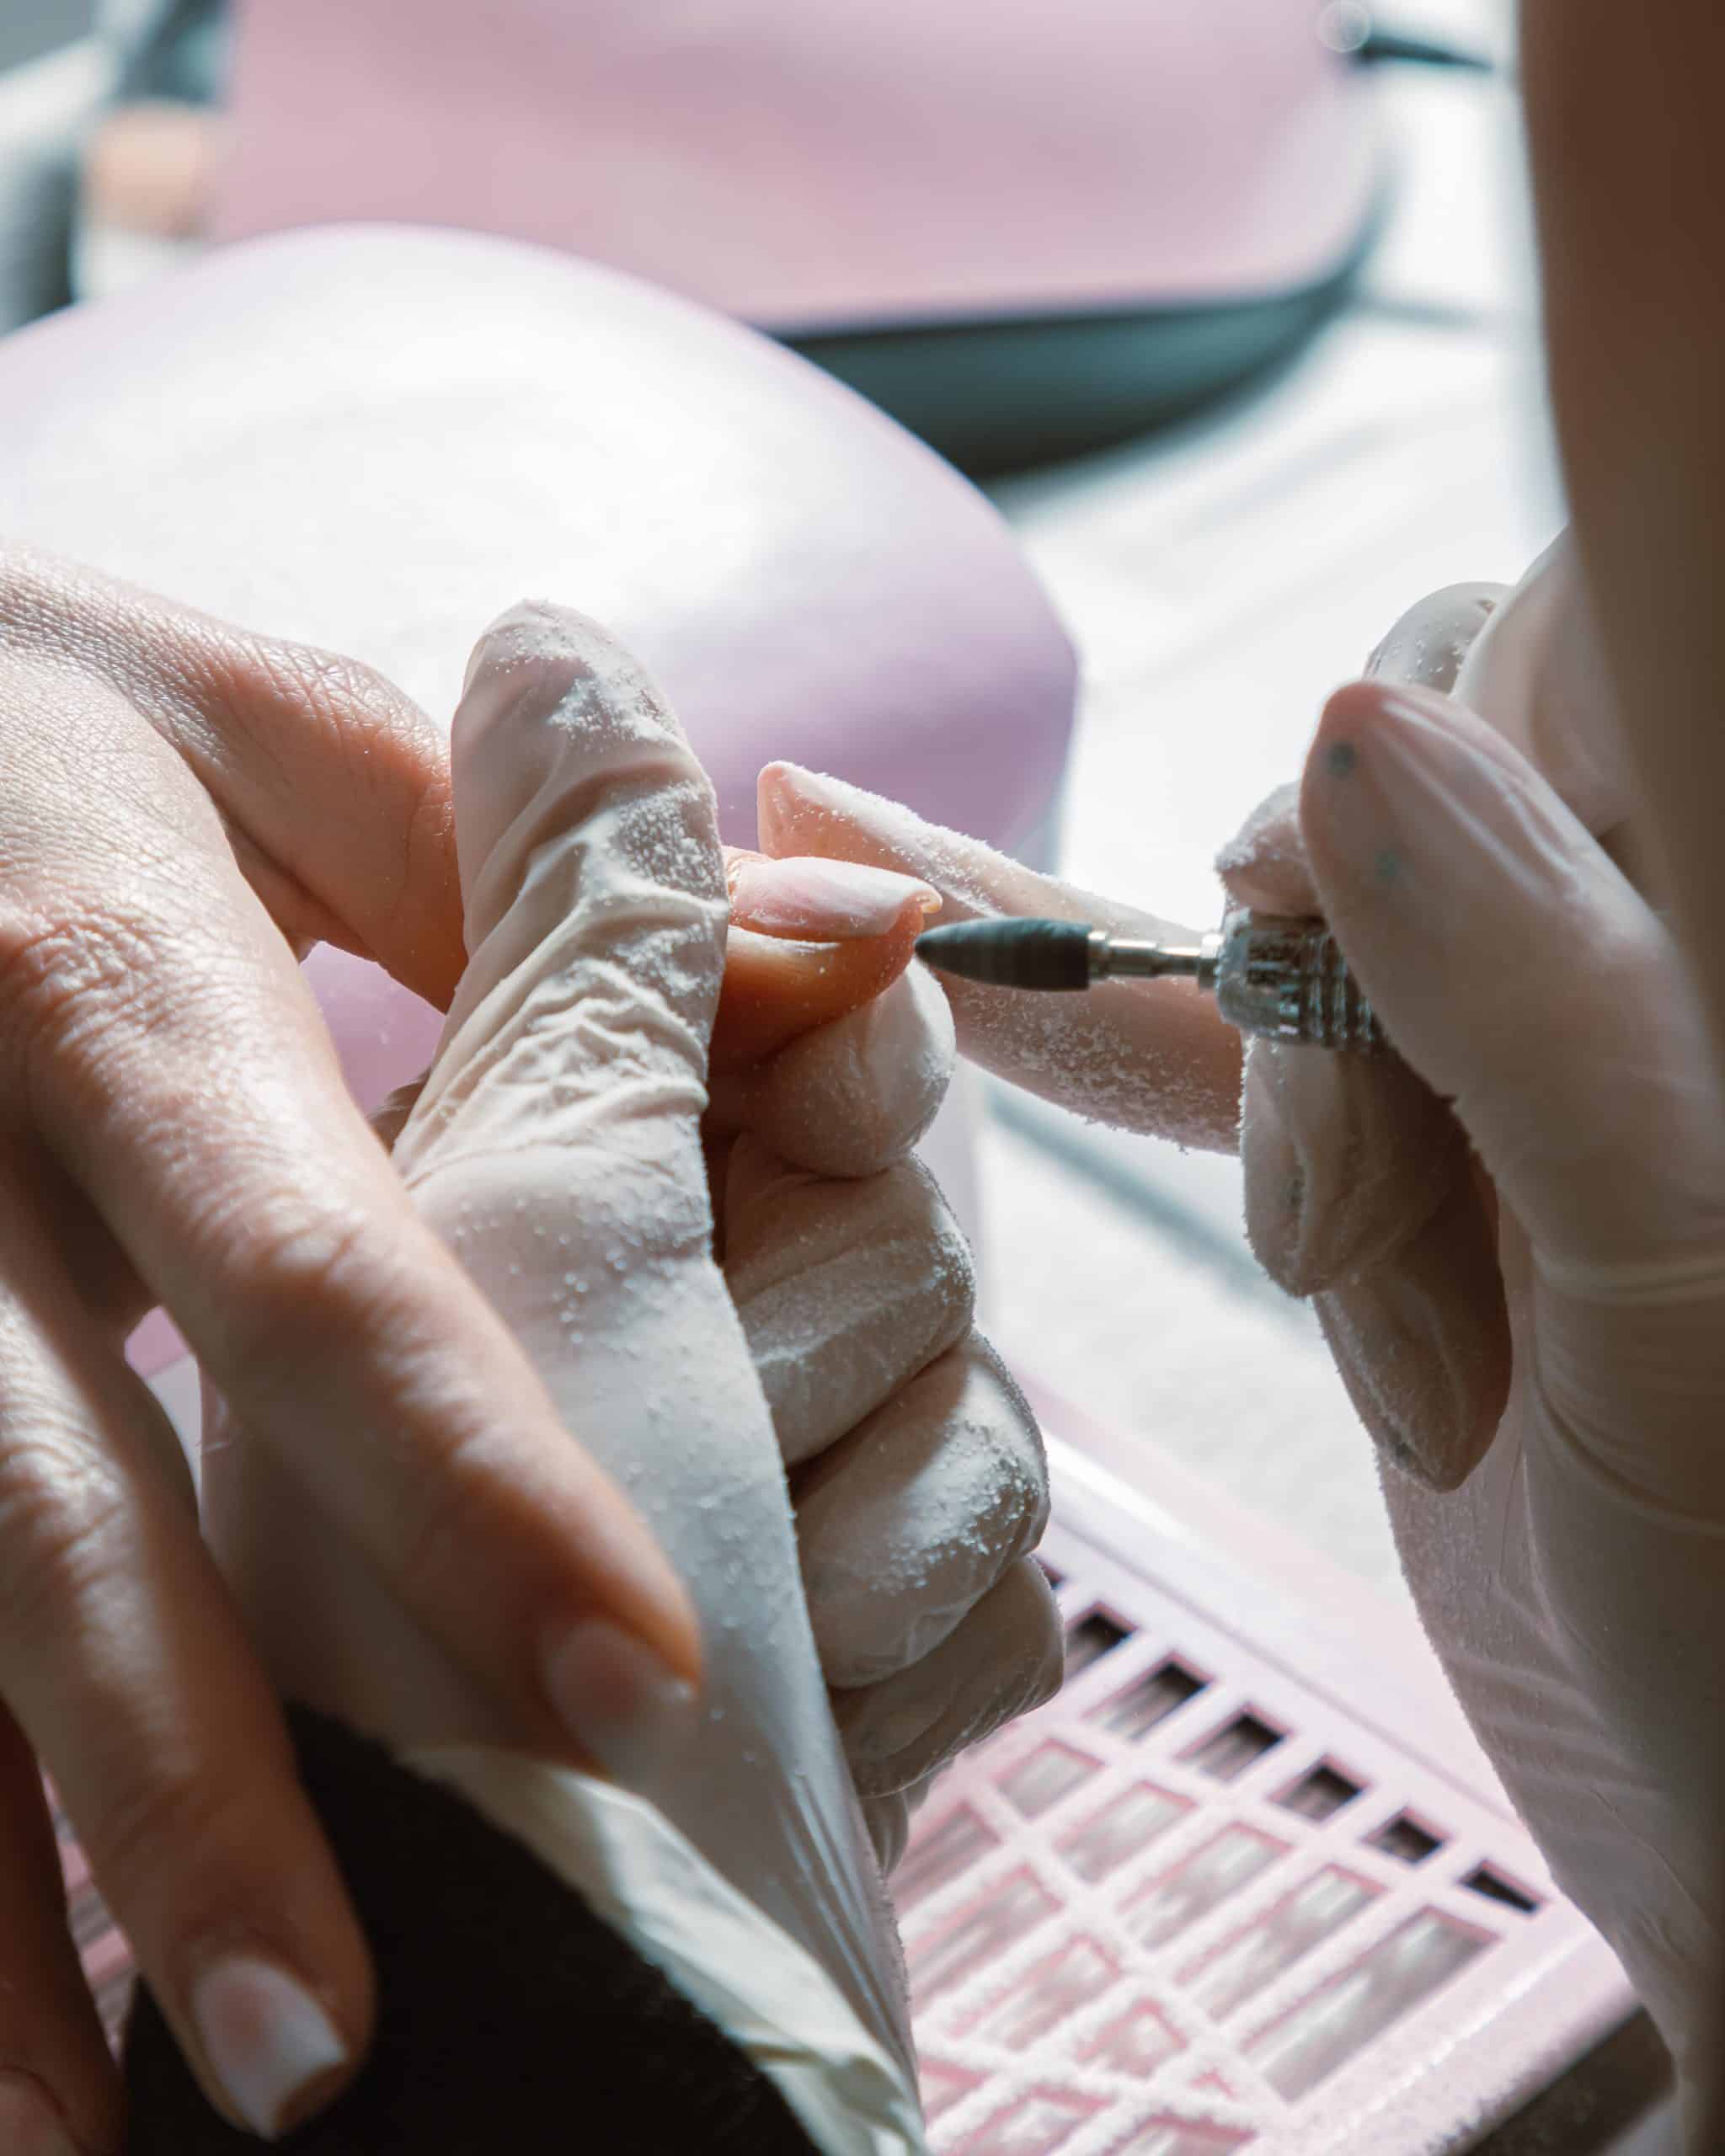
Push back your cuticles gently, don’t cut into living skin unless you’re trained to. Lightly buff the surface of the nail plate until the shine is gone. You’re not trying to thin the nail down, just removing the natural oil layer so the gel has something to grip. Wipe the whole nail with dehydrator and let it flash dry for a few seconds. Skip this step and the gel will lift within a week, no matter how careful the rest of the application is.
Step 2: prime and base
Apply a thin coat of bonding primer, avoiding the skin around the nail. Cure it according to your product’s instructions, usually somewhere between 30 and 60 seconds under LED. This layer is what the builder gel actually bonds to, so don’t rush it or skip it because it looks like “nothing happened.”
Step 3: apply the first layer
Pick up a small bead of gel and place it just off-center toward the cuticle, leaving a tiny gap so it doesn’t flood the skin when it spreads. Use the brush to pull the gel down toward the free edge in thin, even strokes. Builder gel self-levels a little, but not enough to fix a lumpy first pass, so take your time here. Cap the free edge with a light sweep of the brush to seal it. Cure.
Step 4: build the arch
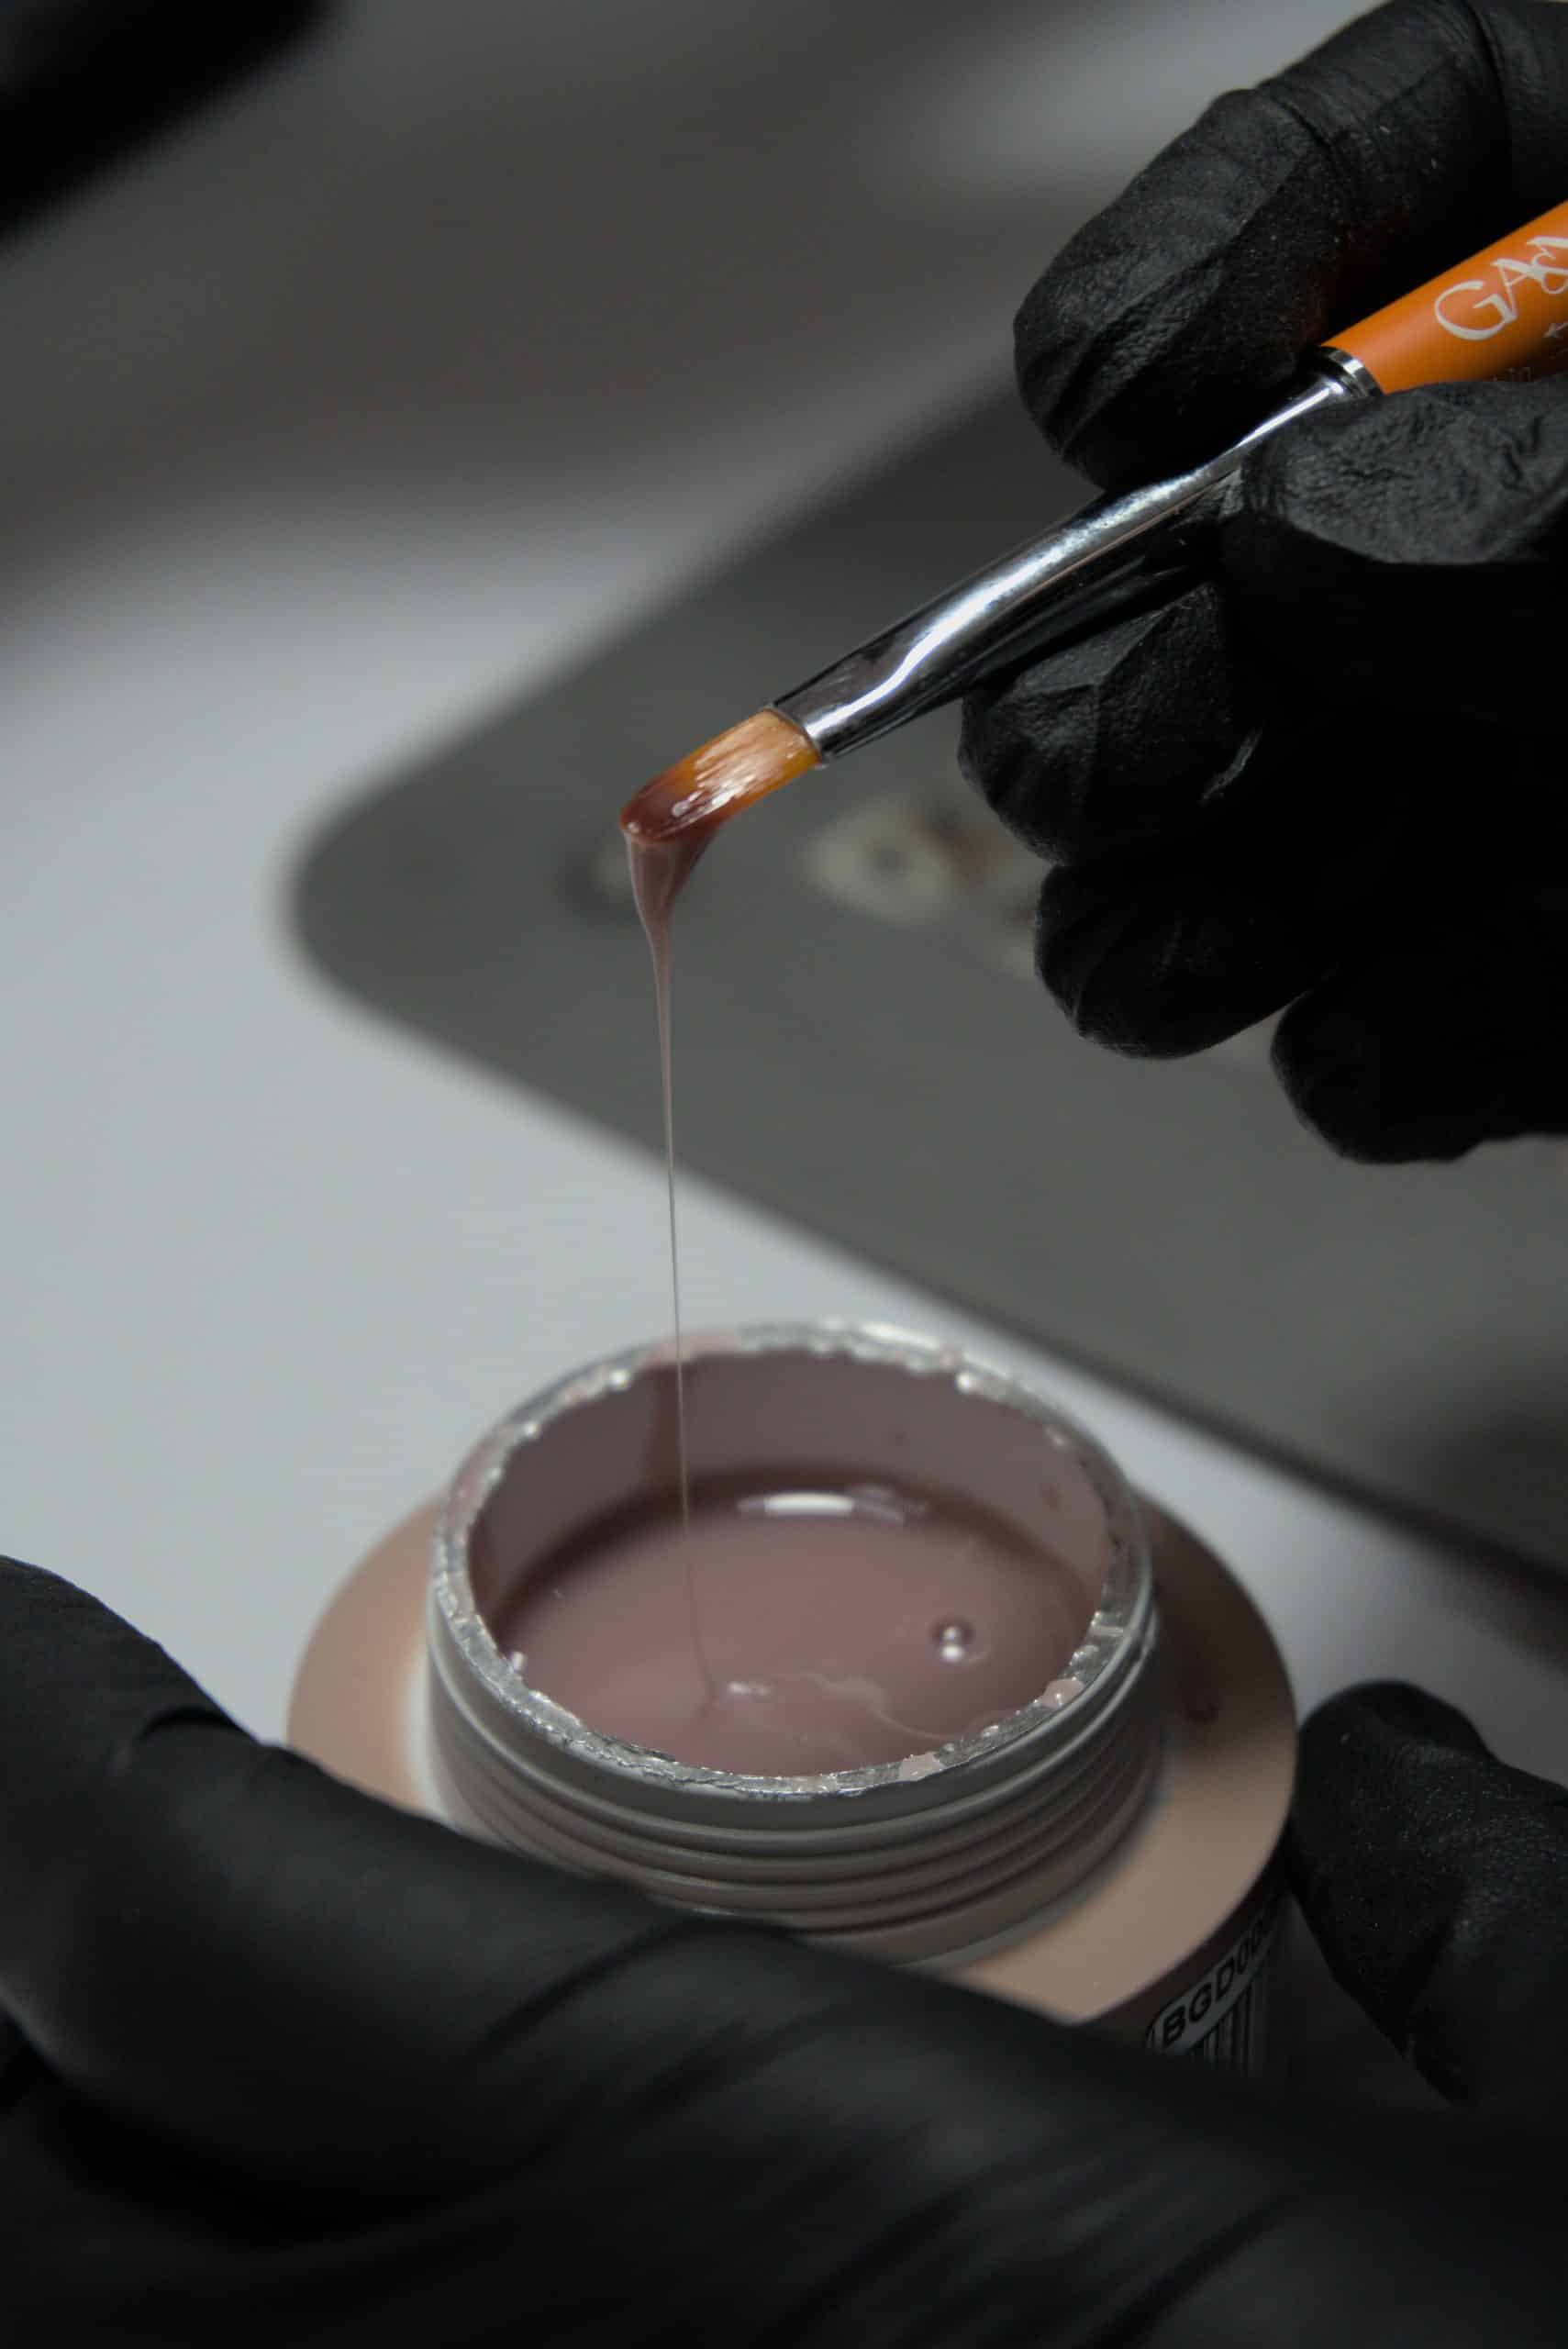
This is the layer that gives the nail its strength and shape, so it’s worth slowing down for. Apply a second bead slightly further back from the cuticle than the first, and use the brush to pull it into a gentle curve toward the highest point of the nail (the “apex”), then down toward the tip. If you’re overlaying a natural nail, one or two layers is usually enough. If you’re extending over a form or tip, you’ll likely need a third layer to get real strength into the extension. Cure between each one.
A flat, apex-free nail is the single most common beginner mistake. Without a slight curve running down the center, the extension flexes too much and cracks or lifts early. Look at the nail from the side after curing. If it’s dead flat, the next layer needs more product built up in the center third.
Step 5: shape and file
Once the final layer is cured, shape the free edge to whatever length and style you want, then refine the surface with a fine-grit file. Check the profile from the side again, you’re aiming for a smooth curve with no ridges or flat spots. Buff lightly to knock off the tacky shine before moving to top coat.
Step 6: top coat and cleanse
Apply a thin, even layer of top coat, cure, then wipe away the sticky inhibition layer with your alcohol cleanser. That tacky film is normal, it’s a byproduct of the curing chemistry, not a sign anything went wrong.
Mistakes that show up most in a first attempt
- Skipping dehydrator, which is the number one cause of early lifting
- Getting gel on the skin, which traps moisture underneath and can cause peeling later
- Applying thick layers to save time, which then don’t cure all the way through
- Not capping the free edge, which lets water get under the tip during everyday tasks
- Over-filing at the end and thinning the natural nail underneath by accident
None of these ruin the nail permanently. They just mean a shorter wear time or a rougher removal later, which is a fair trade for a first attempt.
How long a DIY set should hold up
A careful first application usually lasts two to three weeks before it needs attention, a bit less than a salon set until your technique settles in. When it’s time to take it off, resist peeling it. Filing down the bulk and soaking off the rest protects the nail underneath far more than picking at the edge.
When to book a professional instead
If your nails are already thin, damaged, or peeling, or if you’ve had reactions to nail products before, it’s worth having a licensed tech do the first few sets while your nails recover. If you ever notice redness, swelling, or pain around the nail after application, that’s outside what a how-to guide can help with. See a dermatologist rather than troubleshooting it yourself.
The short version
If you only remember one thing about how to apply builder gel, make it this: thin layers, full cure between each one, and a real apex down the center of the nail. Rushing any of those three is what turns a promising first attempt into a set that lifts by day five. Everything else, brush pressure, exact bead size, how you angle the file, gets easier with repetition. The chemistry doesn’t change once you’ve got the technique down.
FAQ
How many layers of builder gel do I need?
One or two for a natural nail overlay, usually two or three when you’re building a full extension over a form or tip. Each layer needs its own cure before the next one goes on.
Why is my builder gel still tacky after curing?
That’s the inhibition layer, a normal byproduct of the curing process, not a sign it didn’t cure. Wipe it off with an alcohol-based cleanser. If the gel underneath still feels soft, it needs more cure time under a stronger or closer lamp.
Can I apply builder gel over gel polish?
Not usually as a base. Builder gel needs to bond directly to a prepped, dehydrated nail or a compatible primer. You can apply gel polish on top of cured builder gel for color, just not the other way around.
Do I need a UV lamp or will LED work?
Check the product label. Most modern builder gels are formulated for LED and cure faster under it, but some older or budget formulas still need UV wavelengths specifically. Using the wrong lamp is a common reason gel stays soft.
How long does each layer need to cure?
Most LED lamps cure a layer in 30 to 60 seconds, UV lamps typically take longer. Follow the timing on your specific product rather than a general rule, formulas vary more than people expect.
My first attempt looks lumpy. What went wrong?
Usually too much product applied at once, or not enough time spent leveling it with the brush before curing. Thinner layers, applied more slowly, fix this faster than trying to file a lumpy cured layer smooth.