Polygel confuses people before they even open the box, because it looks like acrylic powder, feels like gel in the pot, and gets applied with a dual-form system nobody explains well on the label. I’ve had clients ask if it’s “the healthier version of acrylic” and others assume it’s just a fancy builder gel with a marketing name. Neither is quite right. Polygel is its own hybrid system, and once you understand what it actually is, the rest of the process, from application to removal, makes a lot more sense.
This is a full walkthrough of polygel nails: what the product is, how it compares to the systems you already know, what you need to try it, and where beginners lose time.
What polygel actually is
Polygel is a gel-acrylic hybrid that comes in a squeeze tube or pot instead of a bottle. It has the working consistency of a stiff, moldable putty rather than a self-leveling liquid gel, which means it holds its shape the moment you place it instead of spreading on its own. You shape it with a brush dipped in slip solution (an alcohol-based liquid that keeps the product from sticking to your tools), then cure it under a UV or LED lamp the same way you would builder gel.
That texture is the whole point. Liquid builder gel needs a form or tip underneath it for length because it can’t hold a shape on its own. Polygel can be sculpted over a dual form and largely hold its structure before it even goes under the lamp, which is why techs sometimes describe it as “acrylic that cures like gel.”
Polygel vs builder gel, hard gel, and acrylic
Builder gel and polygel get lumped together a lot, but the working process is different enough that switching between them mid-set trips people up. Builder gel is self-leveling and needs to be pressed and dragged into place; polygel holds its shape as soon as you set it down, closer to how you’d work with acrylic. Hard gel sits between the two: still a liquid gel, but stiffer than a standard builder gel and slower to slump.
Against acrylic, the biggest difference is the fumes and the setting method. Acrylic is a liquid monomer mixed with powder polymer at the brush, and it self-cures in the air over several minutes with a sharp smell most people notice right away. Polygel skips the liquid monomer, has a much lighter odor, and only sets once it’s under a lamp, so you get more working time to fix the shape before committing to a cure.
None of these systems is strictly “better.” Acrylic still wins on sheer strength and sharp, long shapes. Hard gel and builder gel are usually faster for a simple overlay. Polygel tends to be the pick when someone wants acrylic-like structure and length without the smell or the speed pressure of working with monomer before it hardens. A related option worth knowing about is dip powder nails, which skips the lamp entirely and cures by air exposure instead.
What you need before you start
A polygel kit covers most of this, but here’s what actually matters: a UV or LED lamp rated for the brand of polygel you’re using, dual forms (reusable plastic or disposable, sized to your nail beds) or nail tips if you’d rather skip forms, slip solution and a small dish or brush pen to hold it, a firm polygel brush (not a soft acrylic brush and not a gel polish brush, it needs to press the product into place), a nail dehydrator and primer for prep, and 100/180 grit files plus a buffer.
Skip the cuticle pusher only if you already have a manicure tool you like. Any clean, pointed tool works before you start shaping.
Choosing the right dual form size
Dual forms come in numbered sizes that correspond to nail widths, and getting the size wrong is one of the most common reasons a first polygel extension looks off. A form that’s too wide leaves gaps at the sidewalls that you then have to fill with extra product, which adds bulk and weakens the structure. A form too narrow pinches the nail into an unnatural curve. Most kits include a sizing chart; measure your natural nail width at its widest point and match it to the closest form size rather than rounding up “to be safe.” It’s easier to file down a slightly oversized edge than to rebuild a pinched one.
Form shape matters too. Square and oval forms are the most forgiving for a first attempt because the sidewalls are close to straight, which is easier to judge by eye. Coffin and stiletto forms require a much steadier hand to keep the taper even on both sides, so it’s worth practicing the basic technique on a simpler shape before attempting them.
Nail health considerations
Polygel is generally considered safe for the natural nail when applied and removed correctly, and it doesn’t require a nail drill cutting into the nail plate the way some acrylic removal shortcuts do. That said, any product cured under a UV or LED lamp involves some UV exposure to the skin around the nail, and slip solution and primers are still chemical products that can irritate sensitive skin with repeated contact. If you notice ongoing redness, swelling, or pain around the nail fold that doesn’t resolve between sets, that’s outside the scope of a DIY guide, and it’s worth having a dermatologist take a look rather than continuing to apply product over it.
Prepping the natural nail
Push back the cuticles and clean any dead skin off the nail plate. Lightly buff the shine off the surface, just enough to knock off the gloss, not enough to thin the nail. Wipe with a lint-free pad, apply dehydrator, let it flash off for a few seconds, then apply primer if your system calls for one. Don’t touch the nail plate after this step. Skin oil is the fastest way a fresh set of polygel nails lifts within the first week.
Applying polygel with a dual form
Fit the dual form under the free edge like you would for an acrylic extension. Dip your brush in slip solution, pick up a small amount of polygel (smaller than you think you need, since it expands and smooths as you press it), and place it toward the center of the nail bed. Use the brush to push and pat it into shape rather than dragging it flat; slip solution keeps the product from sticking to the brush while you work, so re-wet the brush as it starts to grab.
Build the arch first, then extend the length onto the form. Polygel holds structure well enough that you can shape most of the nail before curing, unlike liquid gel, which needs to be cured in thin stages to avoid sagging. Once the shape looks right, cure for the time listed on your product, usually 30 to 60 seconds under LED or up to two minutes under UV.
If you’re doing an overlay instead of an extension, skip the form and apply a thin layer directly over the natural nail, pressing it flat with the brush and slip solution before curing.
Shaping and finishing
Once cured, remove the dual form and check the shape while the product is still workable but firm. File the sides and free edge with a 100 grit file to establish the shape, then move to 180 grit to smooth and refine. Work in one direction to avoid heat buildup and micro-cracks in the surface. Buff out ridges, wipe away dust, apply a top coat, and cure again. Wipe off the tacky layer with your system’s cleanser once it’s out of the lamp.
Common beginner mistakes
Using too much slip solution is the one that trips up people coming from acrylic or gel polish. It thins the polygel too much and it stops holding its shape, which defeats the entire point of the product. Skipping dehydrator and primer causes early lifting the same way it does with any gel system. And rushing the form removal, pulling it off before the product has fully cured, distorts the shape right before you file, which means more filing than you actually needed.
How long polygel nails last
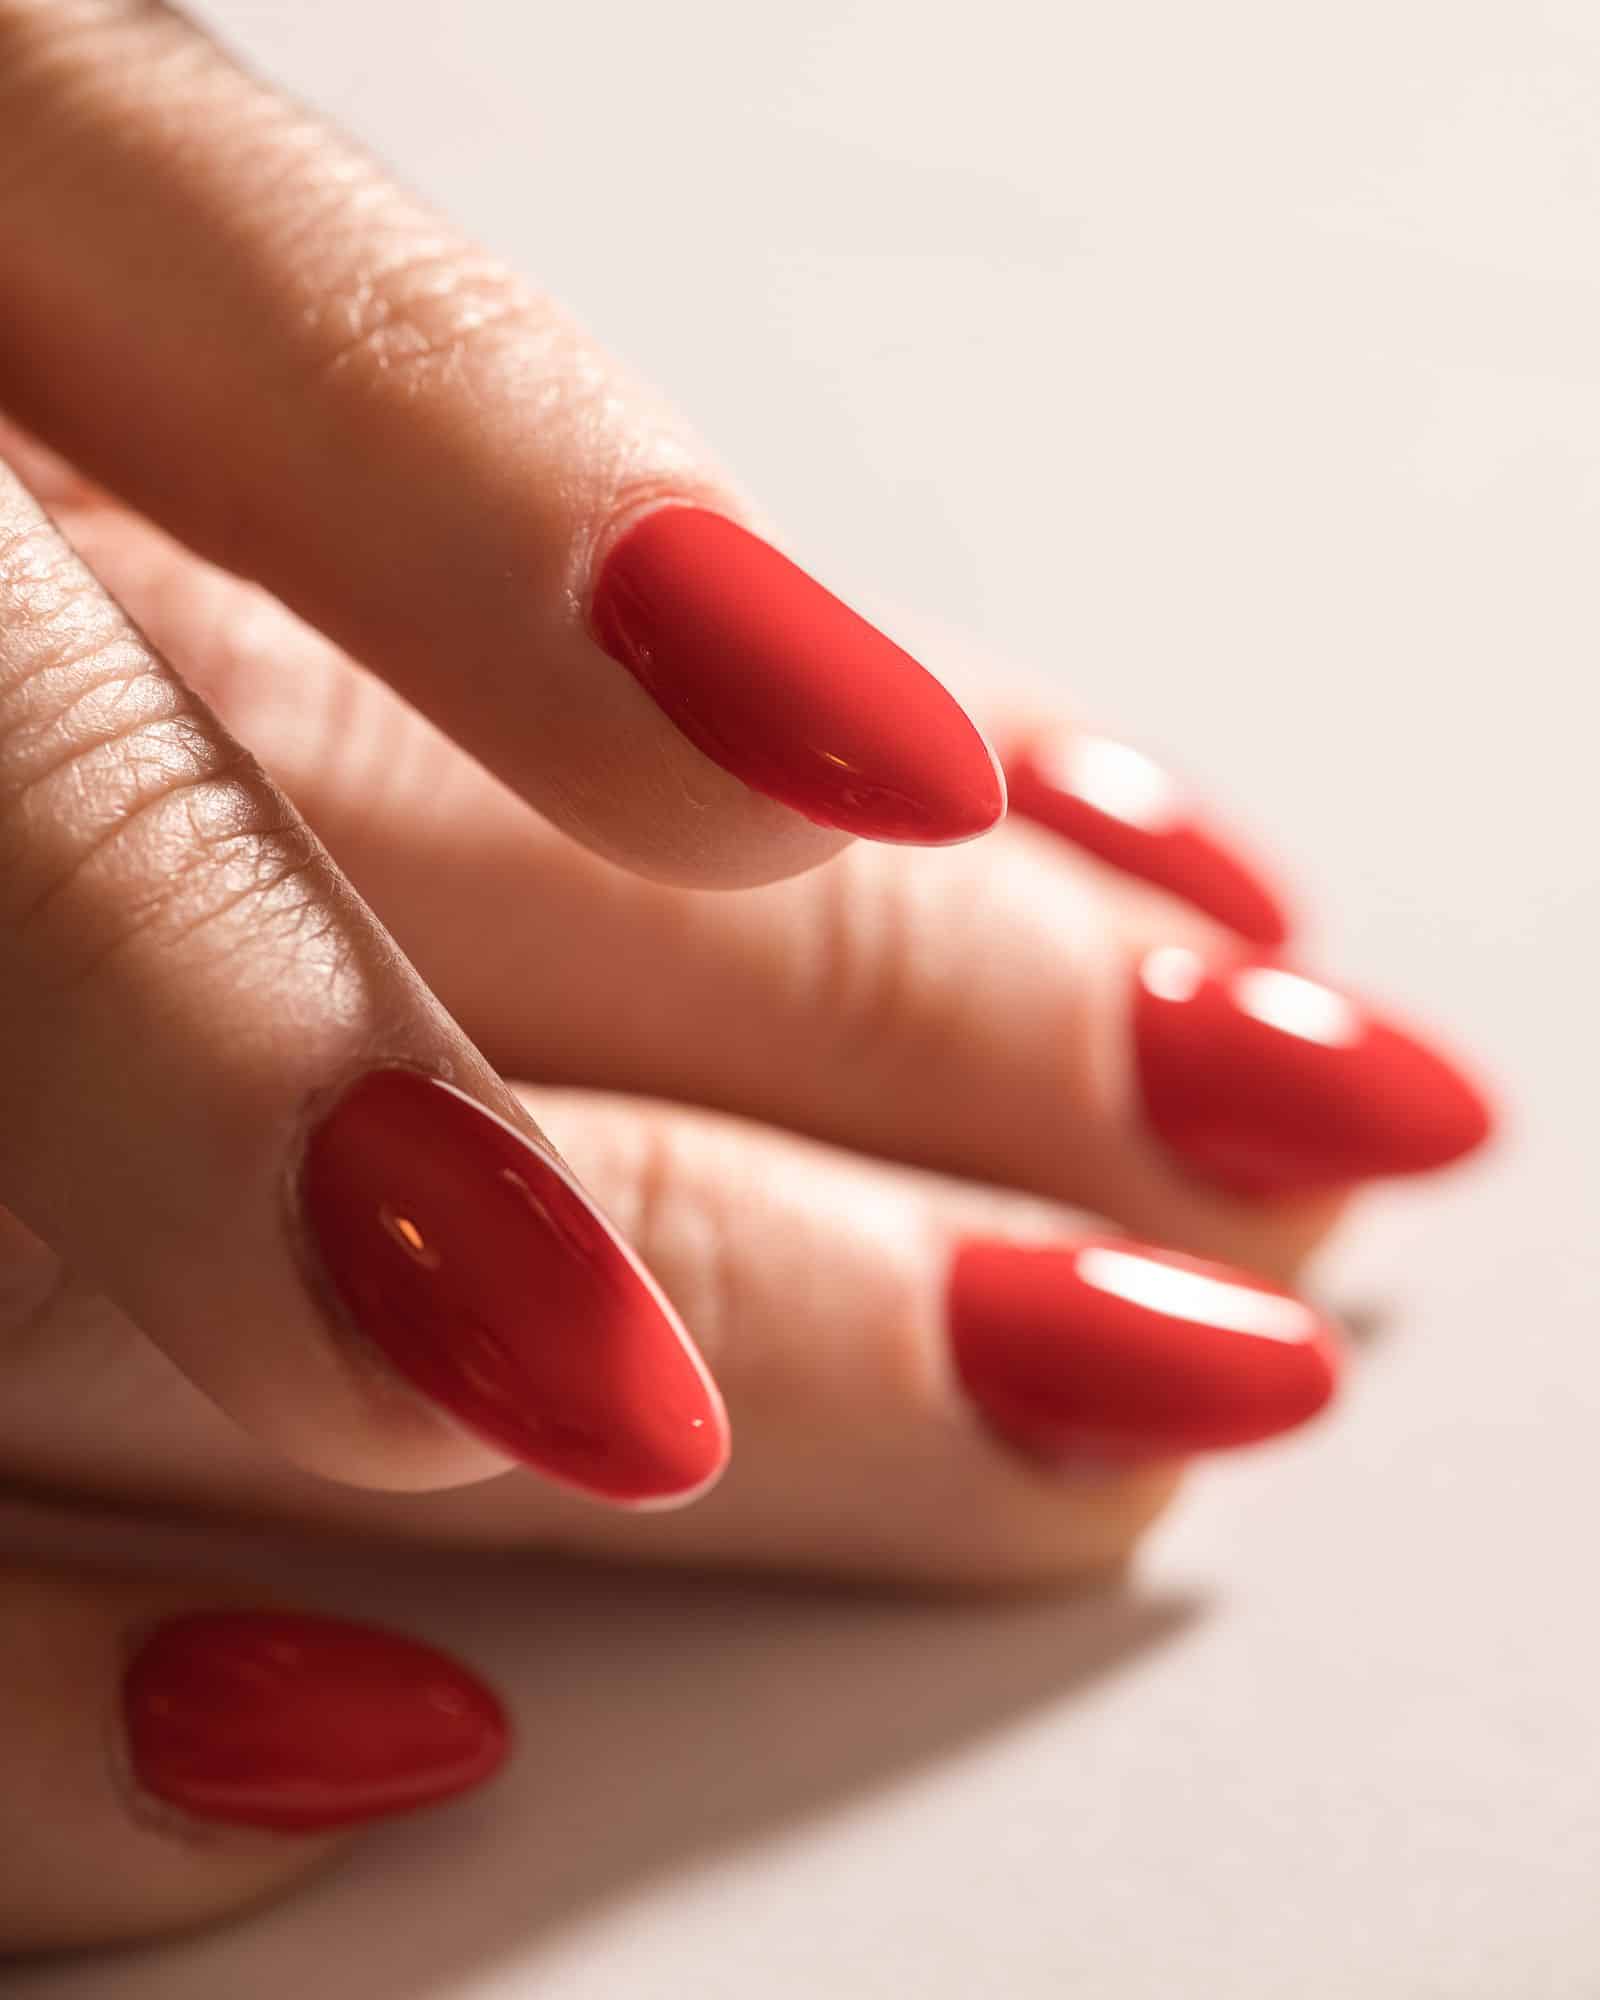
A well-prepped set typically holds for three to four weeks before a fill is needed, slightly longer than a comparable builder gel set because the product’s density resists chipping and cracking a bit better at the free edge. Fills work the same way as with gel or acrylic: buff the new growth area, blend fresh polygel into the base, shape, and cure. Most techs recommend filling around the three-week mark rather than waiting until it visibly lifts.
Removing polygel safely
Polygel soaks off, but it takes longer than a basic gel polish because of the added thickness. File off the top coat and shine first, wrap the nail in an acetone-soaked cotton pad, seal it with foil, and let it sit for 15 to 20 minutes. Gently push the softened product off with a cuticle stick; if it resists, wrap it again rather than prying or peeling. Peeling is what actually damages the nail plate, not the soak-off process itself.
What it costs
A starter polygel kit (lamp, tubes or pots of product, dual forms, slip solution, brush, top coat) runs roughly $40 to $80 depending on the brand and whether the lamp is included. After that, a tube of polygel typically covers six to ten full sets, which keeps the per-set product cost well below a salon price. The trade-off is the same as any DIY nail system: your first few sets will take longer and look less even than a professional’s, and the dual-form technique specifically has a learning curve that liquid gel doesn’t.
Is polygel right for you
If you want acrylic-level length and structure but can’t stand the smell or the speed of working with monomer, polygel is worth trying. If you only want a simple, shiny overlay on your natural nails with no added length, a basic builder gel is less equipment and less to learn. And if you already have acrylic experience and sharp, precise shapes matter more to you than avoiding the fumes, you may not find polygel worth switching for. It sits in the middle of the other systems on purpose, which makes it flexible but not automatically the best fit for every set.
For a side-by-side look at how polygel, builder gel, Gel-X, and acrylic compare as extension systems, see our guide to choosing a nail extension system.
FAQ
Is polygel better than acrylic?
Not universally. Polygel has less odor and a shorter learning curve for shaping, but acrylic still holds sharper, longer shapes and tends to be more durable for people who work with their hands a lot. Which one is “better” depends on what you’re prioritizing.
Is polygel better than builder gel?
For extensions, most people find polygel easier because it holds its shape over a form without sagging. For a simple overlay with no added length, builder gel is usually faster since you skip the dual-form step entirely.
Do polygel nails damage your natural nails?
Applied and removed correctly, no more than any other gel or acrylic system. The damage most people run into comes from peeling the product off instead of soaking it, or over-filing the nail during prep.
Can I apply polygel without dual forms?
Yes, as an overlay directly on the natural nail, or over nail tips if you want length without learning the form technique. Dual forms are only necessary for a sculpted extension.
Why does my polygel keep sticking to the brush?
Your brush is too dry. Re-dip it in slip solution more often, especially between picking up product and shaping it. A dry brush pulls and drags instead of smoothing.
How long does a polygel set actually last before a fill?
Three to four weeks for most people, a bit longer than a typical builder gel set. Filling around week three, before visible lifting starts, keeps the set looking cleaner for longer.
Do I need a special lamp for polygel?
Check the product label. Most polygel brands cure under standard UV or LED nail lamps, the same ones used for builder gel and gel polish, but cure times vary by brand and wattage.