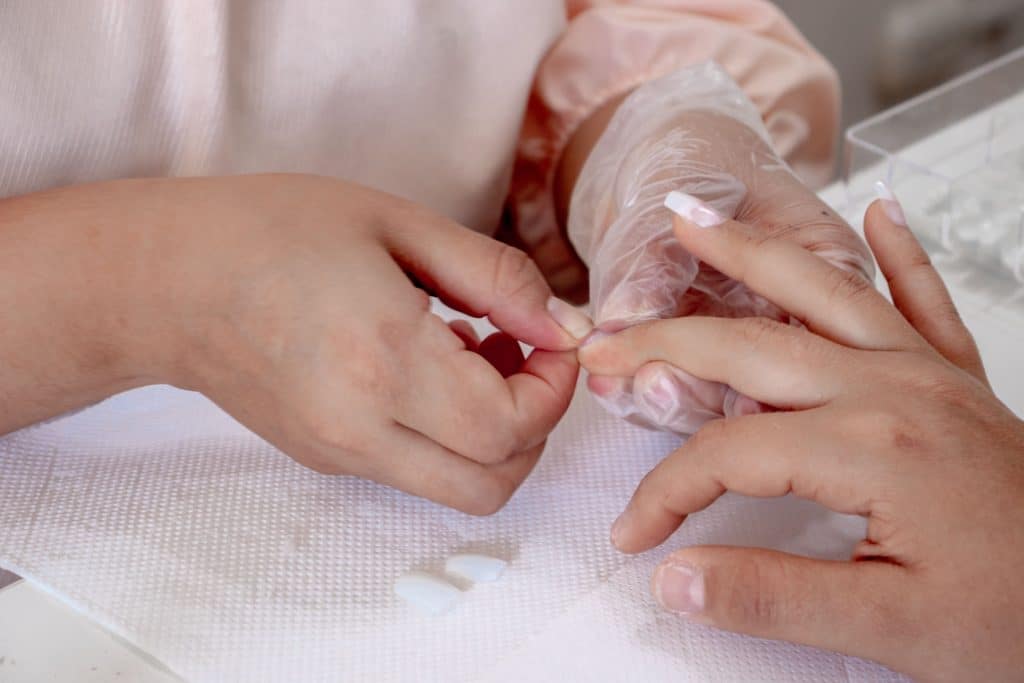
A client texted me a photo last week: five fingertips, all raw and shiny at the nail bed, after she’d spent an hour picking off a set of acrylics with her car keys because she “didn’t want to wait for an appointment.” That’s the version of how to remove acrylic nails at home that does damage. There’s a slower version that doesn’t, and it isn’t complicated, it’s just easy to rush.
What you actually need before you start
Acetone is the only thing that reliably breaks down cured acrylic. Nail polish remover with acetone diluted to 30-40% will eventually soften it too, but “eventually” can mean over an hour of soaking, so 100% pure acetone is worth buying specifically for this rather than grabbing whatever’s under the bathroom sink. Beyond that: a nail file (100-180 grit), a glass or metal bowl (acetone degrades some plastics over repeated use), cotton balls or pads, aluminum foil cut into roughly 4-inch squares, a cuticle stick or orange wood stick, and cuticle oil or a thick hand cream for afterward.
The soak-off method, step by step
Break the seal first
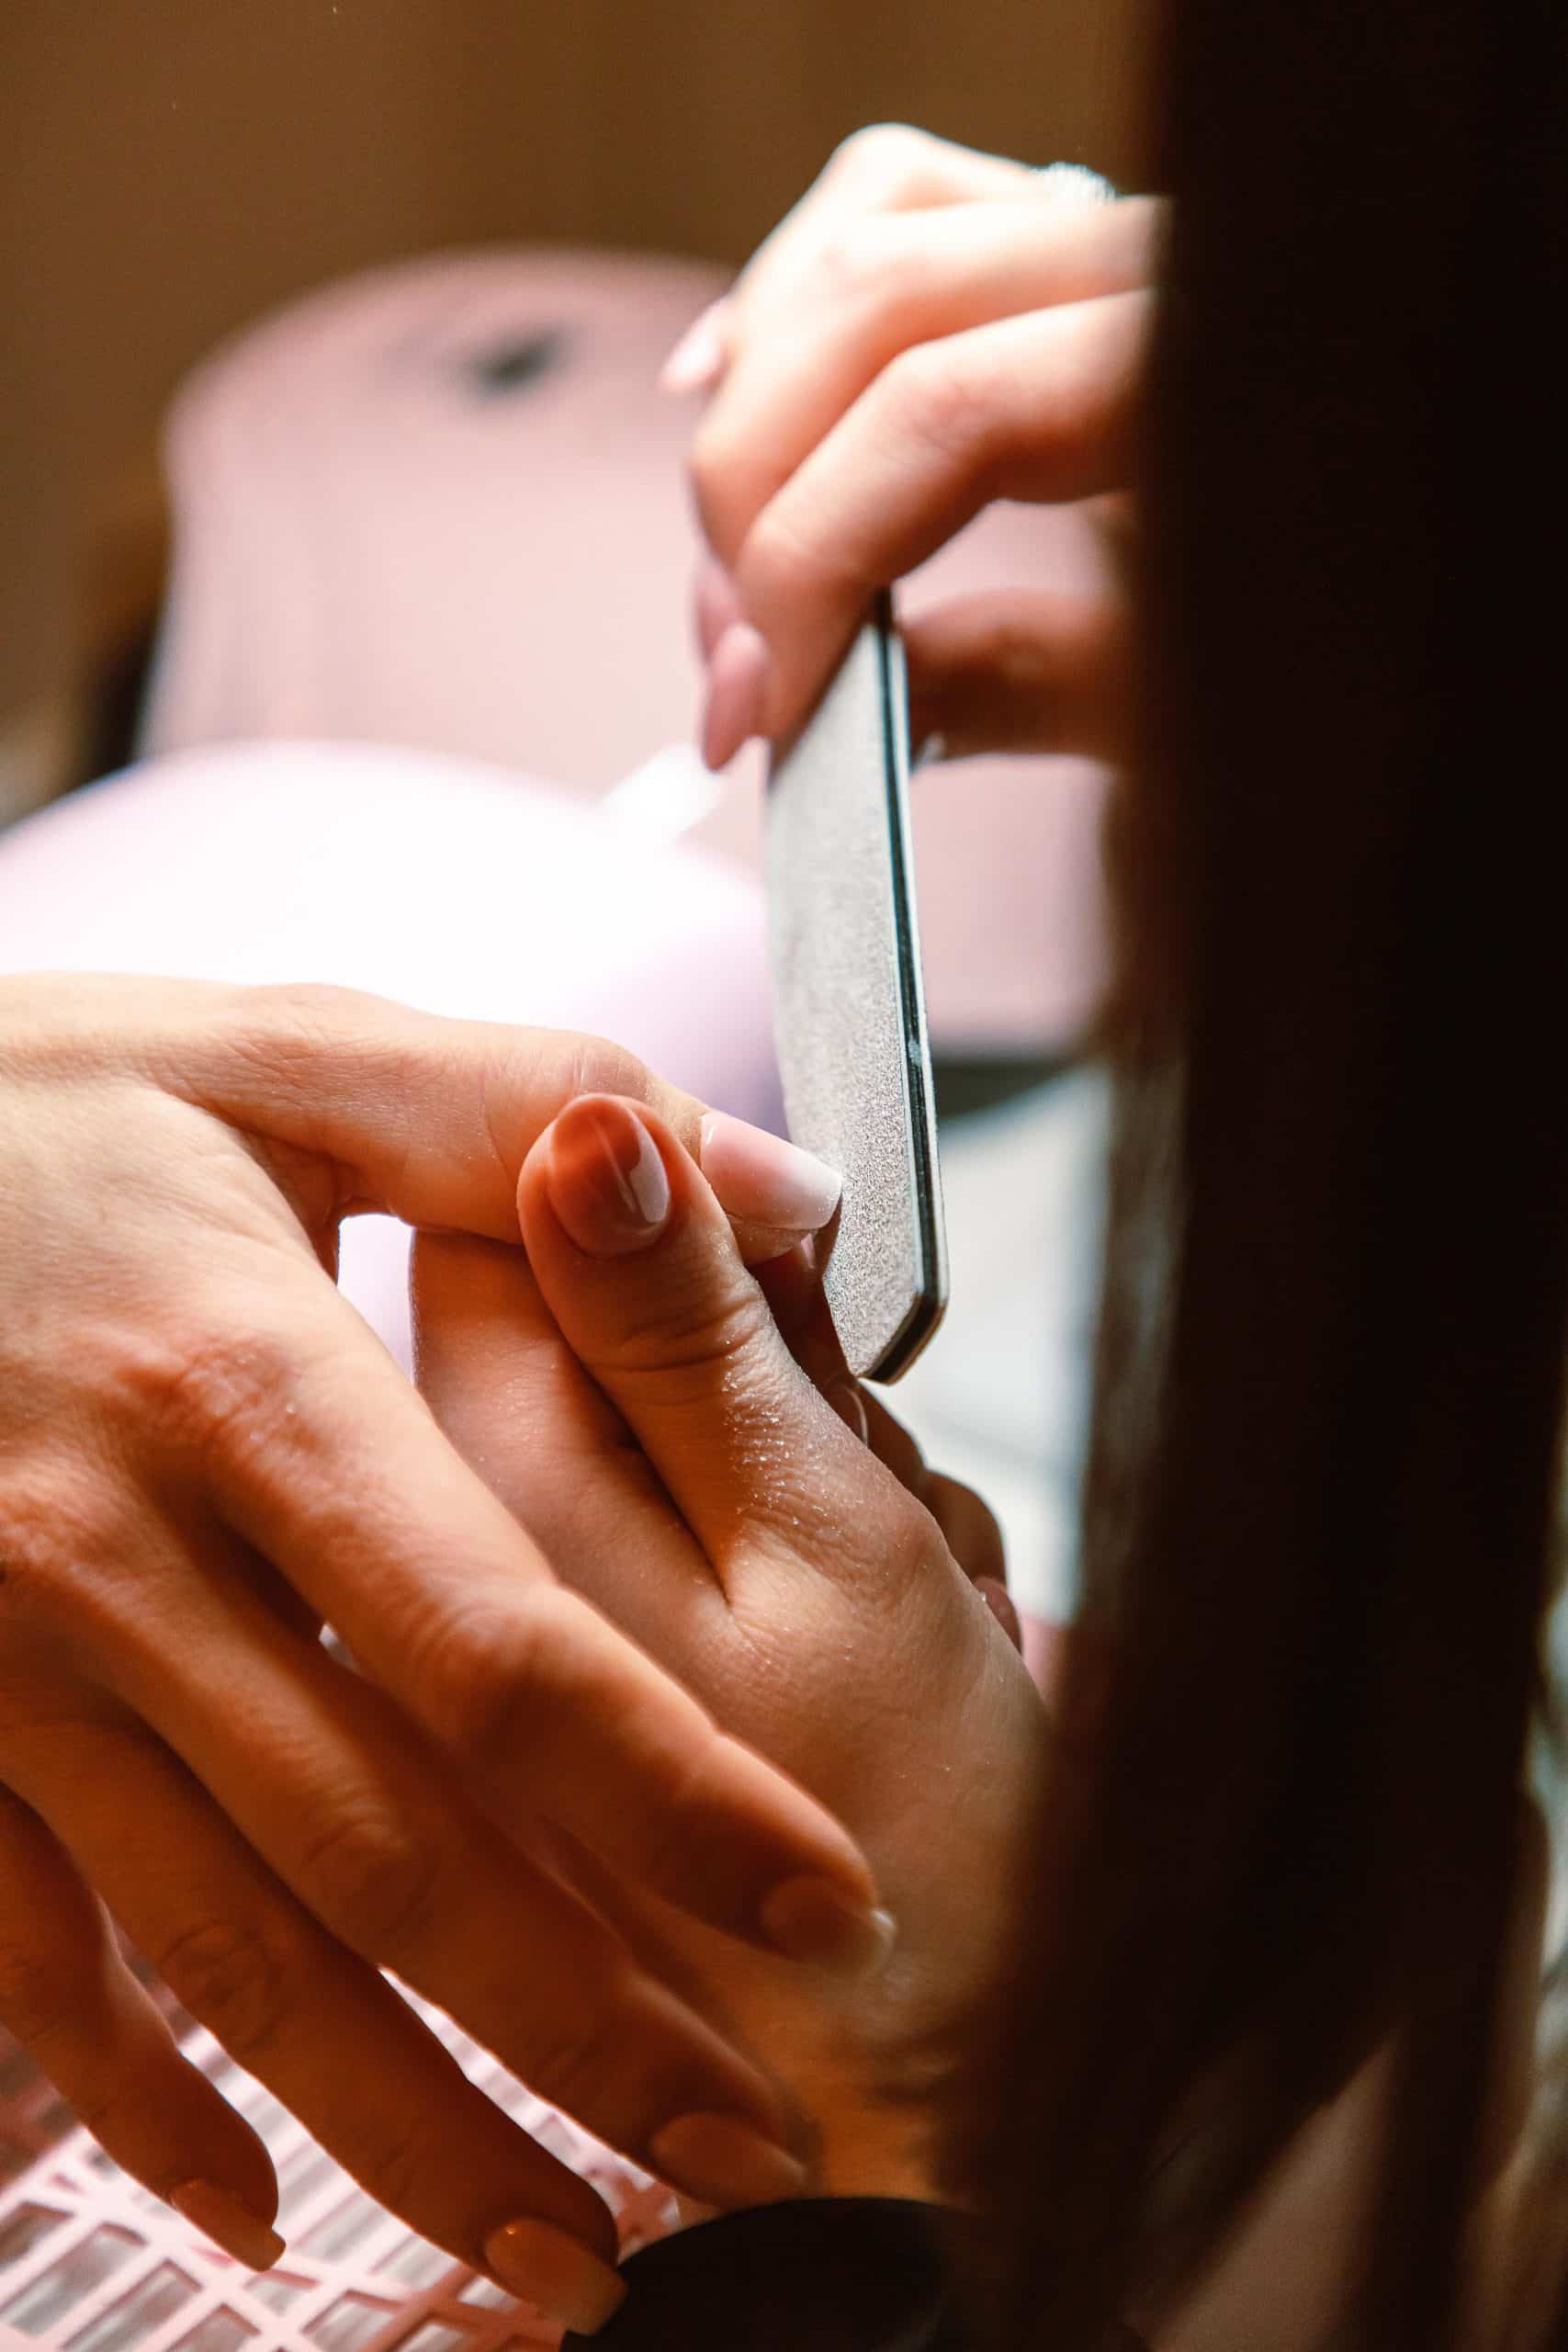
Acrylic has a shiny top coat that acetone can’t penetrate well on its own. Buff the shine off the surface of each nail with a 100-180 grit file, just enough to dull it and remove the glossy layer, not enough to file into the pink of the nail bed. This one step is why some people soak for 40 minutes and others for 15, using the same acetone.
Wrap and soak
Soak a cotton ball or folded pad in acetone, press it onto the nail, and wrap the fingertip in a foil square to hold it in place and slow evaporation. Do all ten fingers this way and set a timer for 15 minutes. Sitting with your hands in a bowl of acetone works too and often goes slightly faster since the whole nail stays submerged, but it uses more acetone and dries out the surrounding skin more.
Check and remove
After 15 minutes, unwrap one finger and gently push at the product with an orange wood stick. If it slides off in a soft, gummy sheet, you’re done, wipe it away and move to the next finger. If it resists at all, don’t pick at it. Re-wrap that finger and give it another 5-10 minutes. Thicker sets, or sets with extensions built past the natural nail’s free edge, routinely need 25-35 minutes total.
What not to do
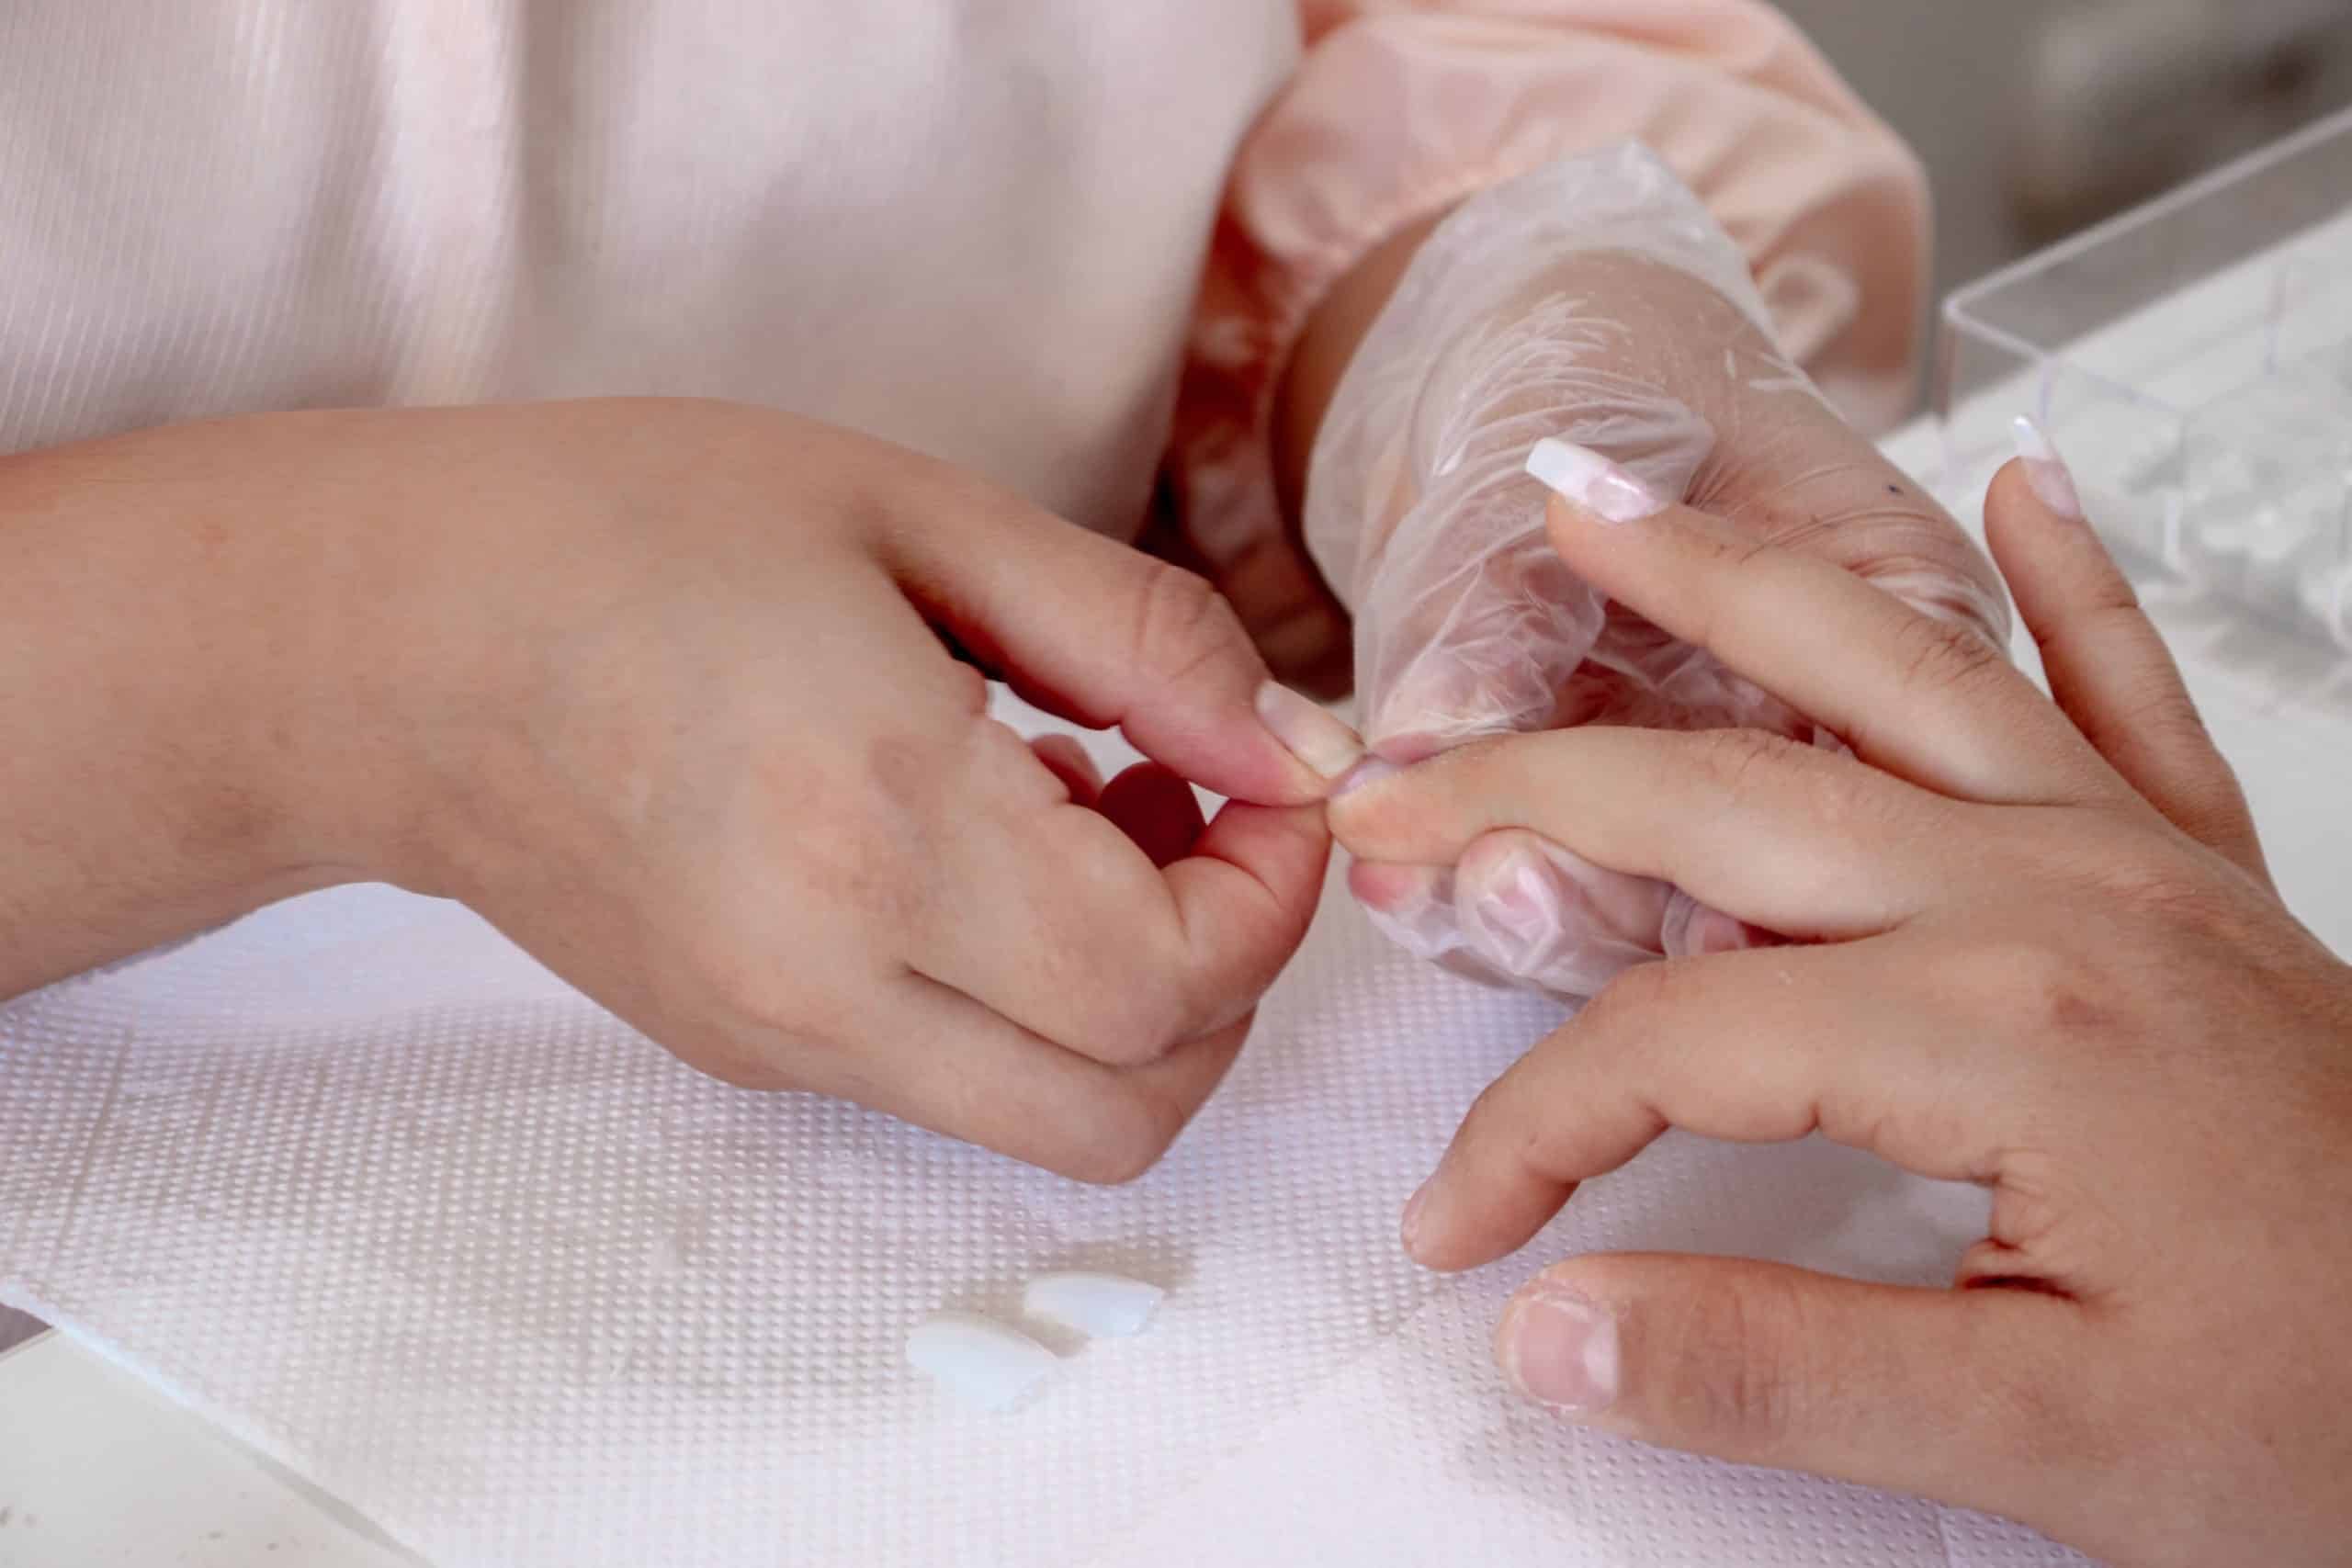
Prying, peeling, or picking at product that hasn’t fully softened is where the damage in that photo my client sent me actually came from. Acrylic bonds to the top few layers of the nail plate. Ripping it off while it’s still hard pulls those layers away with it, leaving the nail thin, rough, and sometimes painful for weeks. If a section isn’t softening after two full soak cycles, that’s a sign to stop and see a nail technician rather than force it, especially if the nail underneath looks discolored or feels soft, which can point to moisture trapped under the product rather than just stubborn acrylic.
If it still won’t come off
Occasionally a set was applied with a base product built for extra durability, or it’s simply thicker than usual at the stress point near the cuticle. Filing down the bulk of the product with a coarse file before another soak cuts the remaining time significantly. This is also the point where it’s worth weighing a salon removal against another hour of DIY soaking. Most salons will remove a set for a flat fee, sometimes for free if you’re booking a new set right after, and it’s faster because a tech can safely file closer to the product than most people are comfortable doing on their own hands.
Protecting the skin around the nail
Acetone dries out skin fast, and the cuticle area takes the worst of it during a long soak. Petroleum jelly or a thick balm rubbed onto the skin around each nail, avoiding the nail plate itself, before you start creates a barrier that cuts down on the redness and cracking that shows up after a 30-minute soak. It’s a small step that gets skipped constantly because it feels like it’s slowing things down, when really it saves a few days of dry, irritated cuticles afterward. Anyone with sensitive skin or a history of contact dermatitis should also work in a ventilated room; acetone fumes in a small bathroom with the door shut can trigger a headache faster than the soak itself causes any nail issue.
DIY versus a salon removal: time and cost
A salon typically removes a full acrylic set in 15-20 minutes because a tech is filing closer to the product and working on someone else’s hands rather than their own. At home, factor in double that, plus the setup and cleanup. Cost-wise, standalone removal runs $10-25 at most salons, though it’s frequently waived or discounted if you’re getting a new set applied the same visit. Doing it yourself costs whatever a bottle of pure acetone runs, usually under $10, and it’s reusable for the next removal. The trade-off is mostly about the nail bed itself: a rushed DIY removal on a thick or extended set is more likely to end in picking and damage than a salon removal, where filing precision and experience make the softened-product judgment call more reliable.
How this compares to gel removal
Gel and acrylic both come off with acetone, but not on the same timeline or with the same steps. Soft gel usually soaks off in 10-15 minutes without any filing beforehand, while acrylic needs that top seal broken first and generally takes longer overall. If you’re not actually sure which one you’re wearing, our gel removal guide walks through how to tell the difference before you start soaking the wrong product for the wrong amount of time. Builder gel, which gets confused with acrylic constantly because both build length, has its own removal process covered in how to remove builder gel without damage.
Aftercare for the natural nail
Even a clean removal leaves the nail plate slightly dehydrated from the acetone. Cuticle oil worked into the nail and surrounding skin two or three times a day for the first week helps it recover faster, and it’s worth holding off on a new set for at least a few days if the nail looks thin or flexible after removal. A nail that’s genuinely damaged, not just dehydrated, needs time to grow out rather than another product layered on top of it. If you’re deciding whether to go back to acrylic or try something else next, gel vs acrylic nails: an honest comparison covers how the two systems differ on removal and nail health over repeated fills.
FAQ
How long does it actually take to remove acrylic nails at home?
Most sets take 15-35 minutes total, depending on thickness and whether the top seal was buffed off before soaking. Skipping the buffing step can push that past 45 minutes.
Can I use regular nail polish remover instead of pure acetone?
It will eventually work if it contains acetone, but at a lower concentration it takes much longer and increases the temptation to start picking at product that hasn’t fully softened. Pure acetone is worth the separate purchase for this specific job.
Is it bad for your nails to remove acrylic at home?
The acetone soak itself isn’t damaging when done correctly. The damage comes from prying at product before it’s softened, which pulls layers off the natural nail along with the acrylic.
Why won’t my acrylic nails come off even after soaking?
Usually the top seal wasn’t buffed before soaking, or the product is thicker than a standard set. File down the shine and any bulk, then soak again rather than picking at what’s resisting.
Should I moisturize before or after removing acrylic nails?
After. Oil or lotion on the nail beforehand can actually slow down how well the acetone penetrates the product. Save the cuticle oil for once the acrylic is fully off.