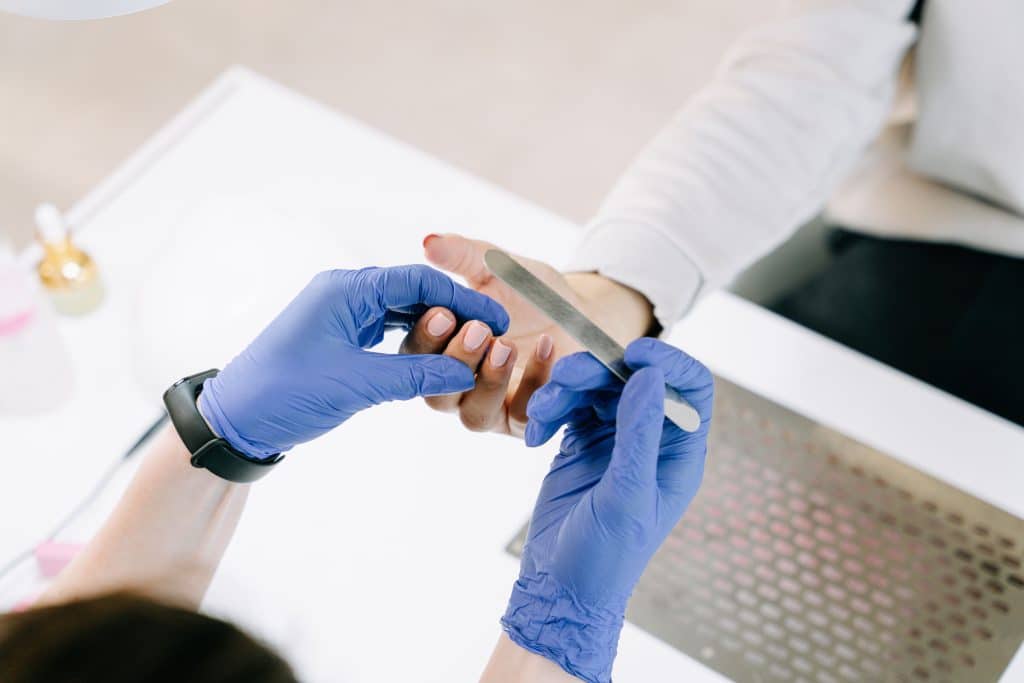
Your first builder gel set is going to look a little wonky. Mine did too, the free edge was too thick on one hand and too thin on the other, and I over-filed my left thumb down to almost nothing trying to fix it. That’s normal. Builder gel forgives mistakes better than acrylic does, because you can add product back or file it down without the fumes and dust of liquid-and-powder work, and that’s exactly why builder gel nails have become the easiest system for someone doing their own nails for the first time.
This is a walkthrough of what actually happens during a first builder gel set: what you need, what order things go in, where beginners lose time, and what a realistic first attempt looks like.
What builder gel actually does
Builder gel is a thick, self-leveling gel that cures under a UV or LED lamp. Unlike a basic gel polish, it has enough body to add length, cover a bitten-down nail bed, or build structure over a weak natural nail. You apply it, shape it while it’s still soft with a brush, then cure it in stages so it doesn’t slump before it sets.
For a first set, most people use it in one of two ways: as an overlay on the natural nail for strength and shine, or with nail forms or tips to add length. Overlay is the easier starting point. Save the extension work for your second or third set once your hands know what the product feels like at different thicknesses.
Choosing shape and length for your first try
Keep it short. A shorter free edge is more forgiving on your first set because there’s less surface area for the gel to sag or thin out unevenly, and a broken nail hurts less when there’s less of it to catch on things. Square or squoval shapes are the easiest to file symmetrically by hand; almond and coffin shapes look great but require more precise filing on the sides, which is hard to judge on yourself without a lot of practice.
If you’re set on length, start with a natural nail long enough to work with rather than jumping straight to forms. Extensions add a second variable (holding the gel’s shape over a form while it’s still soft) on top of everything else you’re already learning. Most people get a cleaner-looking first set by keeping it close to their natural length and adding length gradually over their next two or three fills.
What you need before you start
You don’t need a full salon cart for your first set, but a few things aren’t optional if you want it to actually last:
A UV or LED lamp rated for builder gel (check the product label, since some gels only cure properly under specific wavelengths) — our guide to the best UV lamp for builder gel breaks down the specs that matter most. A nail dehydrator and primer, applied before the gel to help it grip the natural nail. A base coat and top coat made for the gel system you’re using, not regular polish versions. A gel brush, ideally the flat, slightly firm kind used for sculpting rather than a thin polish brush. 100/180 grit files and a buffer block. And the builder gel itself, in clear or the shade you want.
Skip the cuticle pusher and orange stick only if you already have a manicure tool you like. Any clean, pointed tool works for pushing back cuticles before you start.
Prepping the natural nail
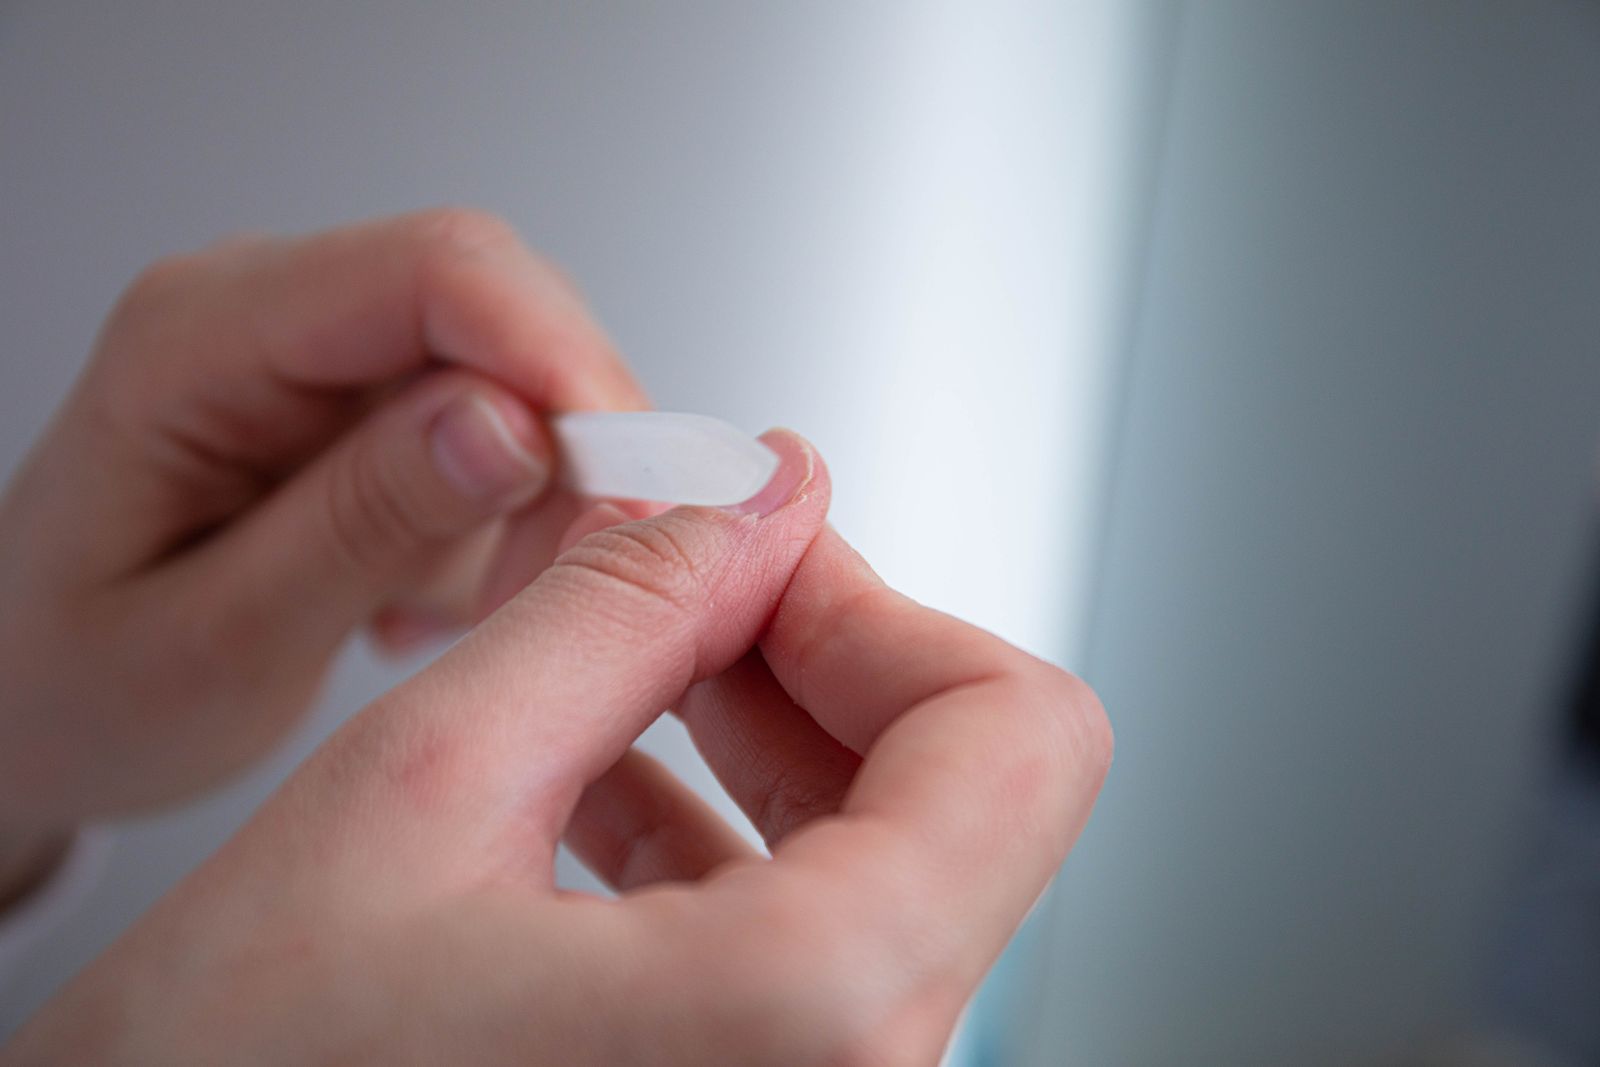
This step decides whether your set lasts ten days or three. Push back the cuticles, clean any dead skin off the nail plate, and lightly buff the shine off the surface with a fine grit buffer. You’re not filing the nail thinner here, just knocking down the natural shine so the gel has something to grab onto. Wipe the nail with a lint-free pad, apply dehydrator, let it flash off for a few seconds, then apply a thin coat of primer if your system calls for one. Don’t touch the nail plate with your fingers after this point. Oil from your skin is the number one reason a first set of builder gel nails lifts within a week.
Applying and shaping the gel
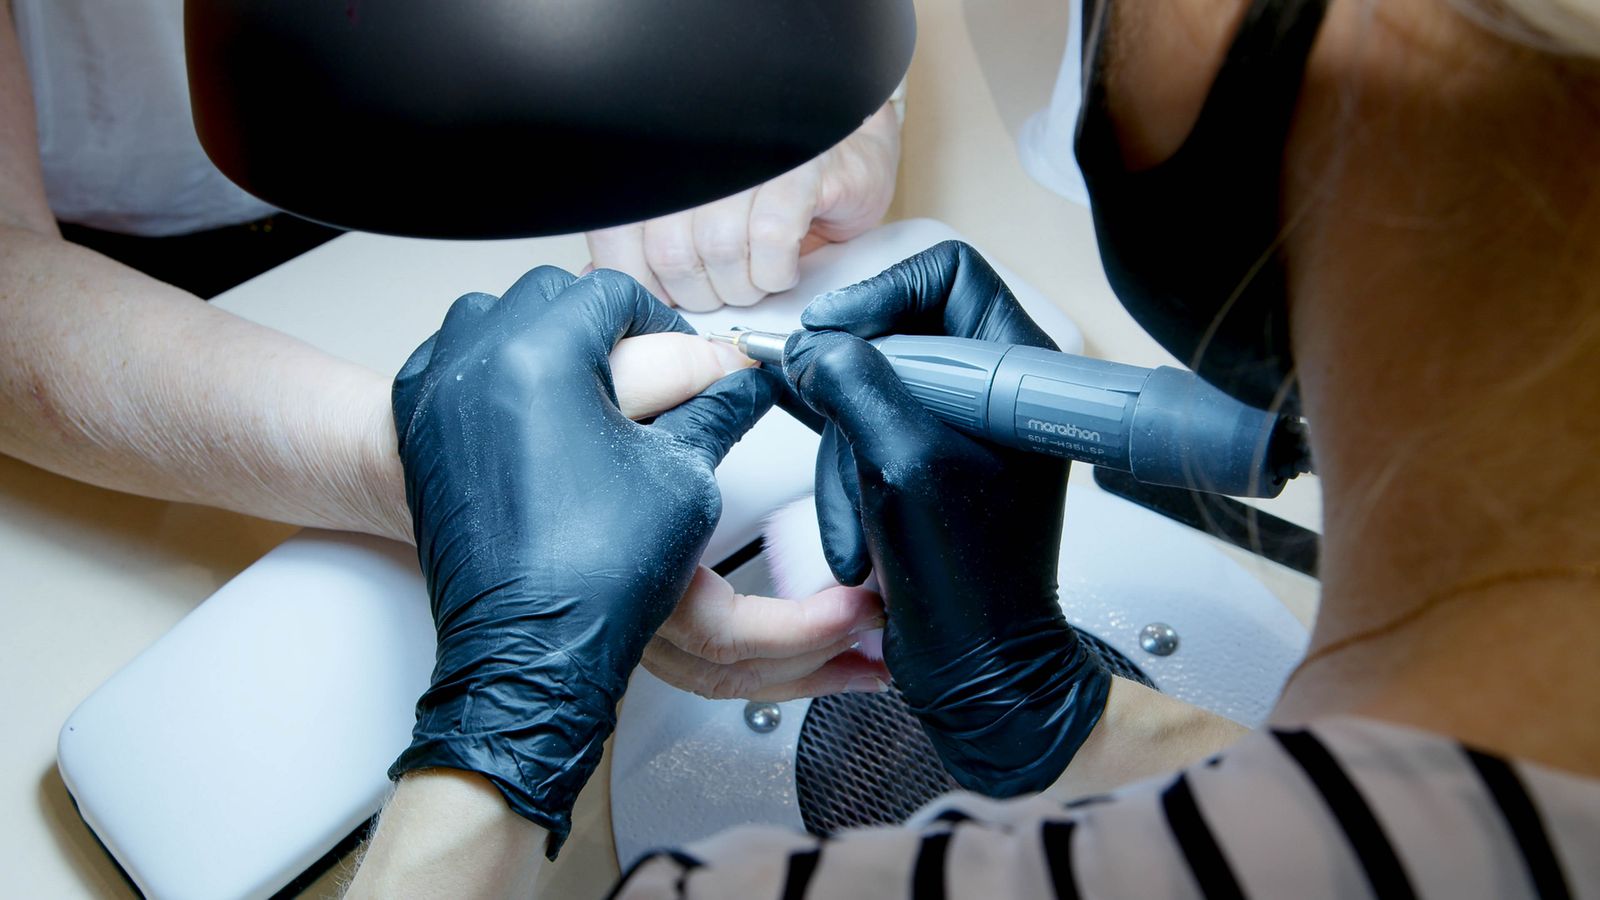
Cure a thin base coat first. Then pick up a small bead of builder gel on your brush, smaller than you think you need, and place it slightly off-center toward the cuticle, letting it flow toward the tip. Press and drag rather than paint; builder gel is thick enough that you’re sculpting it into shape, not brushing it flat like polish.
For a first set, apply in two thin layers rather than one thick one. A thick single layer is the most common beginner mistake, and it’s the one that causes bubbling, uneven curing, and gel that peels off in one piece a few days later. Cure the first thin layer, check the shape, then build the second layer where you need more structure, usually the stress point at the top of the nail bed and the free edge.
If you’re working with forms or tips to add length, this is where the technique gets harder. The gel needs to hold its shape over the form without sagging, which takes a steadier hand and a slightly firmer product consistency. Practice the overlay technique on your own nails a few times before trying an extension.
Curing
Follow the lamp time on your gel’s label rather than guessing. Most builder gels cure in 30 to 60 seconds under LED and 2 minutes under UV, but formulas vary enough that eyeballing it causes soft spots that never fully harden. Cure each hand separately with the other hand flat and relaxed. A common beginner habit is tensing the fingers during curing, which shifts the gel before it sets.
Shaping and finishing
Once cured, the gel is hard enough to file but still workable. Shape the free edge and refine the surface with a 180 grit file, working in one direction rather than back and forth to avoid heat buildup and micro-cracks. Buff out any ridges, wipe away the dust, apply top coat, and cure again. Wipe off the tacky layer with alcohol or your system’s cleanser once it’s out of the lamp.
Common beginner mistakes
The three that come up most in a first attempt: applying too much product at once, which causes bubbling and uncured centers; skipping the dehydrator or primer step, which is the fastest route to a set that lifts within days; and over-filing the natural nail during shine removal, which thins it and makes future sets weaker. None of these ruin your hands permanently, but they’re worth slowing down for the first few times you try this.
What your first set will realistically look like
Set your expectations before you start, because comparing your first attempt to a salon photo is where most beginners talk themselves out of trying again. Your cuticle line probably won’t be perfectly clean. One or two nails will likely be thicker than the rest, since your hand hasn’t learned yet how much product "feels right" on the brush. The shine might be uneven until you get faster at the buff-and-top-coat stage, before the gel has time to self-level less than it would in a warmer salon environment.
None of that means you did it wrong. It means you did a first attempt at a skill that licensed nail techs spend months practicing before they’re fast and even at it. By your third or fourth set, the thickness evens out because your hand starts to recognize how much gel a normal-sized nail actually needs.
How builder gel nails compare to other systems
Builder gel isn’t the only way to add strength or length to a nail. Hard gel is a stiffer, less flexible cousin that some people find easier to shape but harder to remove without filing. Acrylic uses a liquid-and-powder system instead of a UV-cured gel, and it can hold sharper, longer shapes, though it comes with stronger fumes and a steeper learning curve for beginners. Gel-X uses pre-shaped tips with a thin gel overlay instead of sculpting the whole nail freehand, which some first-timers find more forgiving for length and shape, at the cost of less flexibility in the final look. If your first set doesn’t hold up the way you hoped, it’s worth trying one of these alternatives rather than assuming builder gel isn’t for you.
If you’re comparing extension systems more broadly rather than just builder gel’s alternatives, our guide to choosing a nail extension system lays out how they all stack up side by side.
How much a first set actually costs
A basic builder gel kit (lamp, dehydrator, primer, gel, top coat, and a couple of files) runs somewhere between $30 and $70 depending on the brand, and the lamp is the only piece you won’t need to replace often. After the initial kit, a bottle of builder gel typically covers eight to twelve full sets of builder gel nails, which puts the per-set product cost well under what a salon manicure usually charges. The trade-off is time: your first few sets will take two to three times longer than a professional’s, and the shaping will look less even until your hand gets used to the product. If you’re still weighing whether to try this at all versus booking a salon appointment, our DIY gel nails at home guide breaks down the real cost and time comparison.
Taking your first set off
See our full how to remove builder gel guide for the complete step-by-step method. Short version:
When it’s time to remove your first set, resist the urge to peel or pry it off. That’s the single most damaging thing you can do to your natural nails in this whole process, since it pulls off layers of the nail plate along with the gel. File off the top coat and shine, wrap the nail in an acetone-soaked cotton pad, seal it with foil, and let it sit for 10 to 15 minutes before gently pushing the softened gel off with a cuticle stick. If it doesn’t come off easily, it isn’t ready yet; wrap it again rather than forcing it.
Aftercare
Cuticle oil daily keeps the surrounding skin from drying out and cracking, which is often what causes lifting at the edges rather than a problem with the gel itself. Avoid using your nails as tools for opening cans or scraping labels, since builder gel is strong but not indestructible. If a section lifts, don’t pick at it. File the lifted area smooth and either patch it with a thin layer of gel or plan a fill before it spreads.
FAQ
How long do builder gel nails last for a first set?
A well-prepped first set typically lasts two to three weeks before you need a fill. If it lifts within the first week, the most likely cause is skipped prep: either the shine wasn’t buffed off or the nail wasn’t fully dehydrated before application. For the full range across established sets, not just a first attempt, see our how long does builder gel last guide.
Do I need a UV lamp or will an LED lamp work?
Check your specific builder gel’s label. Most modern formulas are dual-cure and work under either, but LED lamps cure faster and are more common for home use. Using the wrong lamp type for a UV-only gel can leave the surface tacky even after the full cure time.
Can I do a full extension on my first attempt?
You can, but an overlay on your natural nail is a much easier starting point. Extensions require holding shape over a form while the gel is still soft, which takes more control than most people have on their very first try.
Why did my builder gel come out lumpy?
Lumpy or uneven gel almost always comes from applying too much product in one layer, or dragging the brush back and forth instead of pressing and pulling it into place. Thin layers, cured separately, fix this on the next attempt.
Is builder gel bad for my natural nails?
Applied and removed correctly, builder gel doesn’t damage the nail plate any more than regular wear does. The damage most people associate with gel comes from peeling it off instead of soaking it off, or from over-filing during prep and removal.
How much length should my first set have?
Keep it short, at or just past your natural nail length. Extra length adds difficulty (more surface to shape evenly, more leverage on the free edge if it catches on something) that’s easier to handle once you’ve done a few sets.
Can I paint over builder gel with regular polish?
Yes, once the top coat is cured and wiped free of its tacky layer, regular polish sits fine on top. Just remember that regular polish remover will strip the color but won’t touch the builder gel underneath, so removal still has to go through the acetone soak-off process.