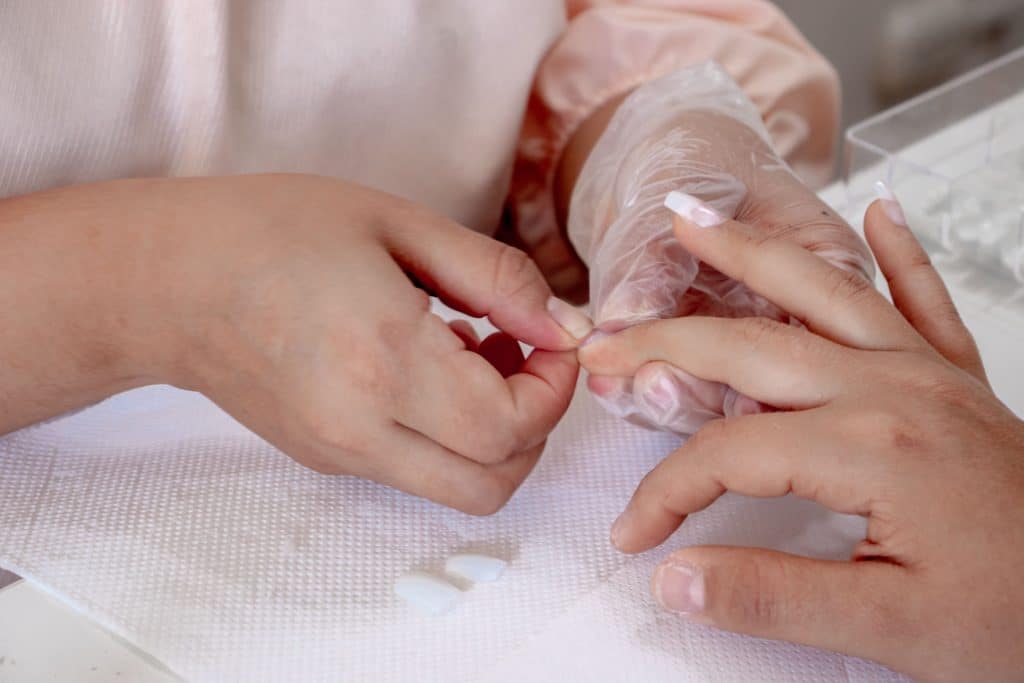
Every extension system needs something to build the length against, and there are really only two ways to get it: glue a pre-made shape onto the nail, or mold the product over a temporary base and pull it away once it’s cured. The first is a nail tip. The second is a nail form. New clients ask about this constantly, usually after seeing two salons describe the same service with different words, and the honest answer is that neither one is the “correct” method. They solve the same problem in different ways, and which one makes sense depends on what you’re building, how much time you have, and whether you’re doing your own nails or someone else’s.
What nail forms actually are
A nail form is a temporary mold, not a permanent part of the nail. You fit it under the free edge, sculpt builder gel, acrylic, or polygel over it while the product is still workable, cure or let it set, then peel or snap the form off. Once it’s off, what’s left is 100% product, shaped entirely by hand rather than by a factory mold.
There are two common types. Paper forms are disposable stickers with an adhesive backing, wrapped around the finger so they sit flush against the underside of the free edge. Dual forms are reusable plastic clamshells with a pre-molded curve, mostly seen with polygel because the product holds its shape well enough to sit in a mold before curing. The polygel guide covers dual form sizing and the numbered chart most kits use, so this article won’t repeat that table.
Forms give you full control over the apex, the C-curve, and the exact length, but that control comes with a learning curve. A form that’s positioned even slightly crooked produces a lopsided nail, and holding gel over a form without it sagging takes practice most beginners don’t have on their first set. Our sculpted gel nails guide walks through what that form-based build actually involves start to finish.
What nail tips actually are
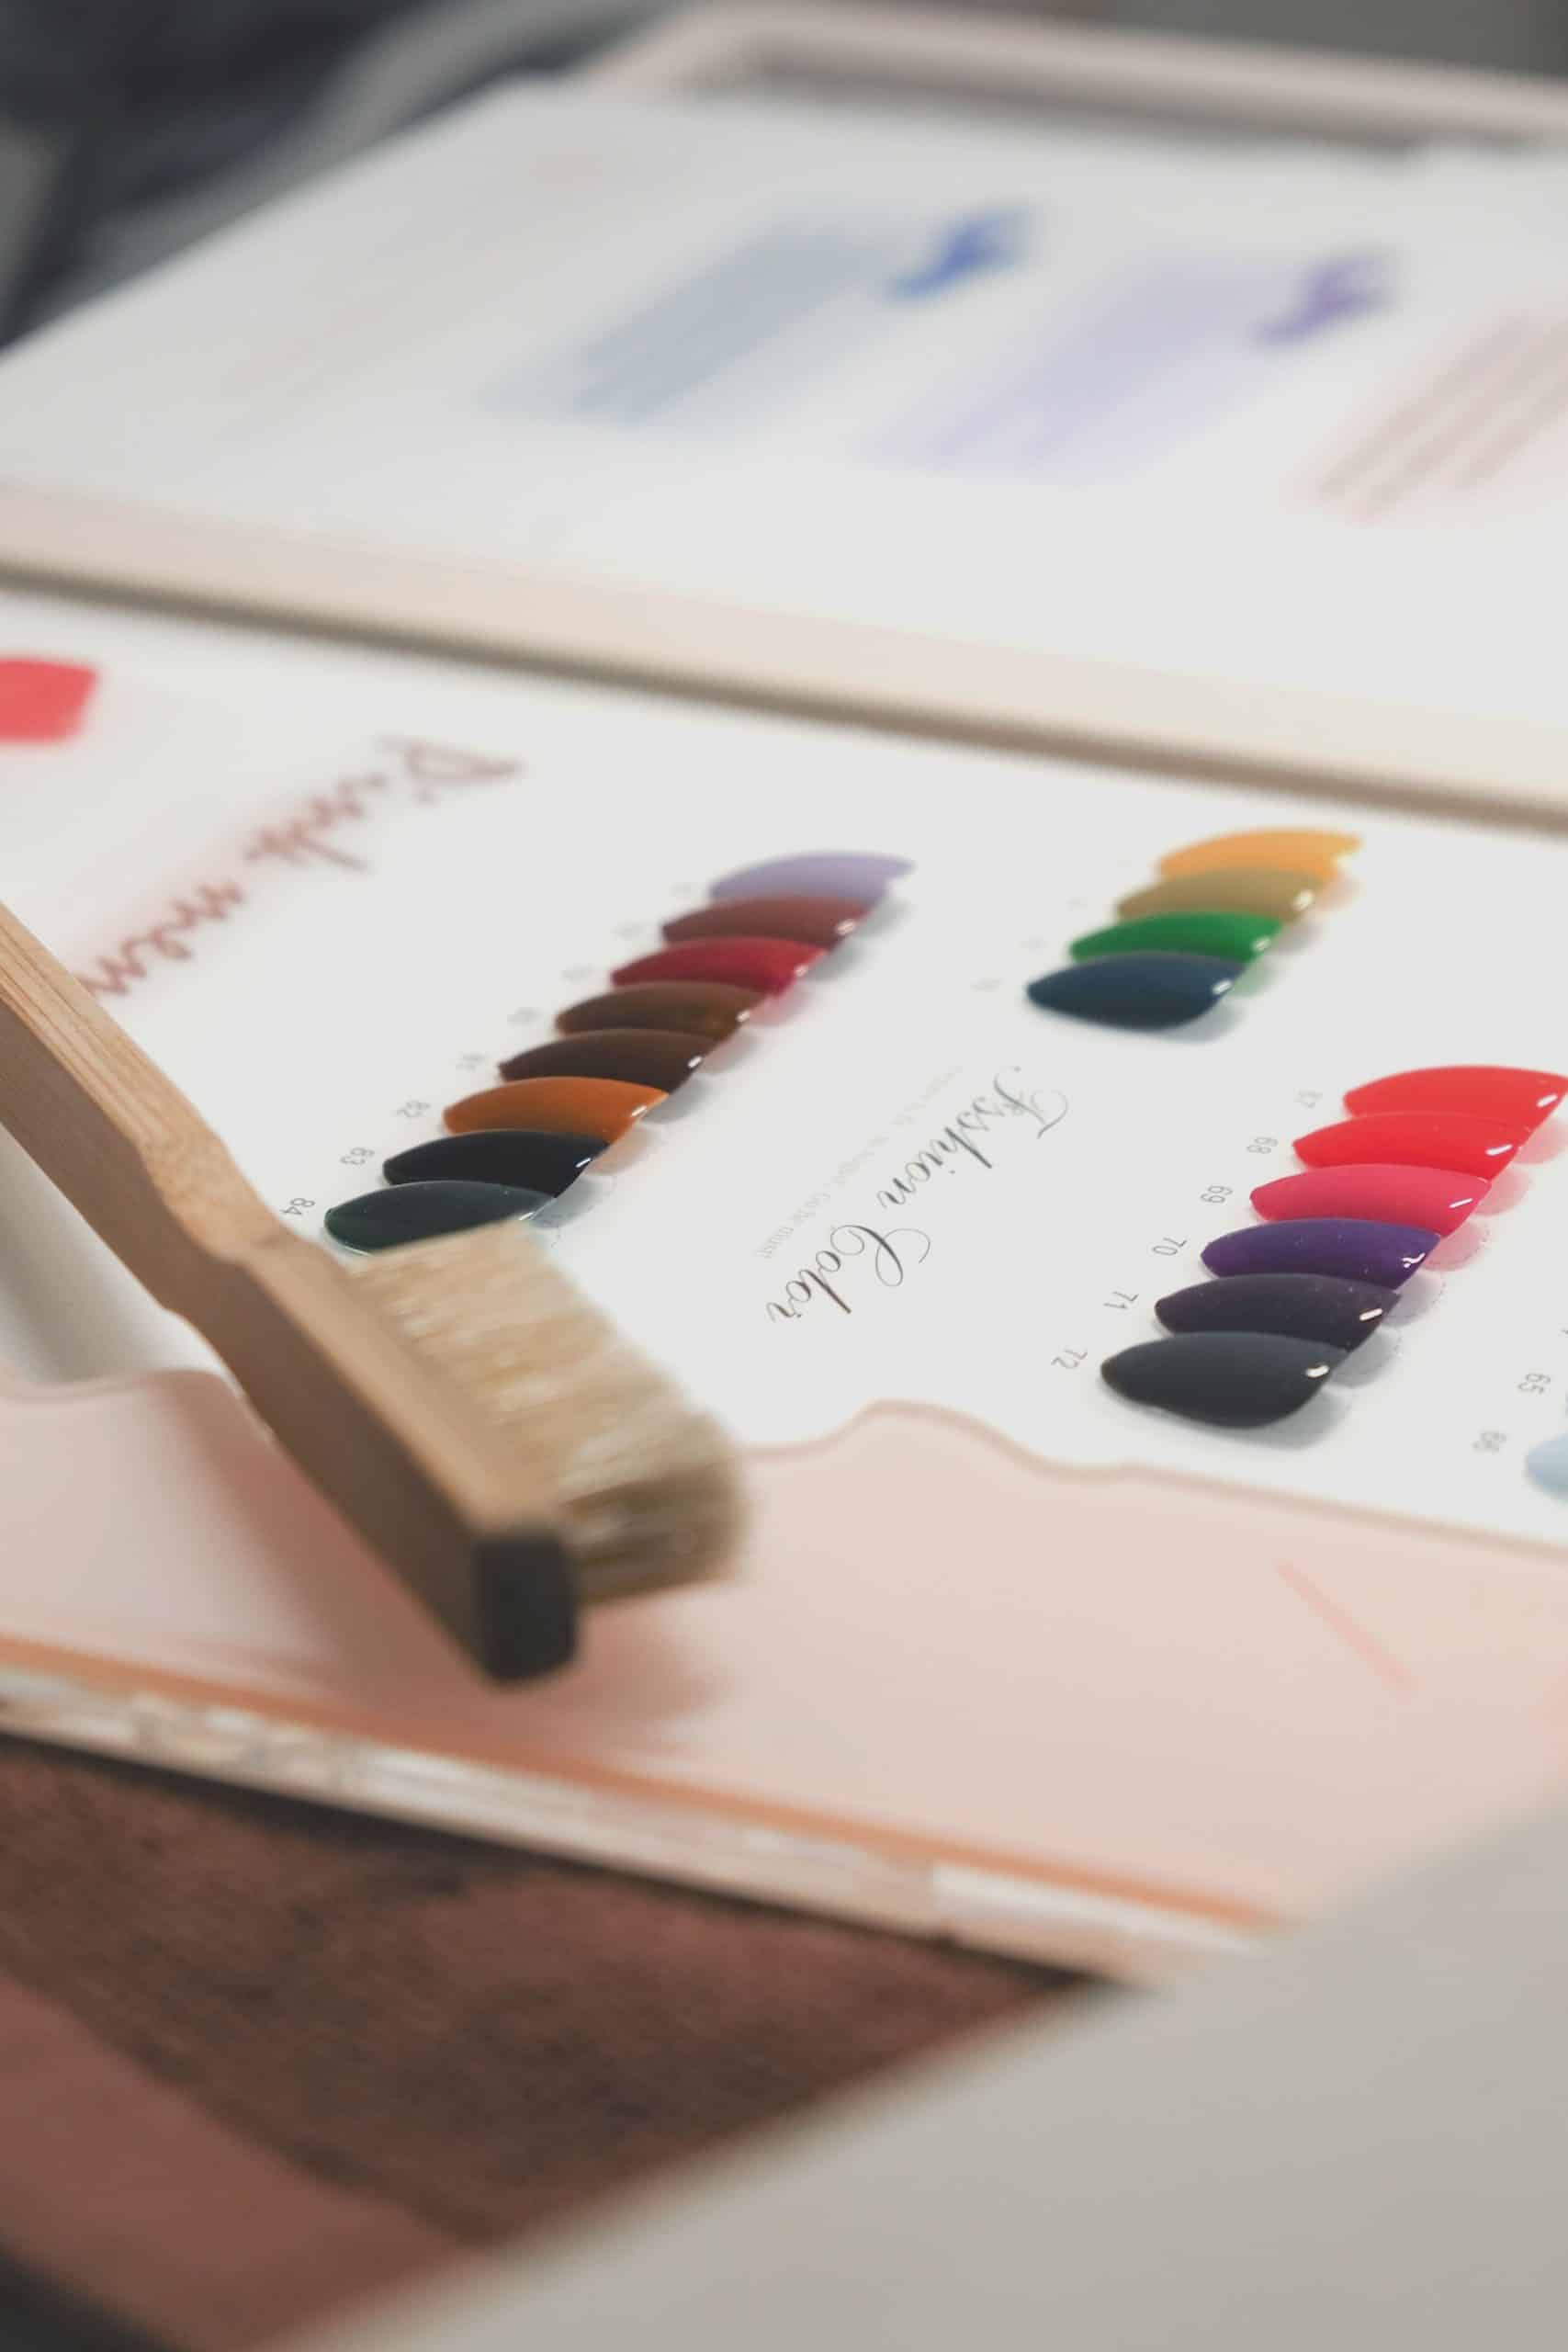
A nail tip is a pre-shaped piece, usually thin ABS plastic or soft gel, that glues directly onto the natural nail’s free edge and stays there. Instead of sculpting a shape from scratch, you pick the closest match from a sizing kit, glue it on, blend the seam where it meets the natural nail, then cover the whole thing with product (acrylic, gel, or a gel-x style overlay) for strength and finish.
Because the shape is already made, the skill required shifts from sculpting to sizing and blending. Get the tip size right and file the seam smooth, and the rest of the set moves quickly. Get the size wrong, too wide, too narrow, or the wrong C-curve for that particular nail bed, and no amount of filing fully hides it.
How the two actually compare in practice
With a form, nothing touches the nail until the product itself goes on. There’s no adhesive layer, no seam to blend, and no risk of a tip popping off days later because the glue failed. The tradeoff is time and skill: sculpting a clean, symmetrical shape over a form, especially on your own non-dominant hand, takes real practice.
With a tip, you’re adding a second material (the tip itself, plus its adhesive) under the product. That seam is the weak point of the whole method. A poorly blended seam catches on things and is usually where a set starts to lift first. In exchange, tips are faster for a beginner to get a consistent-looking result across all ten nails, because the shape is already decided for you.
Which one holds up longer
Neither wins outright, because the failure points are different. A set built on forms is one continuous piece of product from the nail bed to the free edge, so when it lifts, it’s almost always at the cuticle line, from the same prep issues that affect any nail dehydrator and primer job. A set built on tips has that same lifting risk at the cuticle, plus a second, separate risk at the tip seam if the glue wasn’t applied evenly or the tip wasn’t held long enough to bond.
The seam tends to be the more common failure of the two, especially on people who work with their hands a lot. That doesn’t make tips a bad option. It means the prep step, proper sizing, full-coverage glue, real pressure and hold time, matters even more than usual.
Cost and how often you replace things
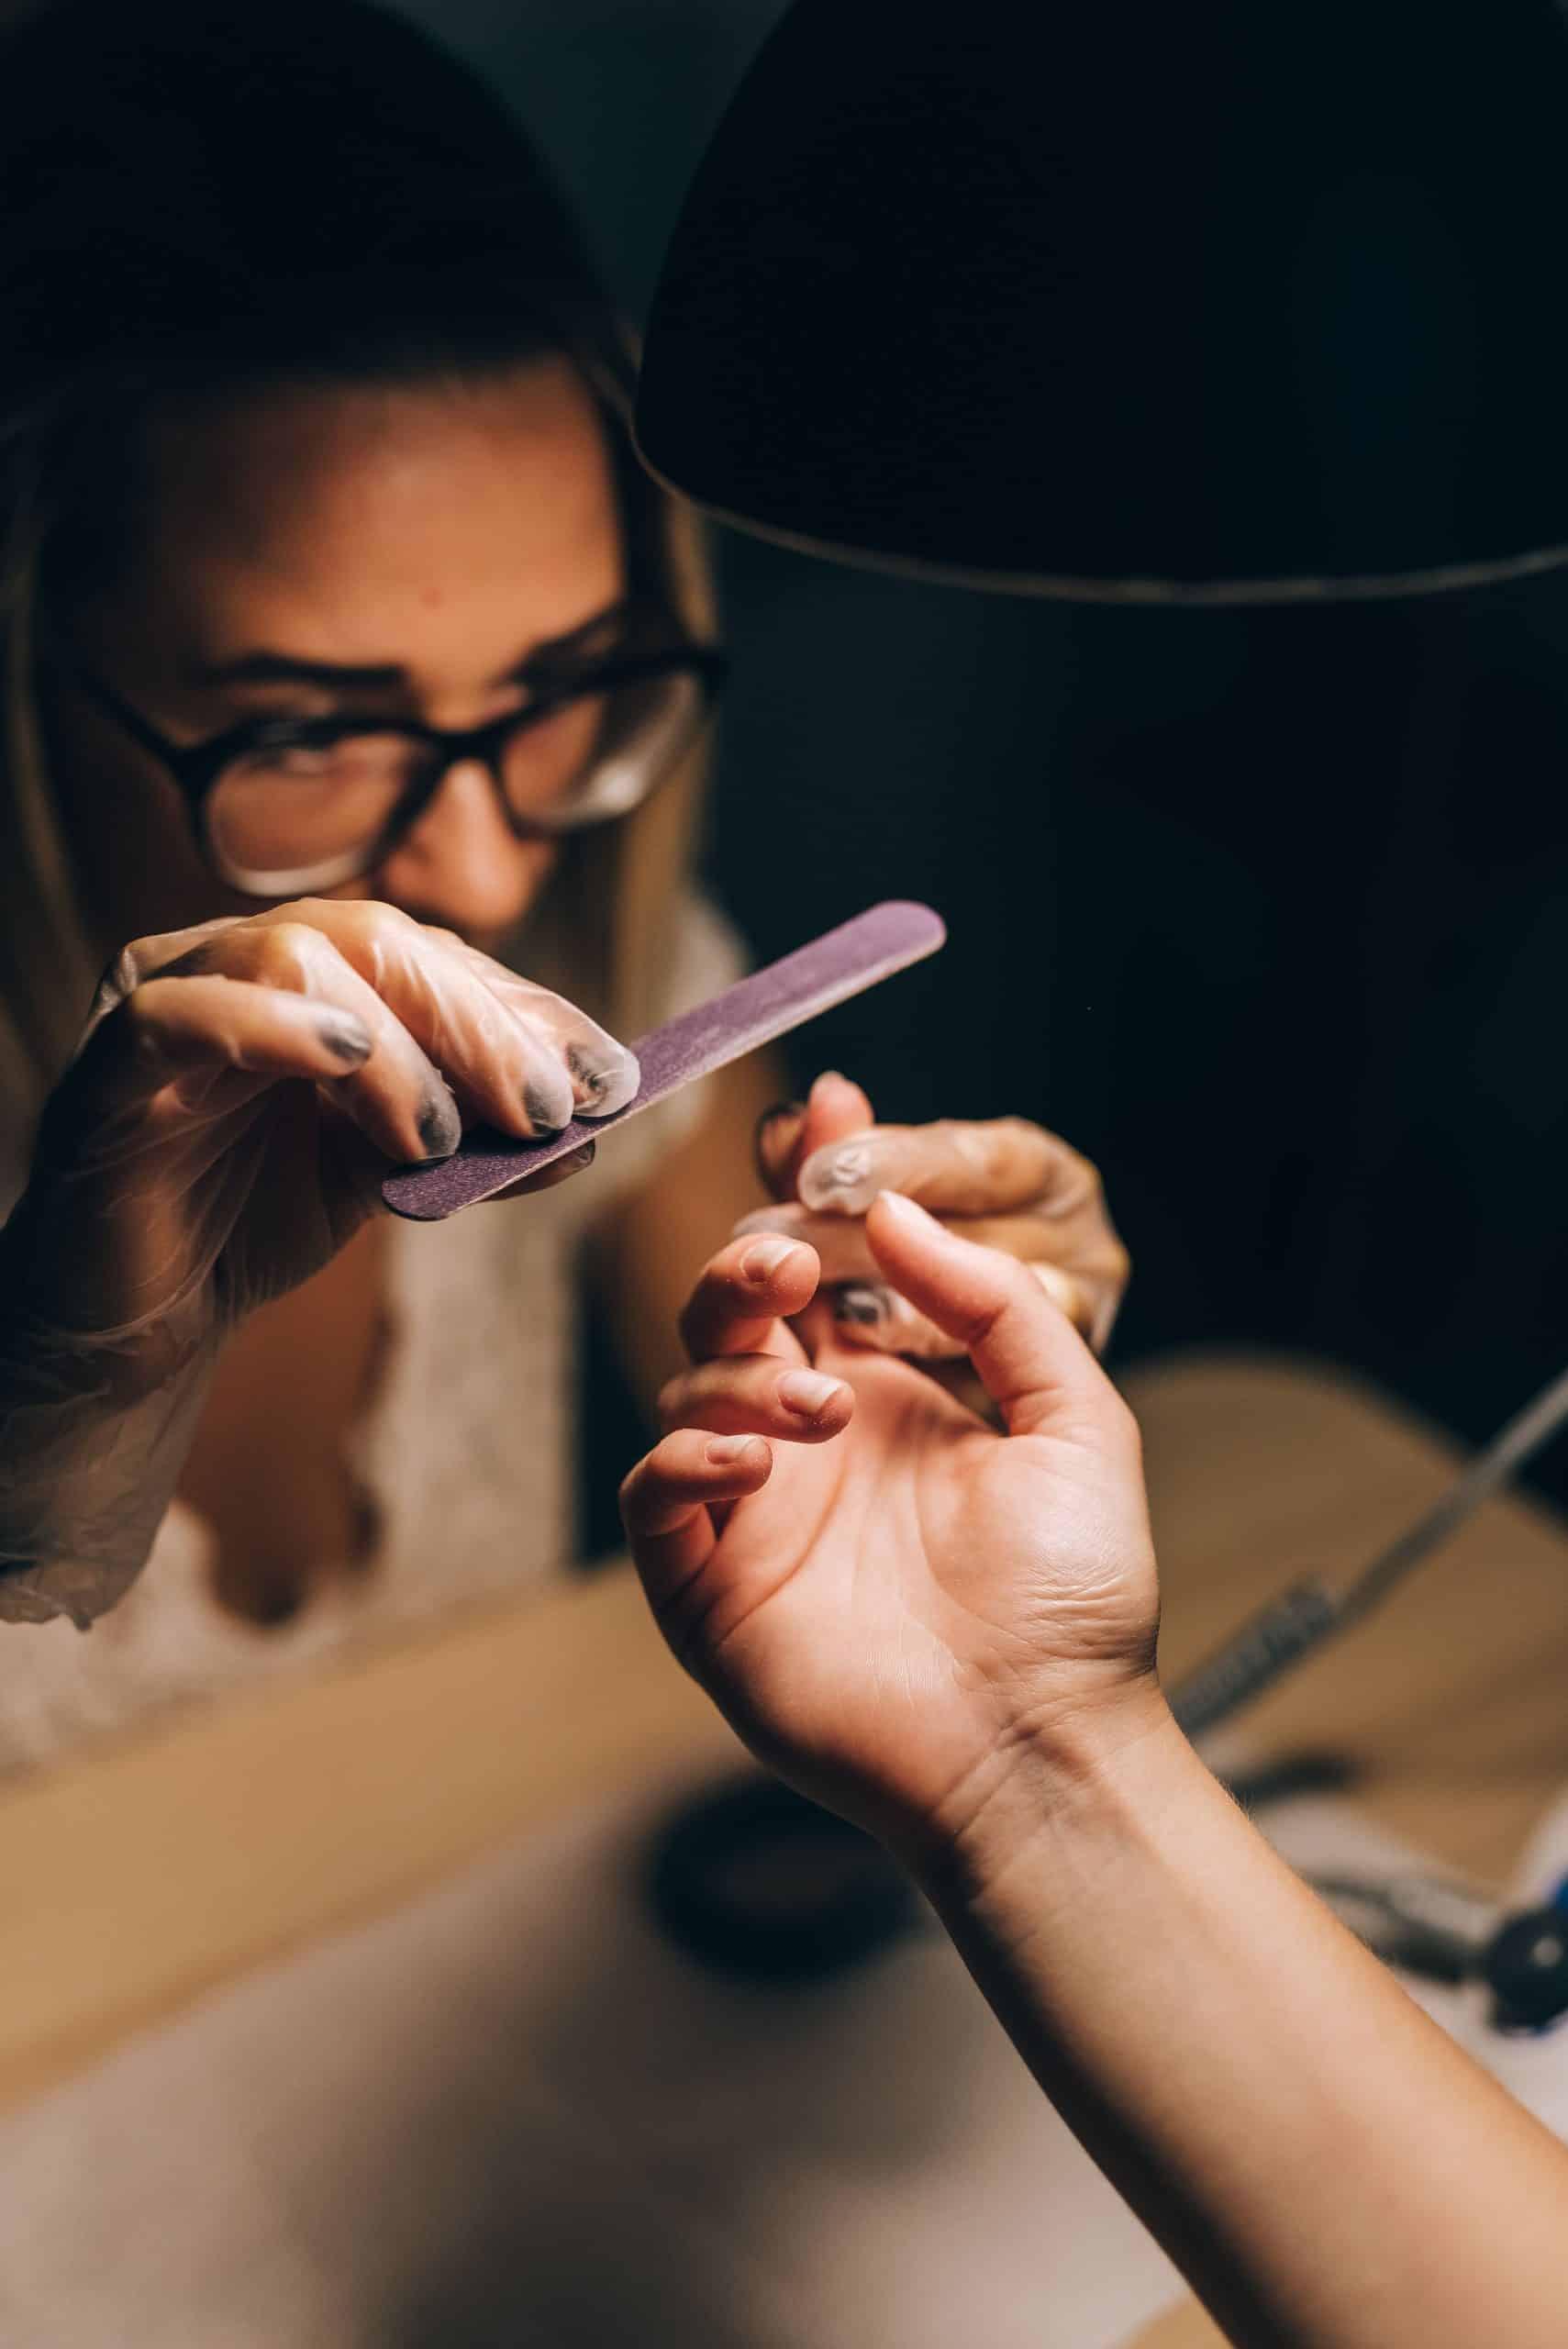
Paper forms are single-use, so the cost adds up slowly over dozens of sets, similar to buying a new sheet of stickers every time. Dual forms are reusable 50 or more times if you clean them between uses, which makes them cheaper per set once you’ve mastered the technique. Tips are the cheapest individual item, often a few cents each in bulk, but you’re also buying nail glue as a recurring cost, and a bad batch of glue can undo the savings by causing early lifts that force a redo.
Which should a beginner actually start with
If you’re brand new and just want a length extension without also learning to sculpt a symmetrical shape by eye, start with tips. The learning curve is shorter, and a slightly imperfect blend job is more forgiving than a lopsided sculpted nail. The builder gel for beginners guide walks through exactly that kind of first set.
If you already have some sculpting experience, or you specifically want the thinner, more natural look that a well-done form set gives you, forms are worth the practice time. Salons that specialize in fuller sets often move to forms once a tech is comfortable, because the finished nail sits closer to the natural nail bed and doesn’t have a seam to hide.