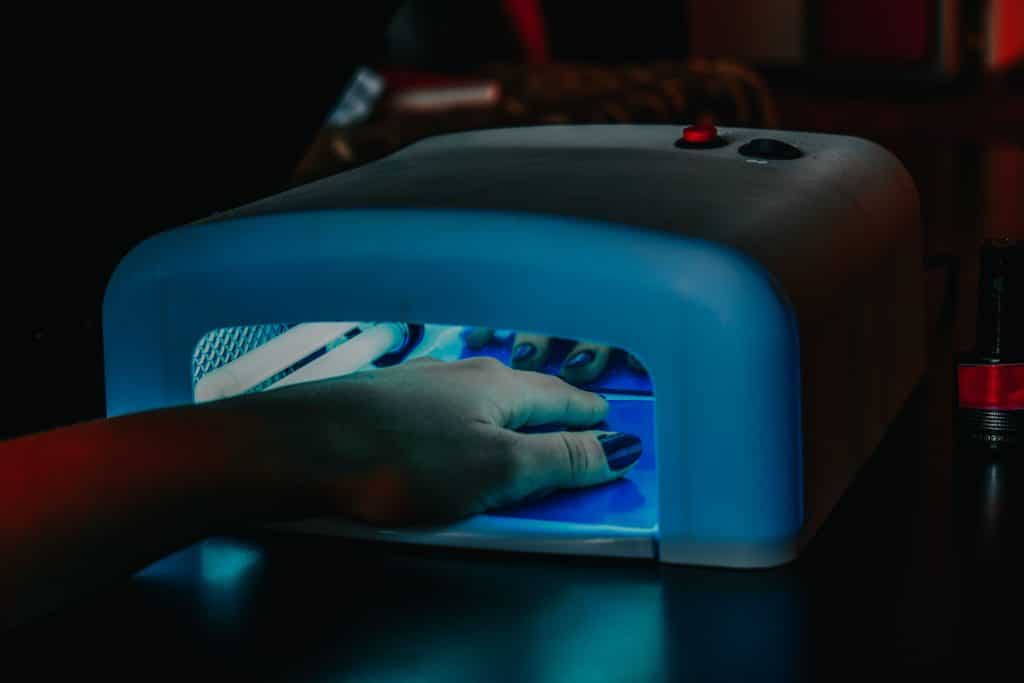
Booking your first builder gel manicure is a different experience than booking a regular gel polish appointment, and knowing what’s coming makes the whole thing a lot less nerve-wracking. Here’s what actually happens in the chair, from the first buff to the moment you leave with cured, glossy nails.
What a builder gel manicure actually is
A builder gel manicure uses a thick, self-leveling gel applied over your natural nail, or over a form or tip if you’re adding length, to add strength and shape before it’s cured under a UV or LED lamp. That’s different from a standard gel polish manicure, which only adds color and shine with no structural layer underneath. For the full breakdown of what builder gel is made of and how it compares to hard gel, acrylic and polygel, see our guide to what builder gel is.
How long the appointment takes
Plan for 60 to 90 minutes for a full set, sometimes longer if you’re adding length over forms rather than doing a simple overlay on your natural nails. A fill on an existing set usually runs 45 to 60 minutes. If a tech finishes a full set in under 30 minutes, they’re probably cutting cure time somewhere, which is worth asking about.
Step by step: what happens during the appointment
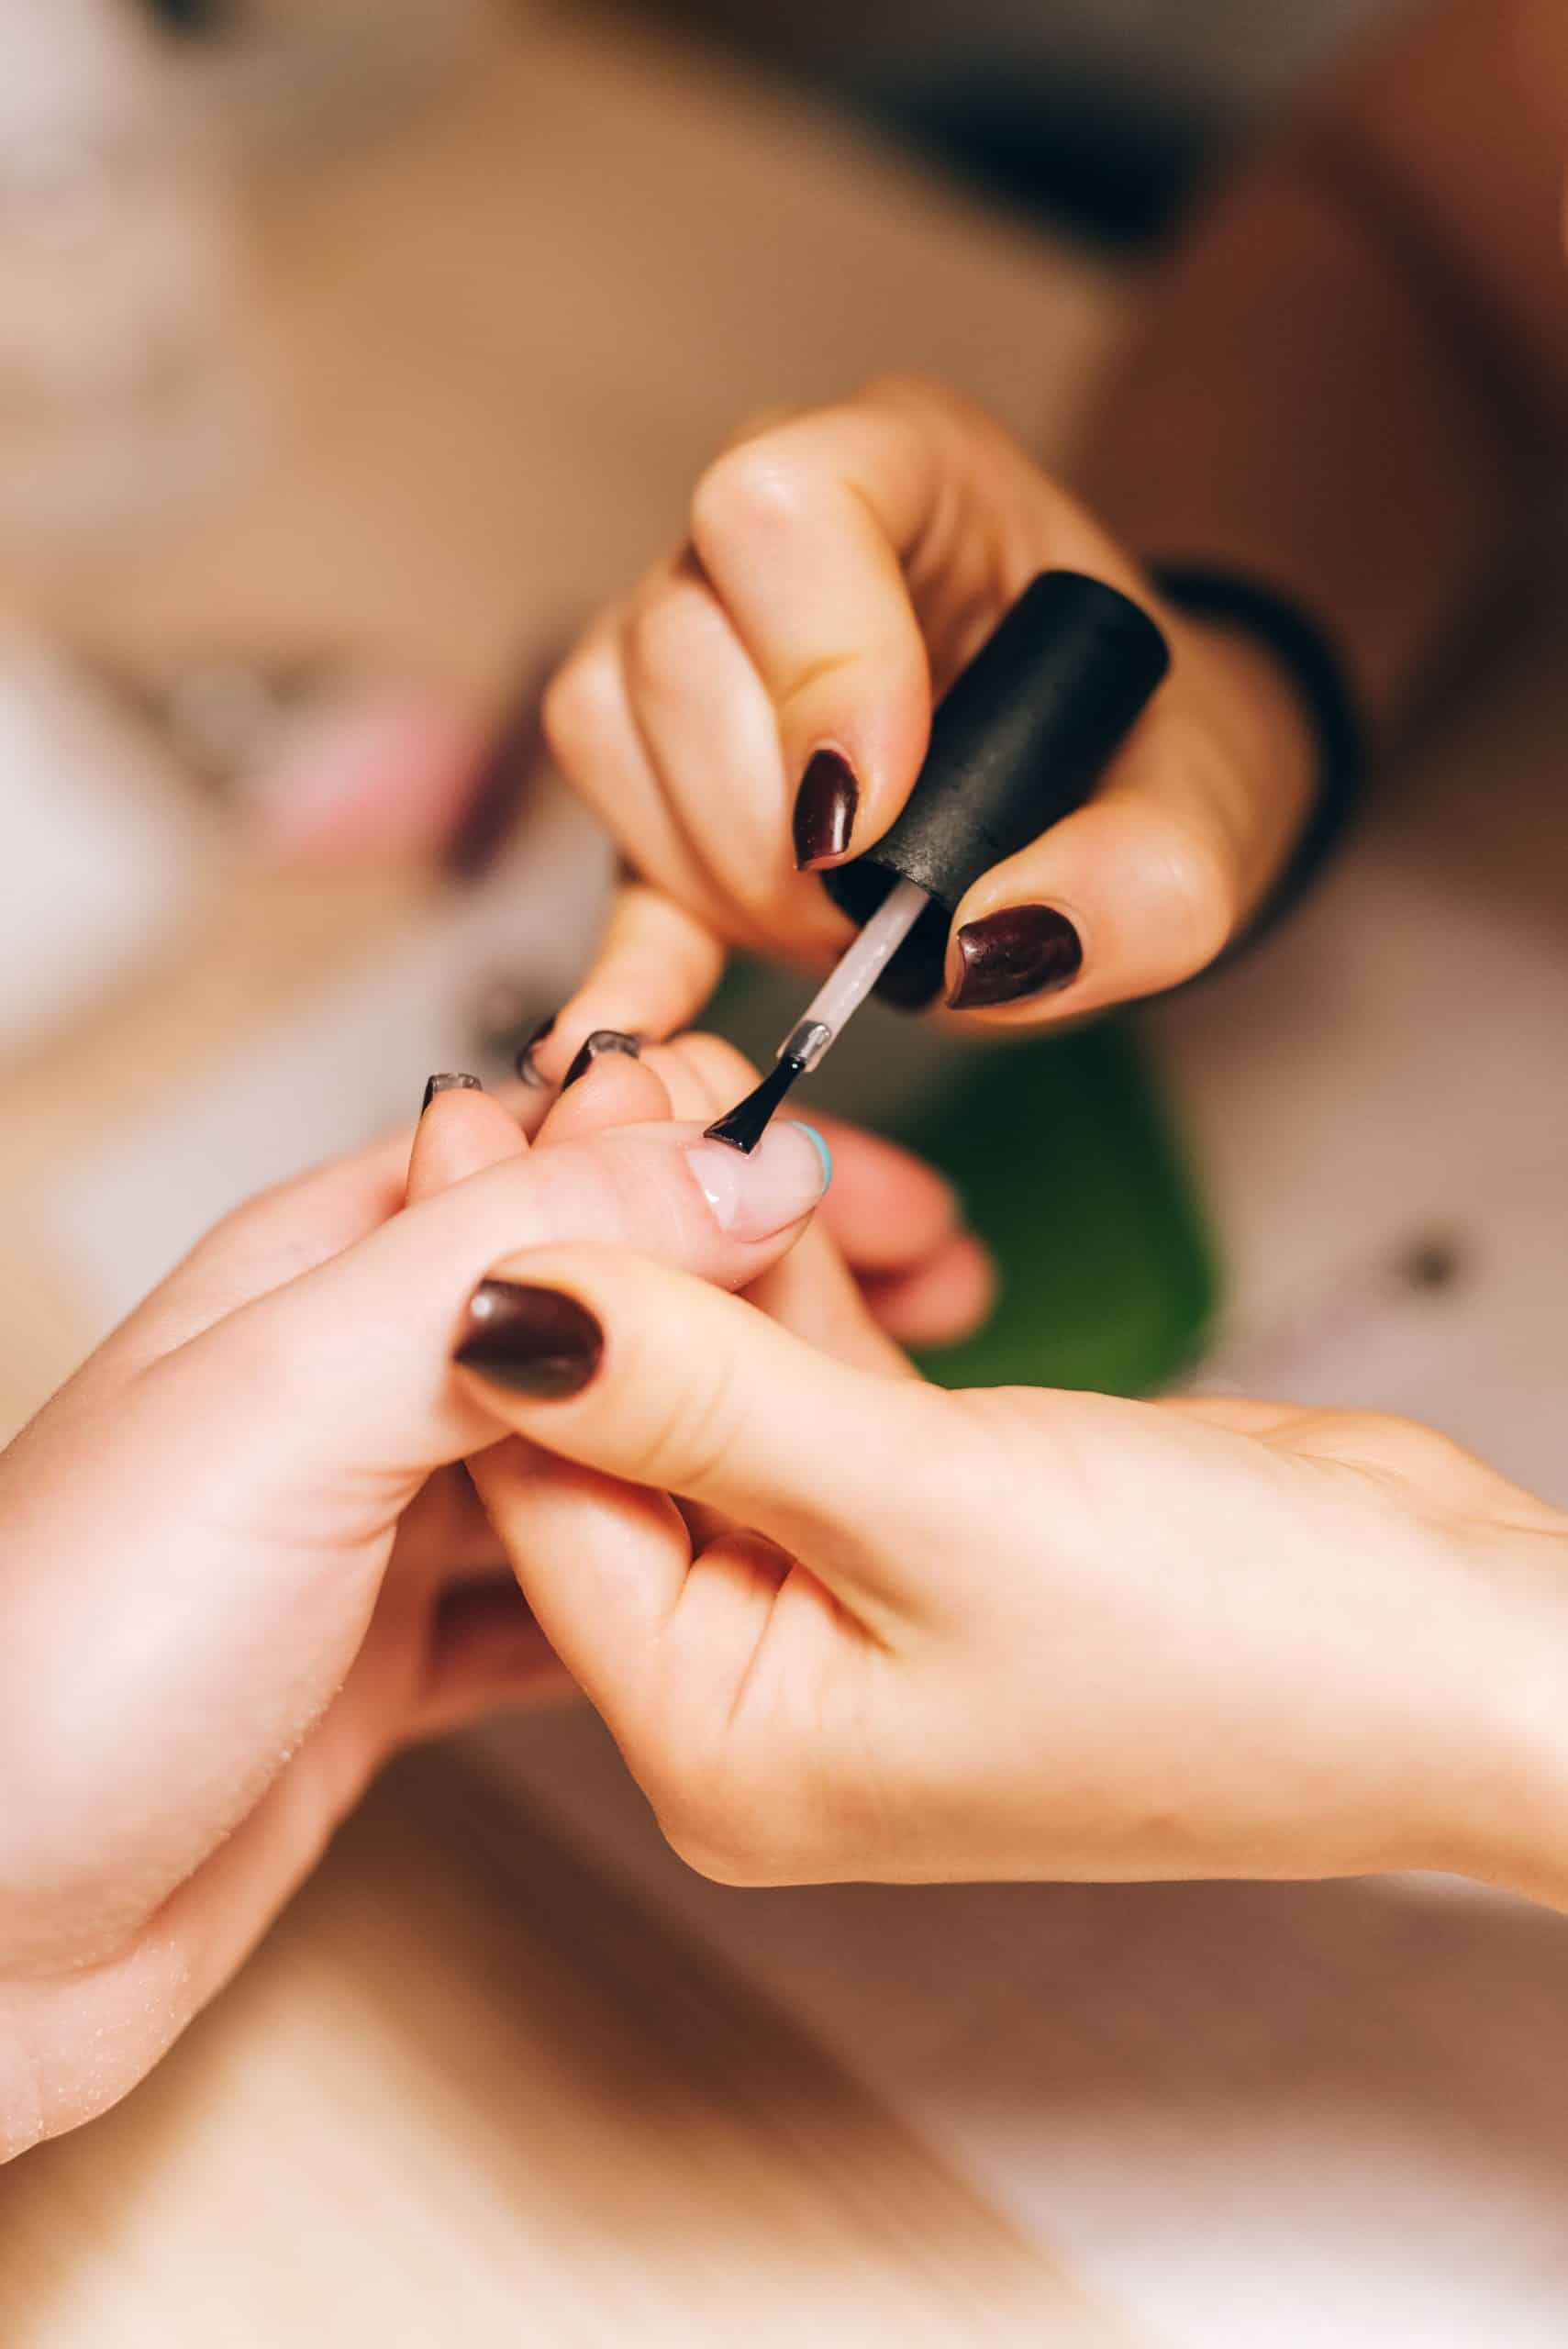
Your tech starts by pushing back your cuticles and lightly buffing the shine off each nail plate. This isn’t thinning the nail, it’s removing the oily surface layer so the gel actually bonds instead of sliding around. Next comes a dehydrator and a bonding primer, both cured briefly under the lamp before any gel goes on.
The builder gel itself goes on in thin layers, usually two to three, each one cured separately. Your tech shapes the gel with a brush as they go, building a slight curve down the center of the nail, the apex, that gives the finished set its strength. If you’re adding length, a form or tip comes into play here, and the process takes longer because the gel has to hold its shape over the form while it’s still soft.
Once the shape is right, your tech files and buffs the surface smooth, checks the profile from the side, then finishes with a top coat and a final cure. The last step is wiping off the tacky inhibition layer with an alcohol cleanser. That sticky film is a normal byproduct of curing, not a sign of a bad application.
What it actually feels like
Most of the appointment is unremarkable. The two parts people ask about most are the lamp and the filing. UV and LED lamps warm the nail during cure, sometimes enough to notice, occasionally enough to feel briefly hot if your nails are thin or the gel layer is thick. Say something if it’s uncomfortable; pulling your hand out for a few seconds and going back in rarely affects the cure. Filing feels like pressure or light vibration, not pain, unless a tech is filing too aggressively on the nail plate itself rather than just the cured gel.
What your nails look like right after
Fresh off the table, a good builder gel manicure looks glossy, slightly domed down the center, and noticeably stronger than your natural nail felt beforehand. The free edge should be sealed so water can’t get up underneath it during daily tasks. If a nail looks flat with no curve at all, or you can see gaps where the gel doesn’t quite meet the cuticle or side walls, mention it before you leave. It’s an easy fix in the chair and a much harder one two weeks from now.
The first 24 to 48 hours
Your nails are fully cured and hard the moment you leave, so there’s no waiting period before you can use your hands normally, unlike regular polish, which can still dent for hours. What actually needs attention in the first two days is the skin around the nail, not the gel itself. Cuticle oil once or twice a day keeps that skin from drying out and cracking, which matters because dry skin at the edge is one of the more common causes of early lifting. Our guide to why cuticle oil matters covers what to look for in a formula and how often to actually use it.
What it costs
Pricing varies by region and by whether you’re getting an overlay or a full extension, but a builder gel manicure typically runs somewhere between $45 and $90 for a full set, with fills priced lower, often $35 to $55. Salons in larger cities or ones that specialize in gel extensions tend to sit at the higher end. If a quoted price is dramatically below that range, ask what’s included. Some of that gap comes from skipped prep steps rather than a genuine deal.
Builder gel manicure vs. other services
A regular gel polish manicure is faster and cheaper but adds no strength or length, it’s color and shine only. Acrylic extensions can match or beat builder gel on raw strength for very long shapes, but come with the smell and dust of a liquid-and-powder system and a different removal process. Our builder gel vs hard gel comparison goes through that specific pairing in detail. If your nails lift more with one system than another, that’s usually about application and aftercare rather than the product itself; we cover the common causes in our guide to why gel nails lift.
How long it lasts, and what comes next
A well-applied builder gel manicure typically holds for three to four weeks before it needs a fill or a full removal. Lifting before that point is usually a prep or aftercare issue rather than a flaw in the product. We break down the full range and what shortens or extends it in our how long does builder gel last guide. When it’s time for maintenance, most people either book a fill to extend the current set or go through a full removal to start fresh.
Doing it yourself instead of booking a salon
If a salon appointment doesn’t fit your schedule or budget, builder gel is one of the more DIY-friendly extension systems, especially compared to acrylic. It takes longer at home and your first attempt won’t look like a salon finish, but the technique is learnable. Our beginner’s guide to your first builder gel set walks through what to expect trying it yourself, and our step-by-step application guide covers the technique in more detail. A UV or LED lamp is the one piece of equipment worth getting right before you start; our guide to choosing a UV nail lamp covers what actually matters on the spec sheet.
FAQ
Does a builder gel manicure hurt?
No, not if it’s applied correctly. You may feel warmth from the lamp or light pressure from filing, but there shouldn’t be pain. If you feel burning, sharp heat, or the file catching on skin rather than nail, say something during the appointment.
How is a builder gel manicure different from regular gel nails?
Regular gel polish is a thin color coat with no structural strength. Builder gel is thicker and self-leveling, applied as a separate layer to add strength or length before any color goes on top.
Can I get a builder gel manicure if my nails are already damaged?
Often yes, since a thin overlay can protect a weak nail while it grows out, but it depends on how damaged the nail is. If you’re dealing with visible splitting, pain, or signs of infection, see a dermatologist before booking a cosmetic service.
How soon can I use my hands normally after the appointment?
Right away. Builder gel is fully cured under the lamp before you leave, unlike regular polish, which can still dent for a while after you leave the salon.
Do I need a full removal before my next manicure?
Not necessarily. Many people get a fill instead, which adds fresh product to the regrowth area rather than stripping the set back to the natural nail. Full removal is usually only needed every few fills.
Will a builder gel manicure damage my natural nails?
Not when it’s applied and removed correctly. Most of the damage associated with gel systems comes from picking or peeling the product off rather than soaking or filing it, not from the gel itself.
What should I do before my appointment?
Arrive with clean, polish-free nails if possible, it saves appointment time. If you have a preferred shape or length in mind, bringing a reference photo helps your tech match it more precisely than a verbal description alone.