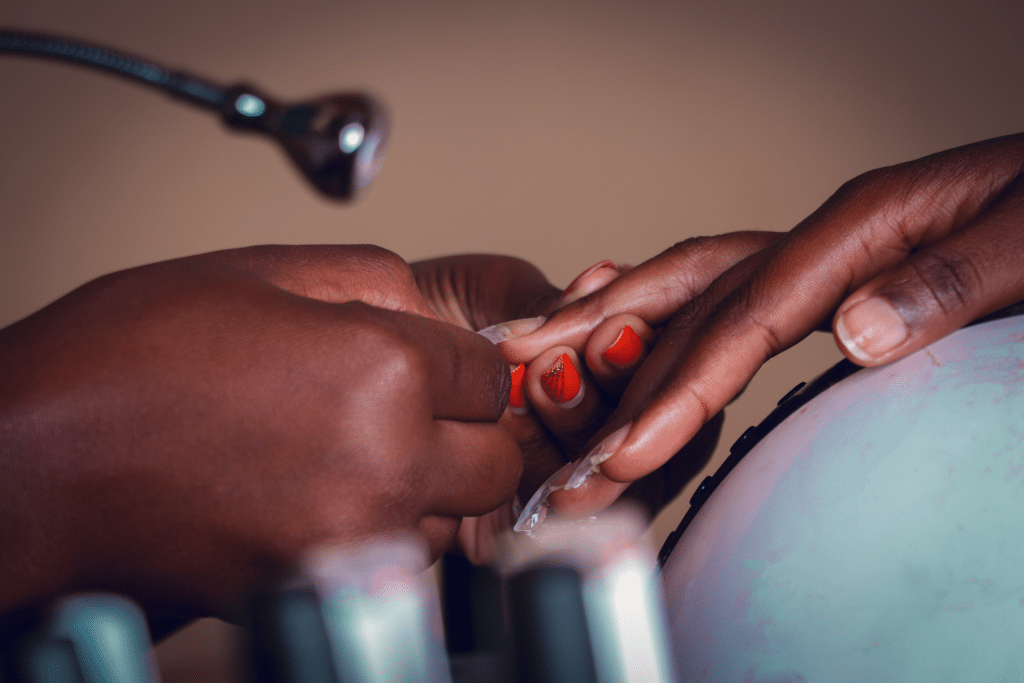
Ask ten nail techs why a set lifted and eight of them will say the same word before you finish the question: prep. Not the gel brand, not the lamp, not the client’s dish habits. The five minutes before any product touches the nail, and specifically the thirty seconds spent (or skipped) on the dehydrator.
It’s the step that looks optional because the nail still looks clean without it. It isn’t optional. Here’s what nail prep actually involves, what a nail dehydrator does that buffing alone can’t, and where techs and at-home users most often lose the bond before they’ve even opened the base coat.
Nail prep is five steps, not one
“Prep” gets used as shorthand for the whole pre-polish routine, which is part of why it’s easy to shortchange. It’s actually five separate steps, each doing a different job, and skipping or reordering any one of them changes the result.
1. Cuticle work
Push back and gently clear cuticle tissue from the nail plate. Gel applied over live cuticle will lift as that tissue grows out and sheds, so this isn’t cosmetic, it’s structural. The tool doing that pushing matters too: see our comparison of metal, wood, and silicone cuticle pushers for which fits your routine.
2. Shape and light buff
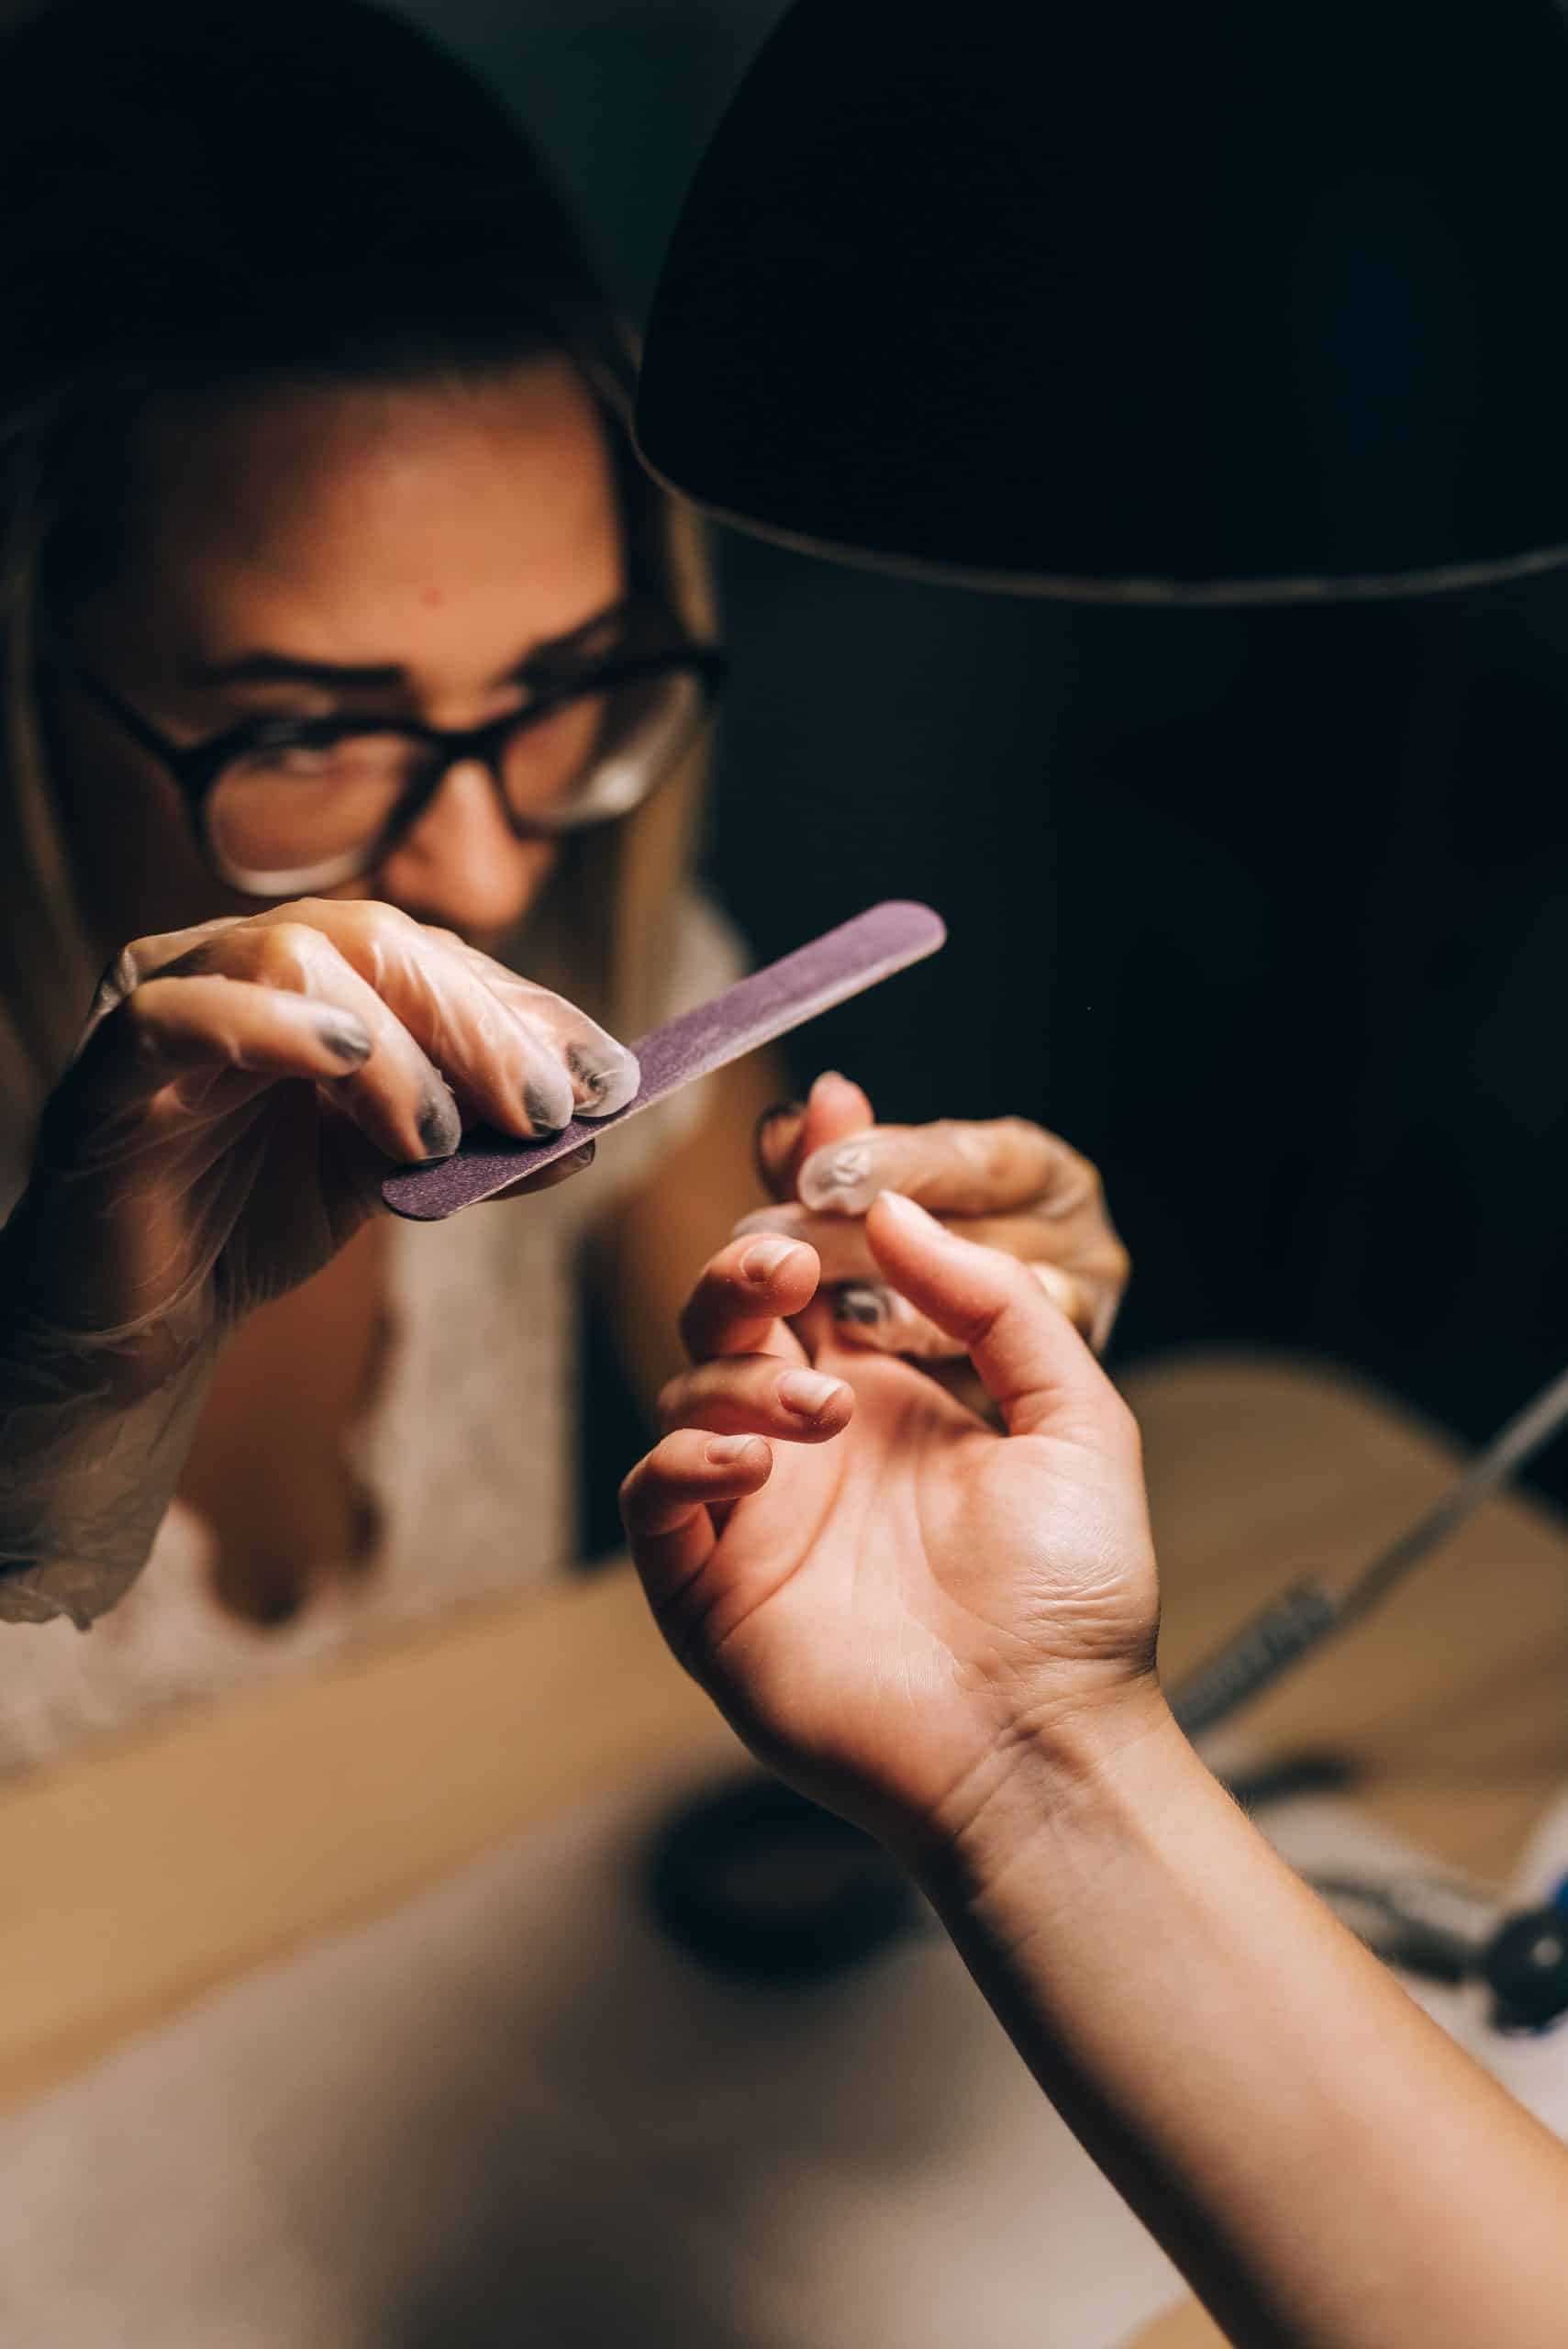
Shape the free edge, then buff the entire plate with a fine grit buffer, 180 to 240 grit, just until the natural shine disappears. The goal is a matte surface, not a thinner nail. Over-buffing with too coarse a grit or an e-file run too aggressively takes the plate down faster than most people realize, and a thinned nail is more flexible, which stresses the gel bond every time the finger moves.
Our nail buffer guide breaks down which grits are safe for routine use and which ones should only touch the nail briefly.
3. Dust removal
Every trace of filing dust gets brushed and wiped off before anything liquid goes on the nail. Dust left under a dehydrator or base coat sits between the product and the plate like a layer of sand.
4. Dehydrator, applied last
This is the step this article is really about, and it’s the one most often rushed, applied too early, or skipped outright.
5. Base coat, straight after
Nothing touches the nail plate between dehydrator and base coat. Not a finger, not a towel, not a pause to answer a text.
What a nail dehydrator actually does
A nail dehydrator dissolves the thin layer of natural oil sitting on the surface of the nail plate. That oil is invisible and doesn’t wash off with soap, but it’s enough to keep gel from bonding properly, the same way grease on a countertop keeps tape from sticking even after you wipe it with a dry cloth.
Here’s the part that trips people up: a dehydrator’s effect is temporary. Oil starts resurfacing from the nail bed within minutes. That’s why the sequence matters as much as the product. Apply dehydrator early in the appointment, then spend a few minutes finishing the other nails or chatting with the client, and the benefit is largely gone by the time base coat goes on. It has to be the last liquid the nail sees before product, not an early step in a longer routine.
According to DeEnterprises, a supplier that breaks down the differences between these prep products for techs, dehydrators work by dissolving surface oil, while bonders (solvent-based formulas that also raise the nail’s pH) and primers go a step further, chemically etching or bonding to the plate itself. That’s why a dehydrator alone is considered the lightest form of prep. It helps, but it’s not doing the same job as a primer.
Nail dehydrator vs primer vs bonder, in short
These three get grouped together and used almost interchangeably at some stations, which causes confusion. A dehydrator strips surface oil and nothing more. A bonder does the same but also adjusts pH, which is useful for clients whose natural nail chemistry runs oily. A primer, acid-based or acid-free, chemically bonds product to the plate, closer to how a tree root grips soil than how a wipe cleans a surface. Primers are standard before acrylic and often recommended before gel on clients who lift repeatedly despite clean prep otherwise. None of the three replaces buffing and dust removal, they all assume that’s already been done. For the deeper split between acid and acid-free primer, and which one each nail system actually calls for, see our full nail dehydrator vs primer comparison. Our nail primer guide takes that acid vs acid-free split further on its own, including when each type is actually worth reaching for.
Can rubbing alcohol replace a dehydrator?
It’s a common substitution at home, and it isn’t a straight swap. Isopropyl alcohol does remove some surface oil and evaporates fast, which is part of why people reach for it. But a dedicated nail dehydrator is formulated specifically to strip nail-plate oil more thoroughly, and it doesn’t leave the residue that lower-concentration rubbing alcohol sometimes does. For an occasional at-home gel manicure, alcohol wiped on right before base coat is better than skipping the step. For anyone doing gel regularly, or for a tech’s client chair, a real dehydrator is worth keeping on the station.
The mistakes that undo otherwise good prep
Applying dehydrator before dust removal instead of after. Dust still on the plate blocks the dehydrator from reaching the surface it’s meant to treat.
Touching the nail plate after prep, even briefly. A fingertip transfers skin oil straight back onto the surface that was just cleaned.
Buffing too aggressively, or reaching for a coarse e-file bit meant for acrylic removal rather than light natural-nail prep. It’s worth knowing the difference between grits and bit types before choosing one for prep work.
Cuticle oil applied right before the appointment. A lot of clients moisturize on the way over without thinking about it, and that oil sits on the plate under everything that follows.
Skipping the free edge cap on base coat because prep felt thorough enough already. Capping isn’t part of dehydration, but it’s the step that seals in whatever the dehydrator accomplished.
When prep alone won’t fix repeated lifting
If a set lifts within the first few days despite careful prep, done in the right order, the cause usually sits elsewhere: an under-cured base coat, a lamp that doesn’t match the gel, or a client’s nail chemistry that needs a bonder rather than a dehydrator. A full breakdown of why gel nails lift and how to read the timing of a lift is worth going through before assuming prep is still the problem.
If the current set already has product on it and needs to come off before re-prepping from scratch, removing it safely at home avoids damaging the plate further, which only makes the next prep job harder.
Frequently asked questions
What does a nail dehydrator actually do?
It dissolves the thin layer of natural oil on the surface of the nail plate that keeps gel from bonding properly. It doesn’t roughen the nail or remove shine, that’s the job of buffing, and its effect fades within minutes, so it has to be applied right before base coat.
Do you need a nail dehydrator for gel nails?
It isn’t strictly required on every nail for every client, but it’s cheap insurance against lifting, especially for clients whose skin and nails run oily. Salons that skip it usually rely on a bonder or primer doing the same job instead, not on skipping oil removal entirely.
Can I use rubbing alcohol instead of a nail dehydrator?
As an occasional substitute at home, yes, applied right before base coat. It’s less thorough than a dedicated dehydrator and can leave residue depending on concentration, so it’s not a like-for-like replacement for regular use.
How long after applying dehydrator should I apply base coat?
Immediately. The dehydrating effect starts fading within minutes as natural oil resurfaces from the nail bed. Treat it as the last step before product, not an early step in a longer prep routine.
Is nail dehydrator the same as primer?
No. A dehydrator only removes surface oil. A primer chemically bonds the product to the nail plate and is considered a stronger, more corrosive step, standard before acrylic and often used before gel on clients prone to lifting.
Can too much buffing damage the nail plate?
Yes. The goal of pre-gel buffing is removing shine, not thickness. A fine grit buffer used lightly is enough. A coarse grit, or an e-file run too aggressively, thins the plate and leaves it more flexible, which stresses the gel bond every time the finger moves.
Why do gel nails still lift even after proper prep?
Good prep removes one cause of lifting, not all of them. Under-curing, a lamp mismatched to the gel, product touching the cuticle, or a client’s individual nail chemistry can all cause lifting on a nail that was prepped correctly. If lifting keeps happening despite clean prep, the cure step and the client’s skin oil levels are the next places to check.